Updated: October 29, 2026
This Crisco pie crust recipe has been in my family for decades! My mom has been making it since I was a little girl, and before her, my grandmother used the same recipe. I’ve enjoyed plenty of homemade pies over the years, but I can confidently say this is the best pie crust I’ve ever had. Made with butter-flavored Crisco shortening and a food processor, this recipe creates a flaky, buttery crust that’s easy to roll and perfect for just about any pie. One batch makes two 9-inch crusts, so you’ll have plenty to work with!
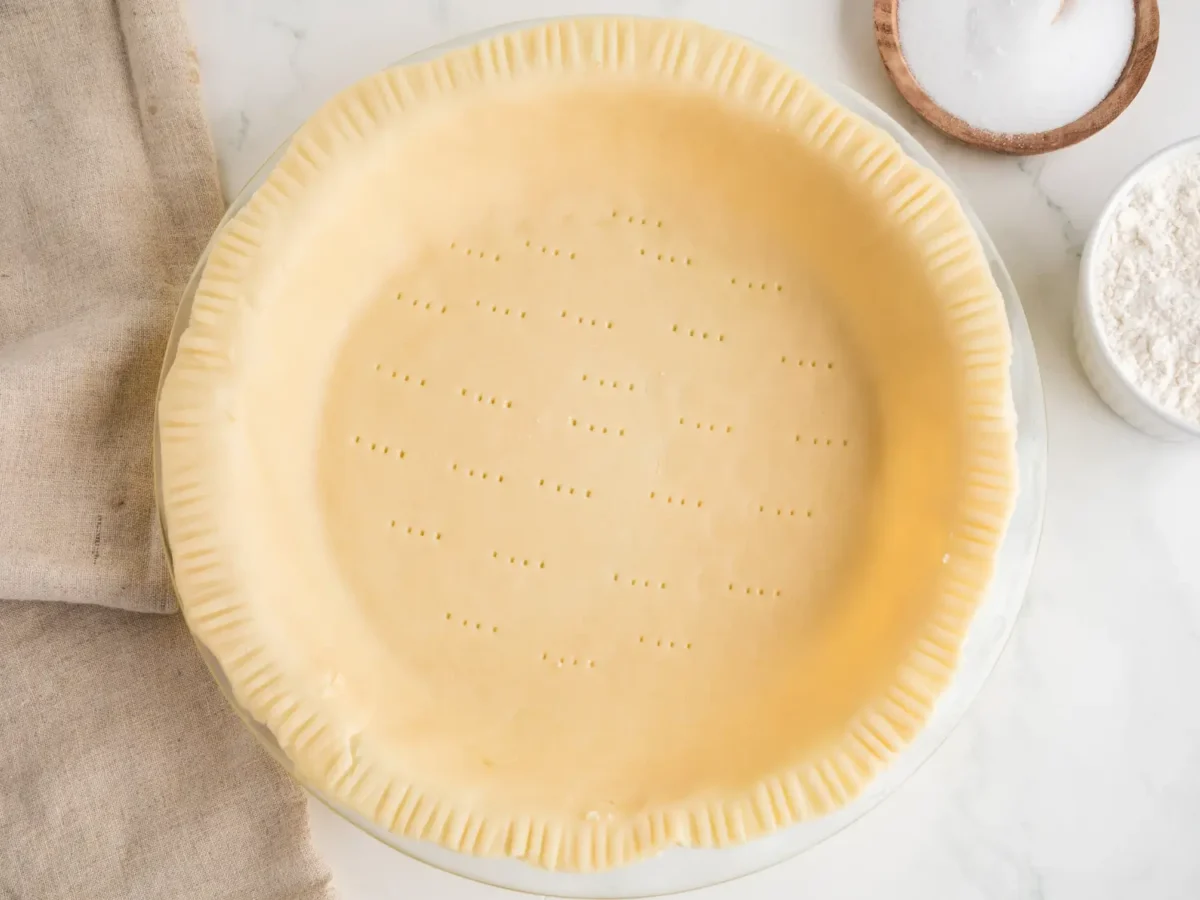
Table of Contents
- Why You’ll Love This Crisco Pie Crust
- What Does Crisco Pie Crust Taste Like?
- Ingredients for Crisco Pie Crust
- How to Make Pie Crust with Shortening
- Tips for the Best Crisco Pie Crust
- Why Freeze the Shortening for Pie Crust?
- How to Fix Pie Dough That’s Too Dry or Too Sticky
- What to Serve with Crisco Pie Crust
- Make Ahead Tips
- How to Store Crisco Pie Crust
- More Favorites from Elicit Folio
- FAQ
- Recipe Card
- Crisco Pie Crust (Double) Recipe
- Craving More?
Why You’ll Love This Crisco Pie Crust
- Quick preparation: The shortening blends into the flour in about 15 seconds using a food processor.
- Delicious buttery flavor: Butter-flavored shortening gives the crust a buttery taste without adding dairy.
- Versatile recipe: One batch makes two 9-inch crusts, enough for a double-crust pie or two single-crust pies.
- Easy to roll: Rolling the dough between parchment paper minimizes sticking and makes cleanup easier.
- Make-ahead friendly: Refrigerate the dough for up to 3 days or freeze it for up to 3 months.
What Does Crisco Pie Crust Taste Like?
This pie crust with shortening is light, delicate, and results in soft flaky layers. The butter-flavored Crisco adds a rich, buttery taste, while a small amount of sugar brings a subtle sweetness that balances the salt. The result is a delicious homemade crust that complements everything from sweet fruit fillings to creamy pies without overpowering their flavors.
Ingredients for Crisco Pie Crust
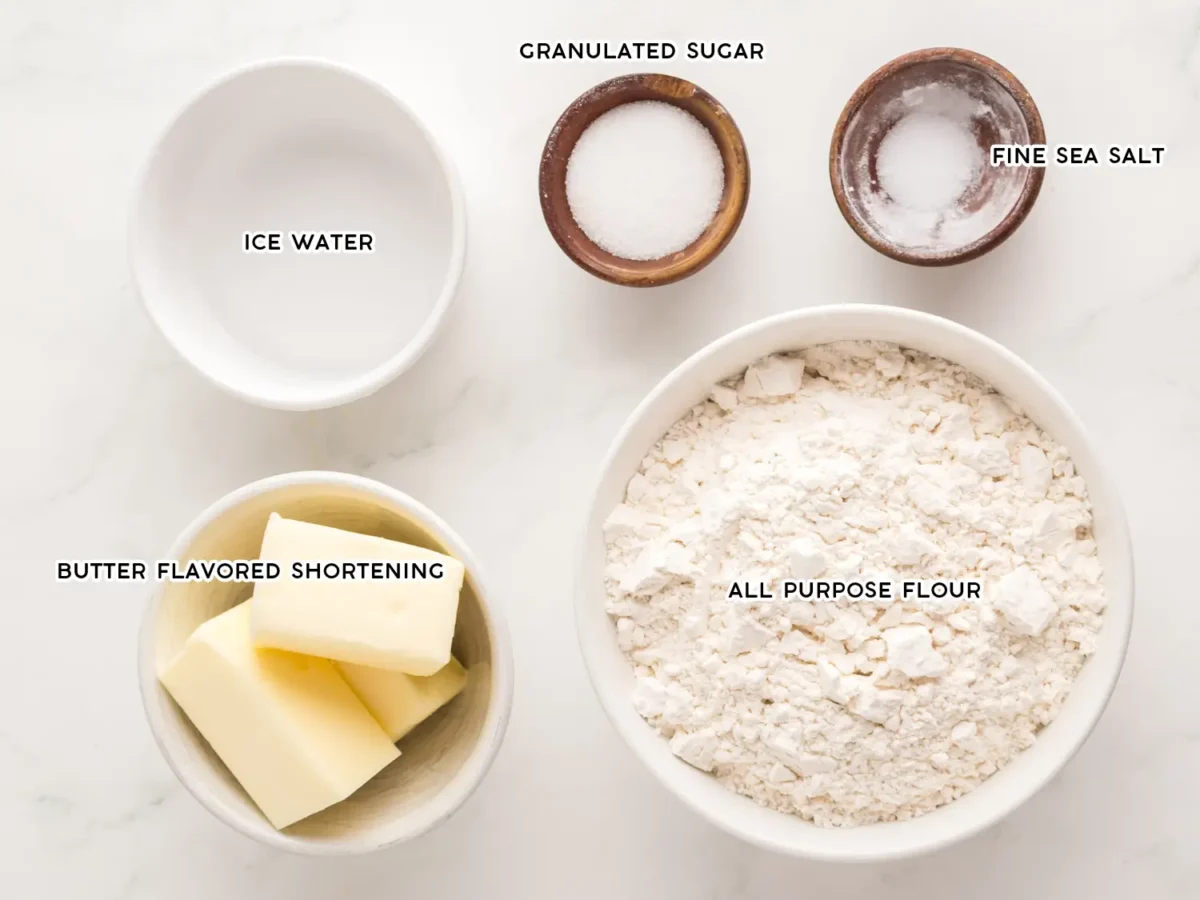
You only need five simple ingredients to make this pie crust with Crisco. Detailed measurements can be found in the printable recipe card below.
- All-Purpose Flour – Provides the structure for the crust. Spoon the flour into your measuring cup and level it off to avoid adding too much.
- Fine Sea Salt – Enhances the flavor of the dough and balances the sweetness. You can also substitute kosher salt.
- Granulated Sugar – Just one tablespoon adds a subtle sweetness and helps the crust develop a beautiful golden color as it bakes.
- Butter-Flavored Crisco Shortening – The key ingredient in this butter Crisco pie crust. It provides a buttery flavor without dairy. Freeze the shortening before mixing for the best results.
- Ice Water – Helps bring the dough together while keeping the shortening cold, which is important for achieving a flaky crust.
How to Make Pie Crust with Shortening
Making a food processor pie crust with shortening is much easier than you might think. Below you will find step-by-step instructions with photos. Additional details, tips, and notes can be found in the printable recipe card below.
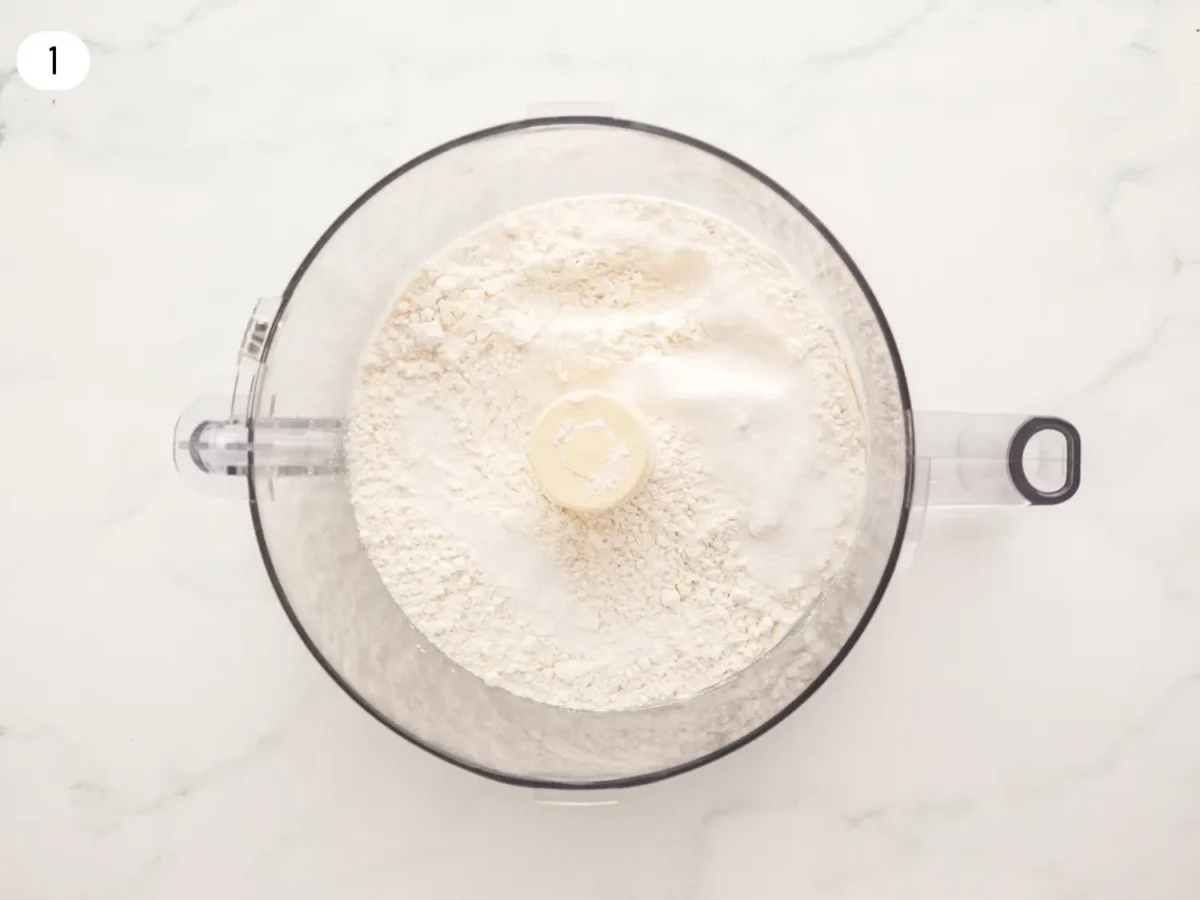
STEP 1: Combine the dry ingredients – Place shortening in freezer to harden. Place ice cubes in water and set aside. Measure out all other ingredients. Add the flour, salt, and sugar to a food processor. Pulse 2-3 times until combined.
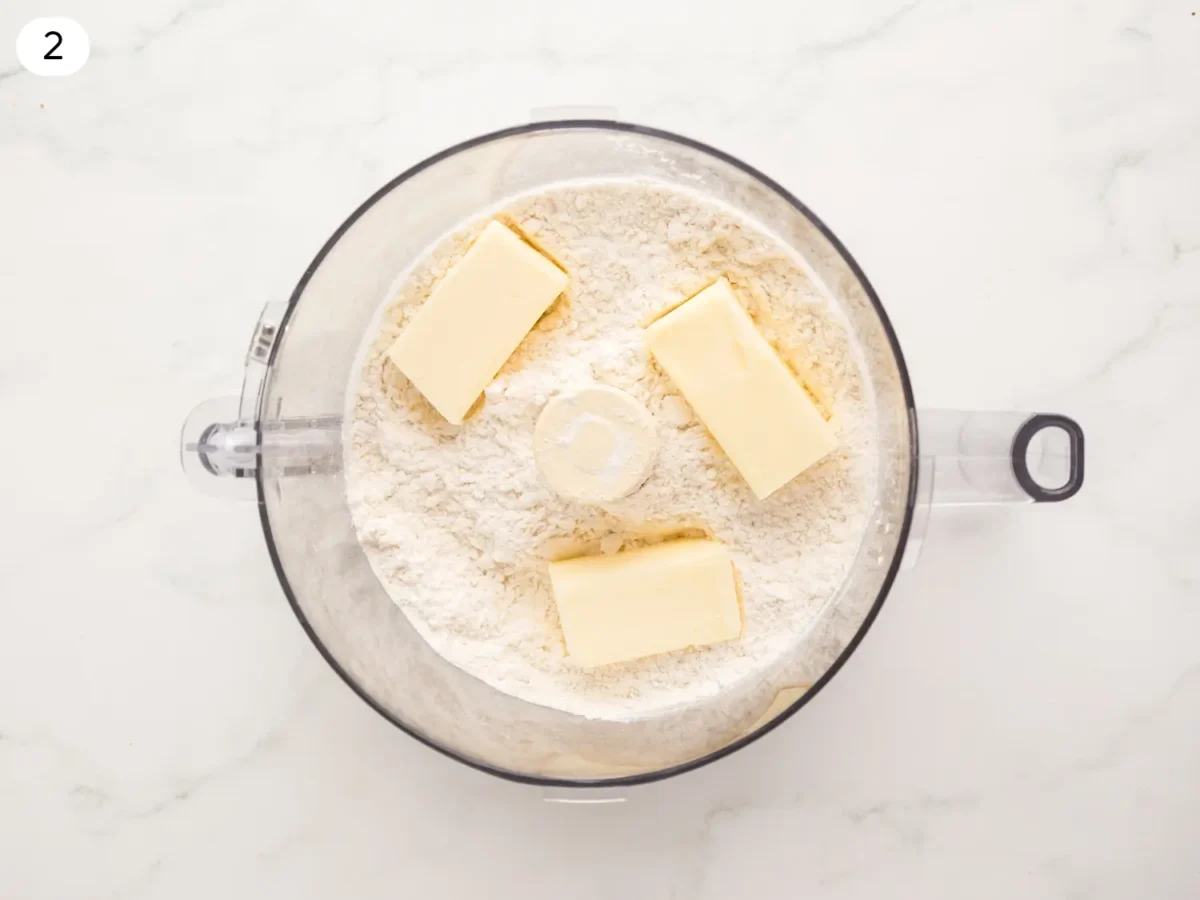
STEP 2: Add the frozen shortening – Scatter the frozen shortening over the flour mixture. Process for about 15 seconds, or until the mixture begins forming a coarse paste with no dry flour remaining.
TIP: Scatter the shortening in small spoonfuls so it blends evenly while it’s still frozen.
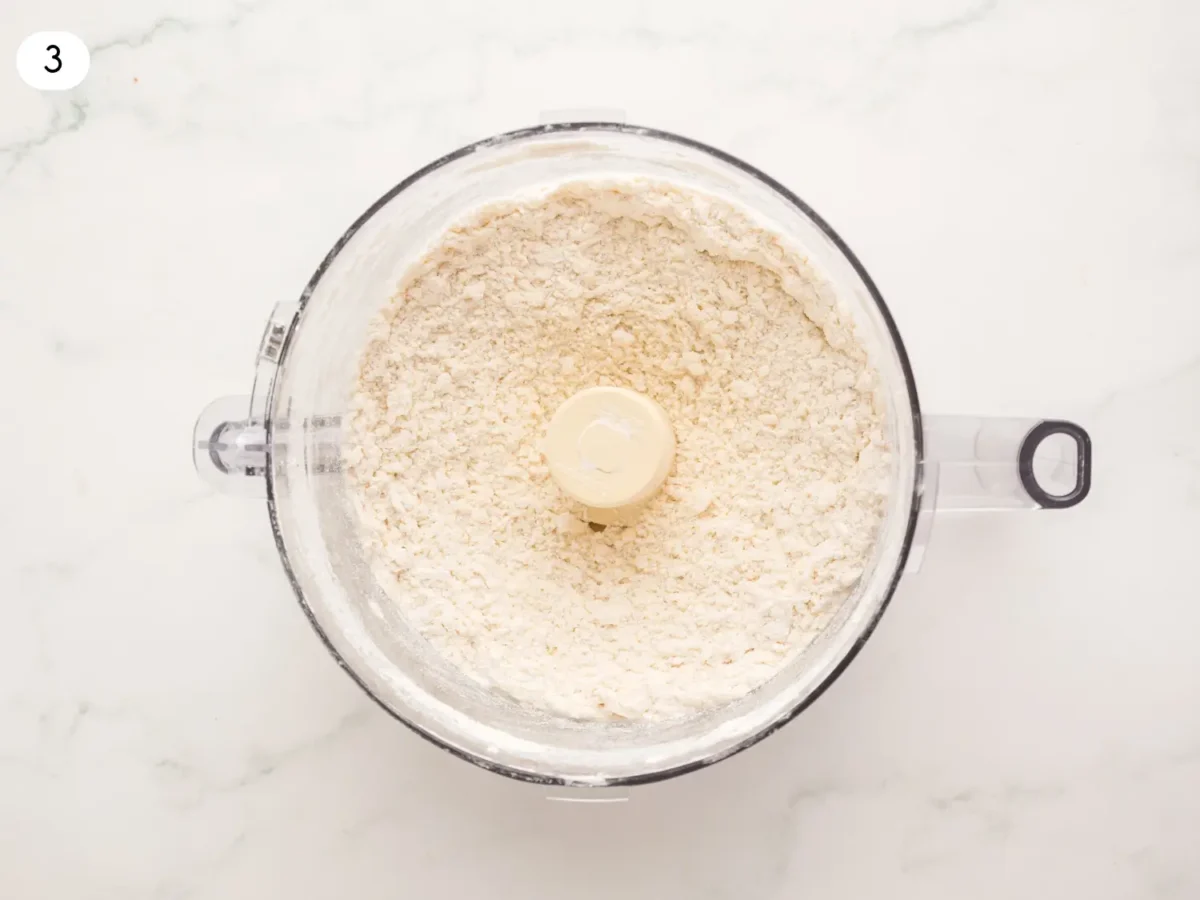
STEP 3: Add the ice water – Scrape down the sides of the food processor bowl. Pulse in 6 tablespoons of ice water until the mixture forms large, moist clumps. Pinch a small amount of dough between your fingers, if it holds together, it’s ready. If it feels dry and crumbly, add 1 tablespoon of additional ice water at a time until the dough comes together.
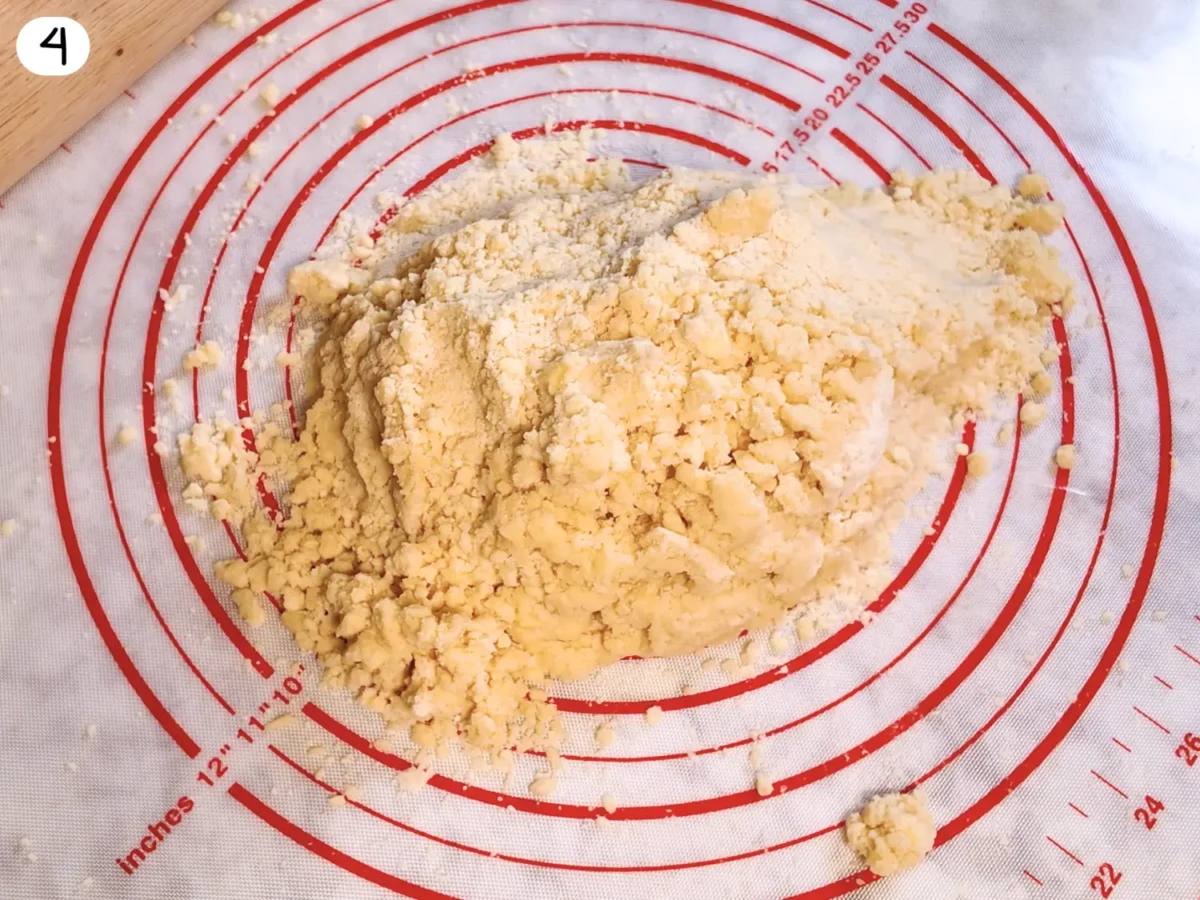
STEP 4: Form the dough – Turn the dough onto a clean work surface and gently shape it into a ball. Divide it evenly into two portions and flatten each into a 1-inch-thick disk.
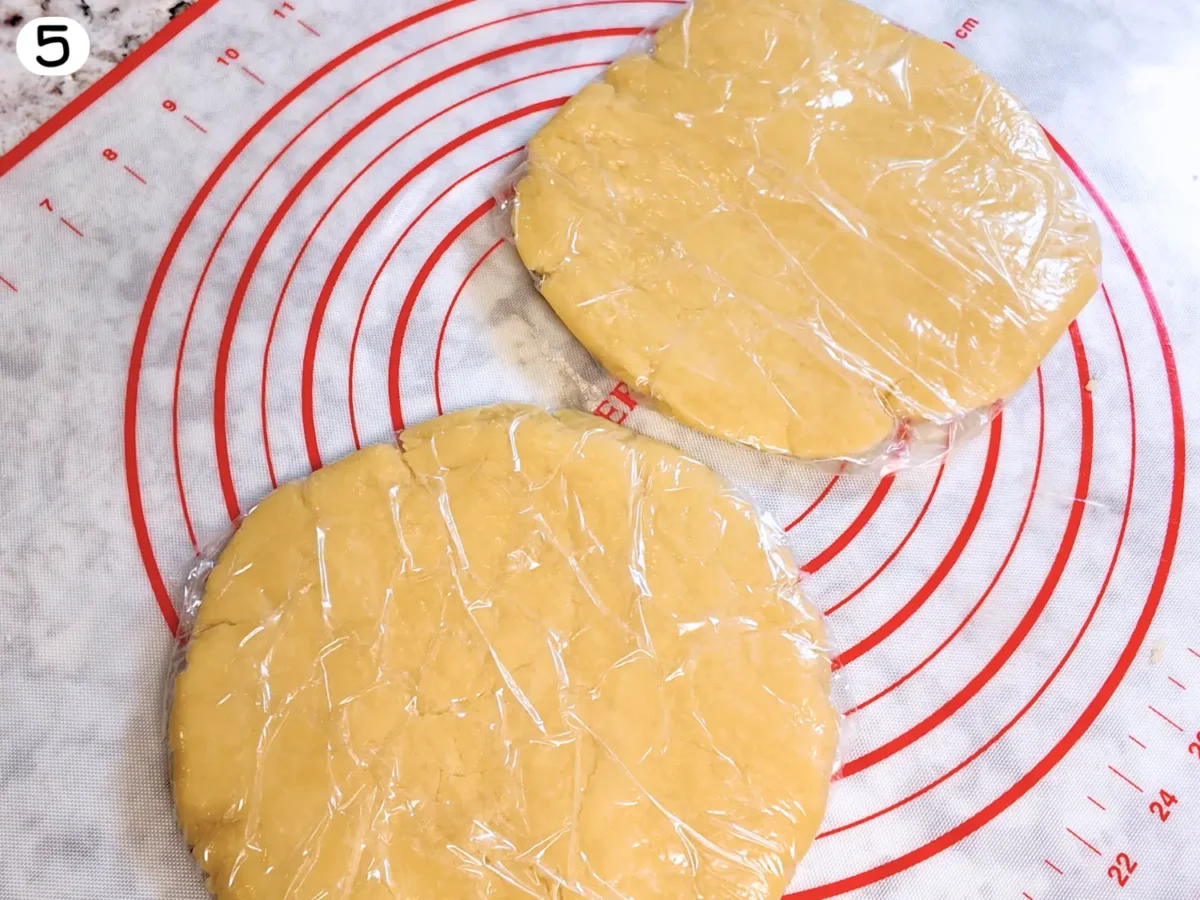
STEP 5: Chill – Wrap each disk tightly in plastic wrap and refrigerate for at least 1 hour before rolling. The dough can be refrigerated for up to 3 days or frozen for up to 3 months. Thaw overnight in the refrigerator before using.
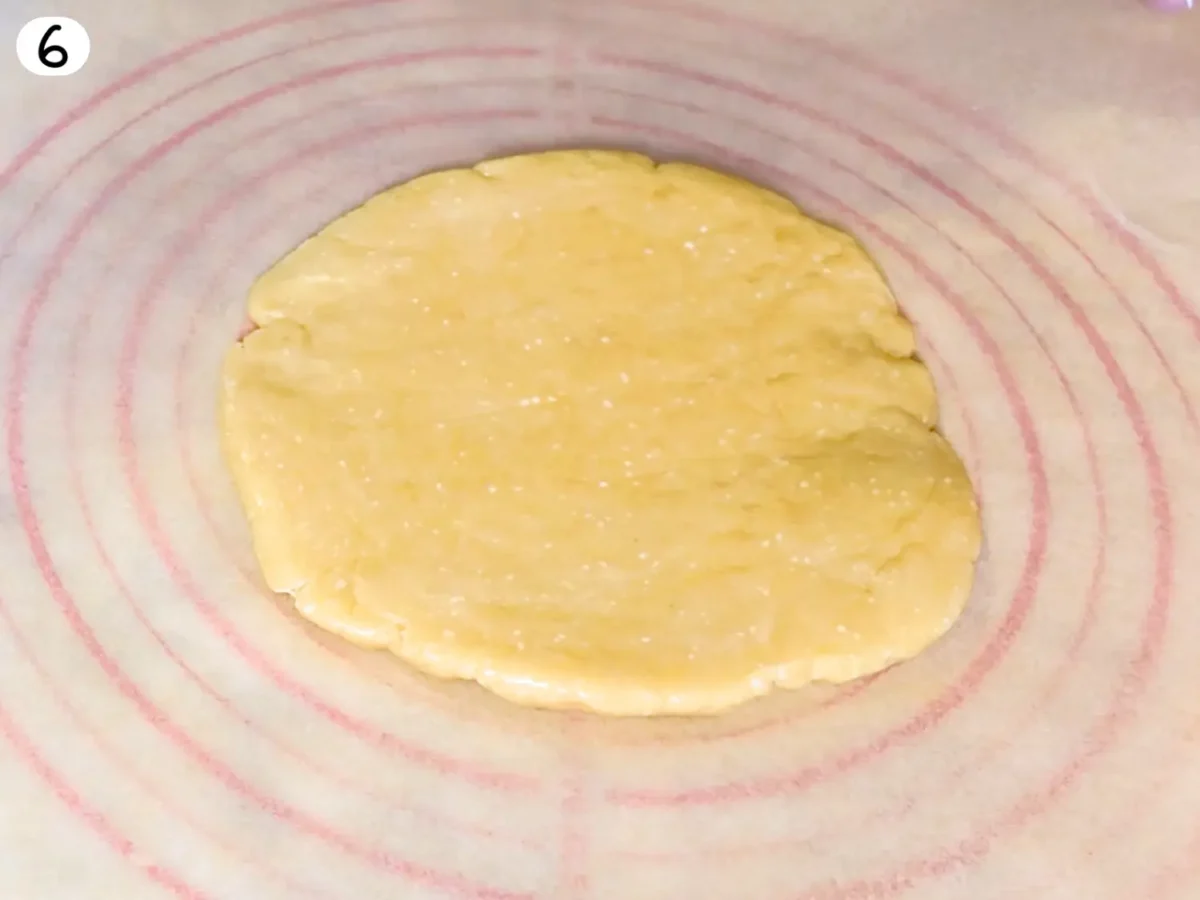
STEP 6: Prepare the dough – Remove one dough disk from the refrigerator and let it rest at room temperature for about 5 minutes. Place it between two sheets of parchment paper to prevent sticking.
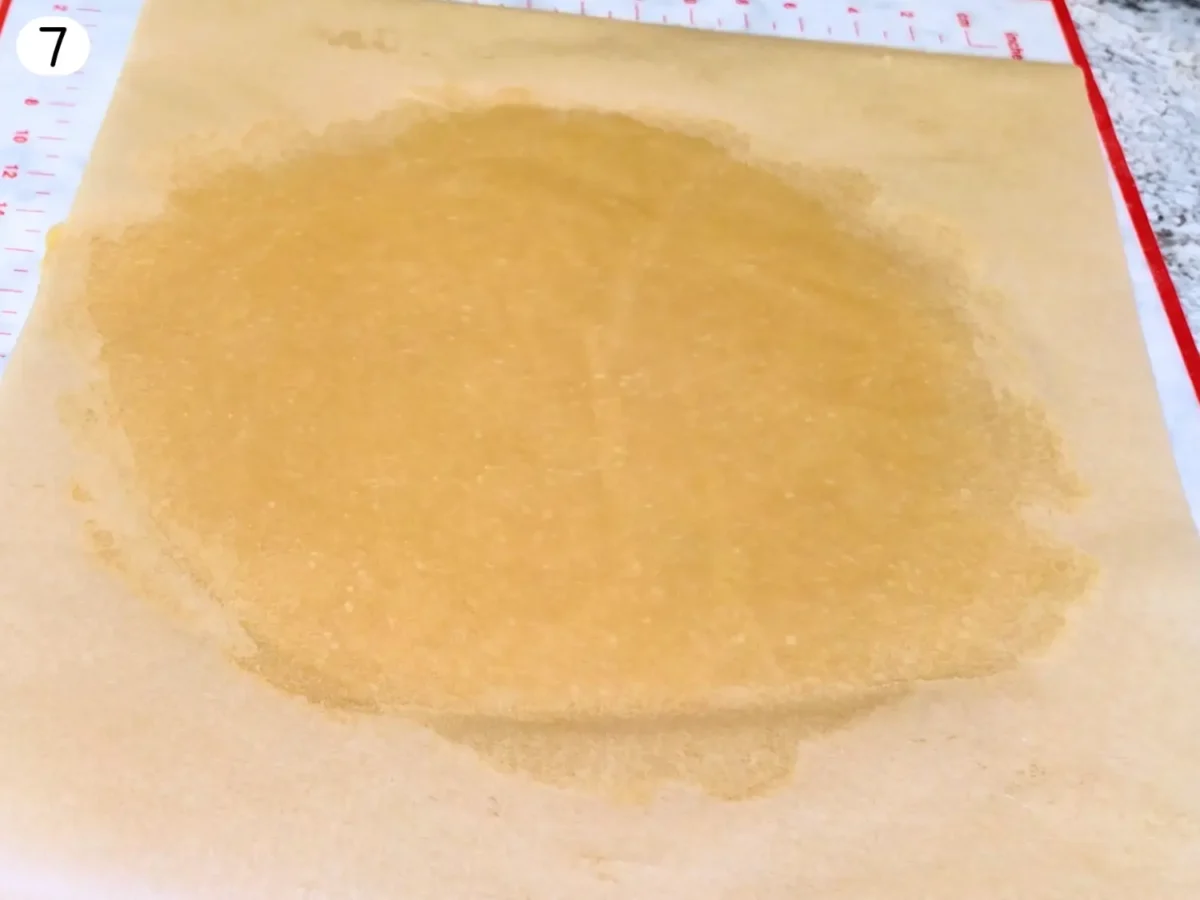
STEP 7: Roll the dough – Using a rolling pin, roll the dough into a 12-inch circle, rotating it a quarter turn every few rolls to maintain an even thickness. If needed, lightly dust with flour to prevent sticking.
TIP: A 12-inch circle gives a 9-inch dish enough dough for the sides plus a folded edge.
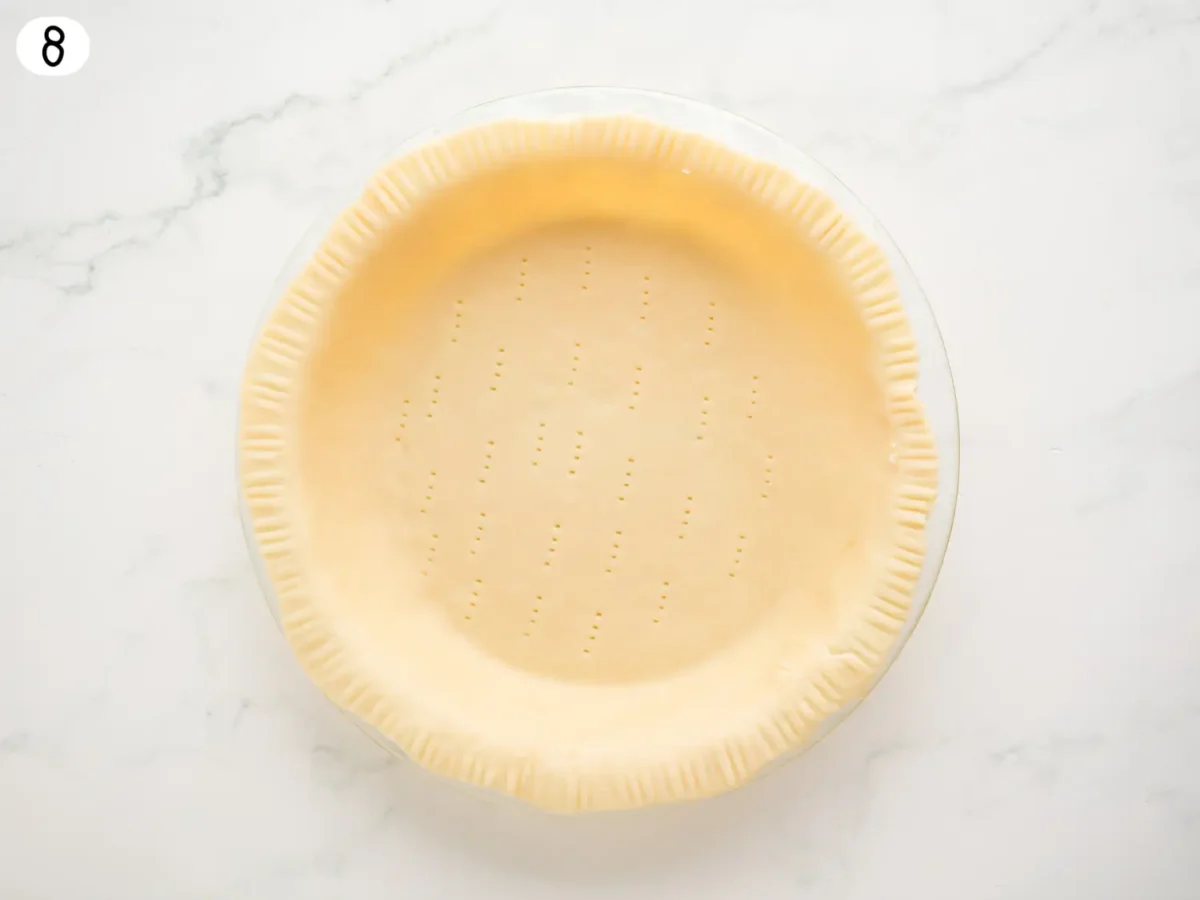
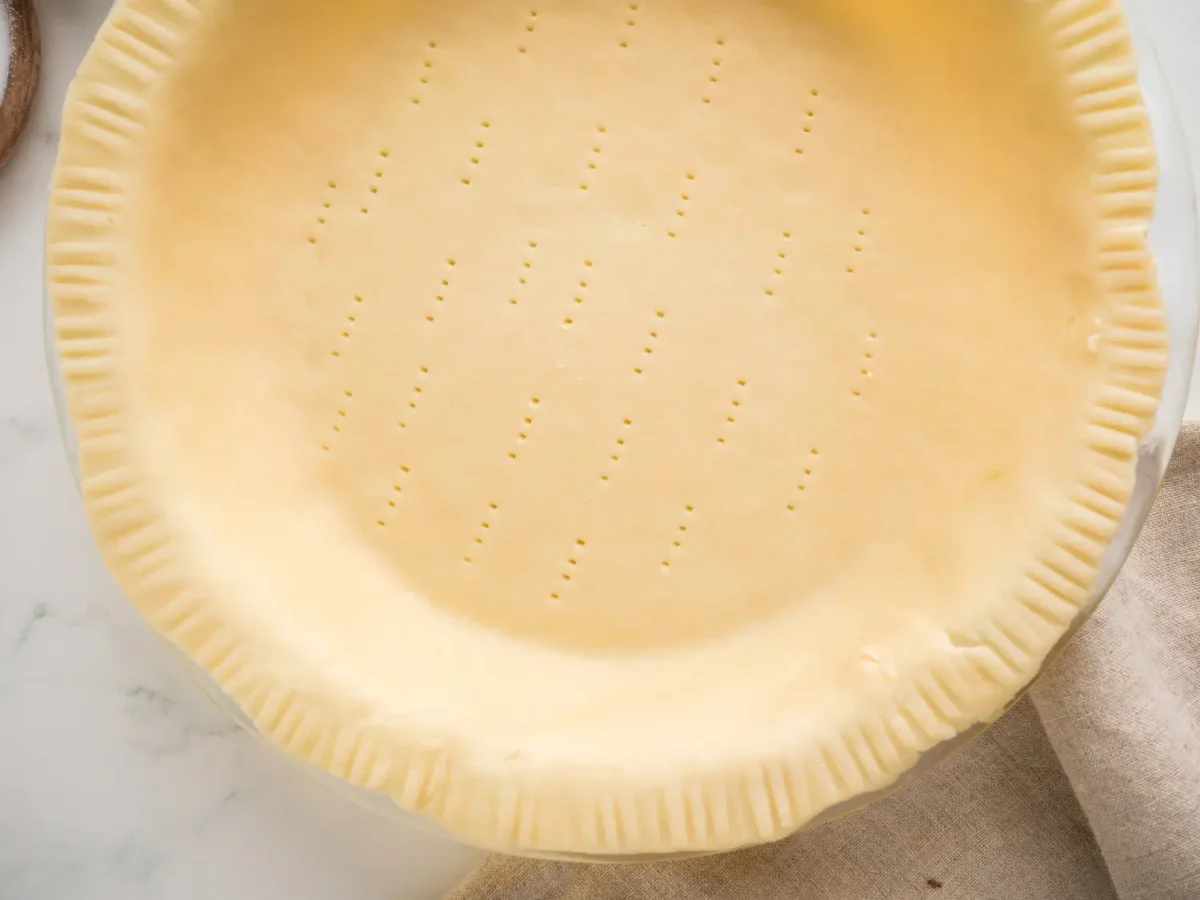
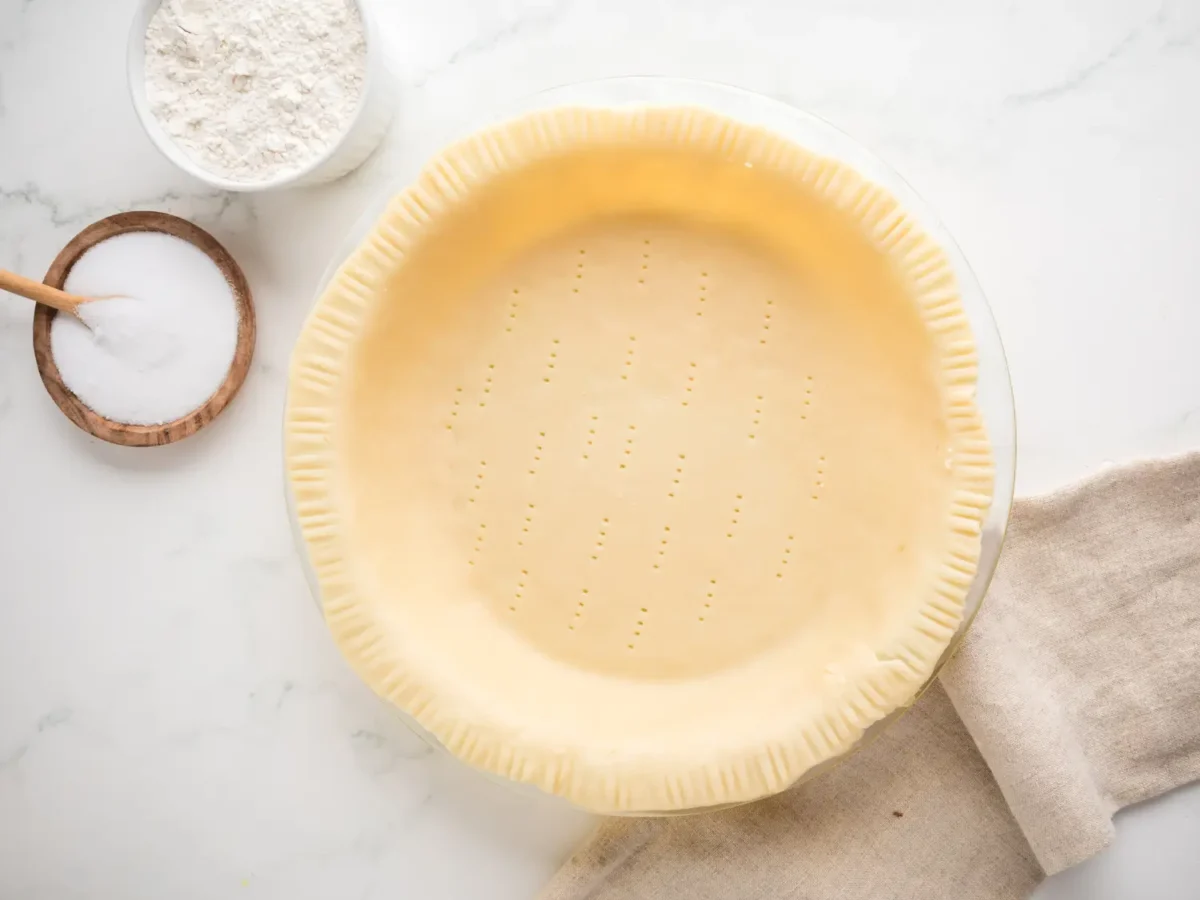
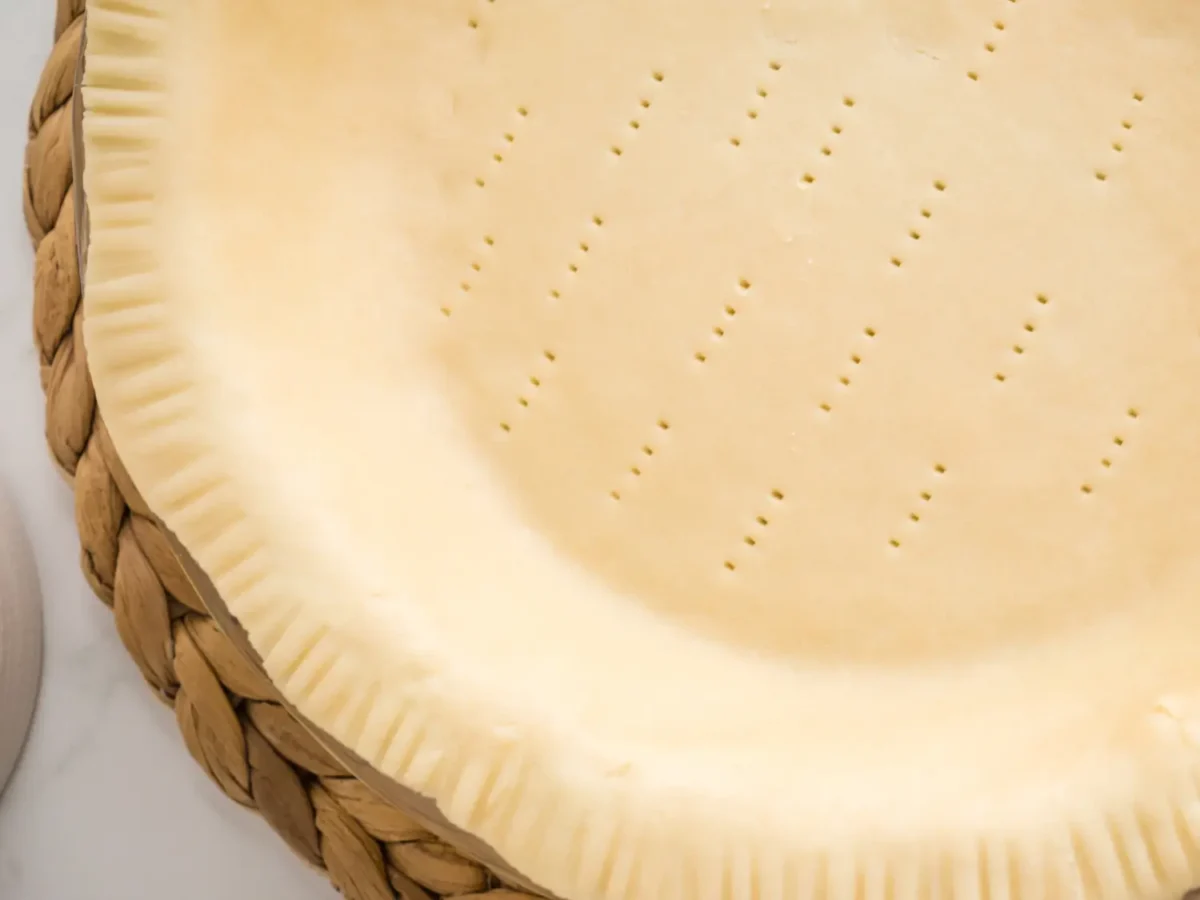
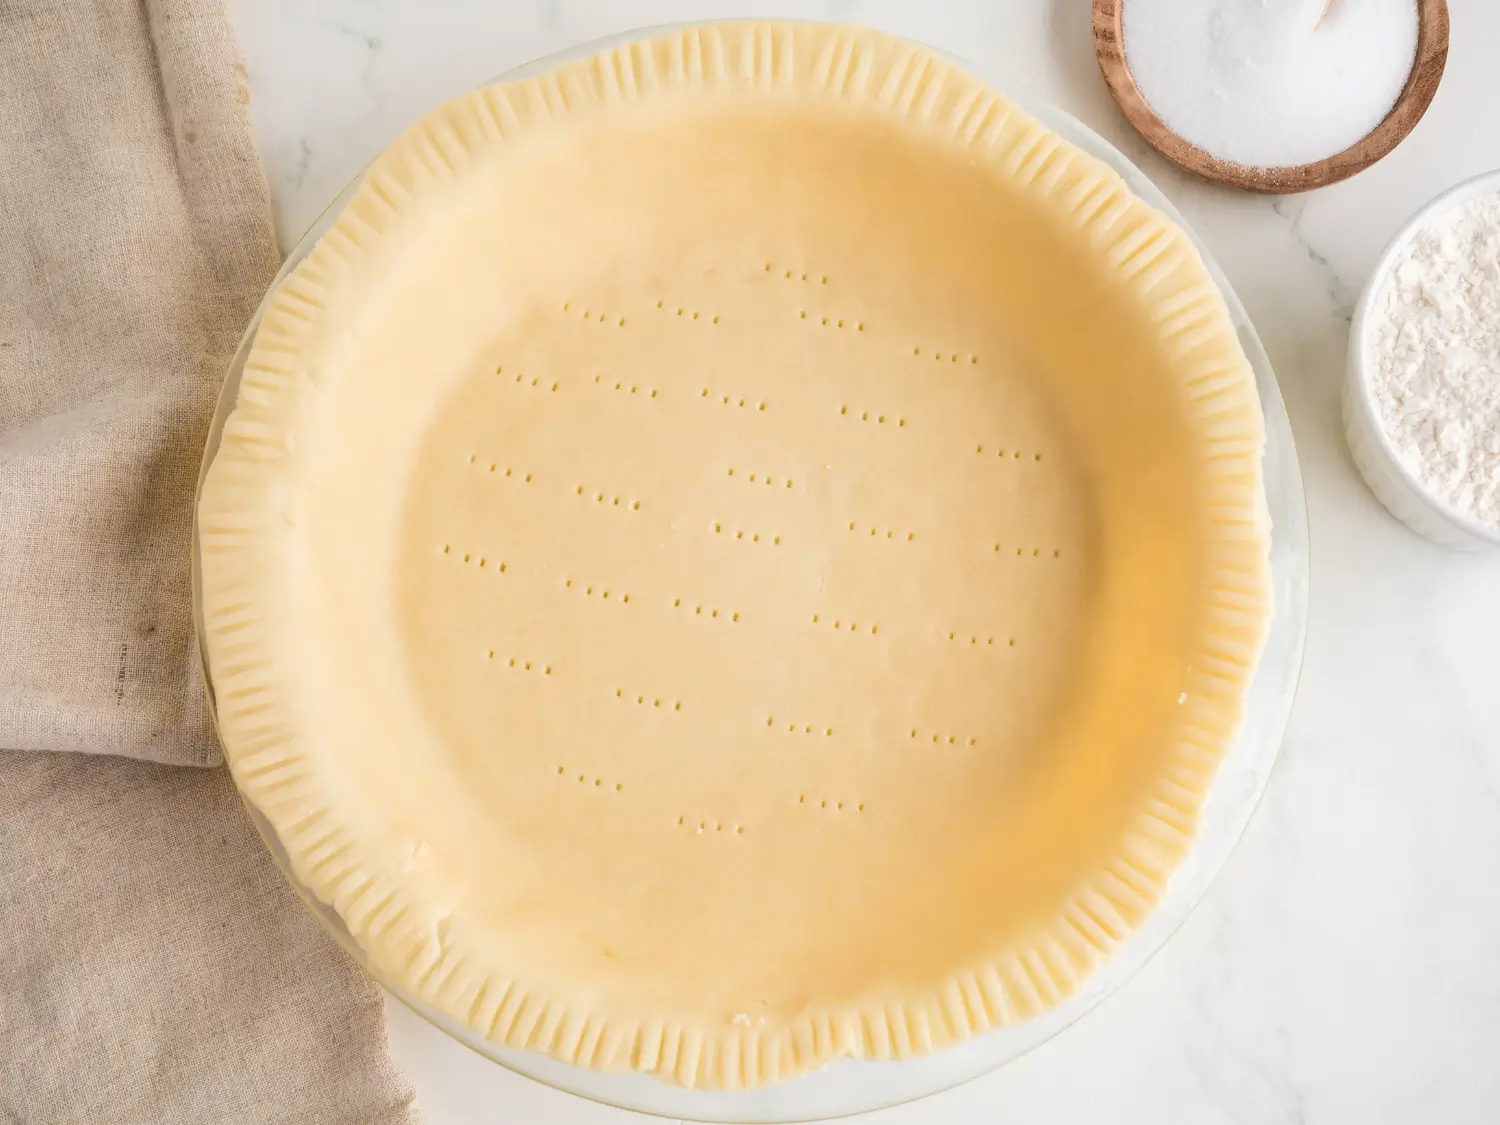
STEP 8: Transfer to the pie dish – Remove the top sheet of parchment paper. Place a 9-inch pie dish upside down over the dough, then carefully flip everything over. Peel away the remaining parchment paper and gently press the dough into the bottom and sides of the pie dish without stretching it. Fold any excess dough underneath itself to create a thicker border around the edge. Crimp using your fingers or your preferred decorative method. Refrigerate the prepared pie crust for at least 30 minutes before baking. Add your favorite pie filling and bake according to your pie recipe’s directions. Enjoy!
Tips for the Best Crisco Pie Crust
The secret to a great recipe for pie crust with Crisco shortening is controlling the temperature of your ingredients and handling the dough as little as possible. These simple baking tips will help you achieve a crust that’s tender, flaky, and easy to roll.
- Freeze the shortening before making the dough for an extra flaky crust.
- Use ice-cold water to keep the fat from melting.
- Avoid overworking the dough, which can make the crust tough.
- Chilling the dough before rolling and again before baking helps prevent shrinking in the oven.
- Rolling the dough between parchment paper makes transferring it to the pie dish much easier and minimizes sticking.
Why Freeze the Shortening for Pie Crust?
One of the most important techniques for making a flaky shortening pie crust is keeping the fat cold throughout the mixing process. Freezing the Crisco shortening before adding it to the flour helps prevent the shortening from becoming too soft while the dough is coming together.
- Creates flaky layers – Frozen shortening stays in small, firm pieces during processing, which helps the crust develop flaky layers as it bakes.
- Prevents overheating – Cold shortening holds up better to the food processor blade during the initial 15 seconds of mixing.
- Easy to prepare – Spoon ⅔ cup of shortening onto a parchment-lined plate and freeze until firm, about 30 minutes. You can also keep the tub in the freezer.
- Works with ice water – Adding ice-cold water helps the shortening remain cold while bringing the dough together.
How to Fix Pie Dough That’s Too Dry or Too Sticky
Even a simple homemade pie crust can sometimes be a little tricky to work with, especially when the dough is too dry, too cold, or overly sticky. Fortunately, most of these issues can be corrected without starting over.
- Too dry and crumbly – If a pinch of dough falls apart during step 3, pulse in additional ice water, 1 tablespoon at a time, until it holds together.
- Cracks when rolling – If the edges crack in step 6, let the dough rest at room temperature for about 5 minutes. Patch larger cracks with a small piece of dough and gently roll over them.
- Too sticky to roll – Keep the dough between parchment paper and lightly dust it with flour. If it feels too soft, refrigerate it for another 15 minutes.
- Tears during transfer – Gently press the torn edges back together once the dough is inside the pie dish. Avoid stretching the crust because it can shrink during baking.
What to Serve with Crisco Pie Crust
A slice of pie made with this flaky Crisco crust is even more delicious with a scoop of homemade ice cream, a dollop of meringue, or a spoonful of citrus curd.
Make Ahead Tips
This Crisco pie crust recipe is perfect for preparing ahead of time, especially when you’re planning to make more than one pie. I love that the recipe makes two crusts because you can use one immediately and save the second for another day.
- Refrigerate: Prepare the dough up to 3 days ahead and keep the disks tightly wrapped in the refrigerator.
- Freeze: Store the wrapped dough disks in the freezer for up to 3 months. Thaw overnight in the refrigerator before rolling.
- Save the extra crust: If you’re making a single-crust pie, freeze the second disk so you already have homemade pie dough ready for your next recipe.
How to Store Crisco Pie Crust
Proper storage helps keep your pie dough fresh and prevents it from drying out before you’re ready to bake.
- Refrigerator: Store tightly wrapped dough for up to 3 days at 40°F (4°C) or below.
- Freezer: Freeze tightly wrapped dough for up to 3 months at 0°F (-18°C). Thaw overnight in the refrigerator before using.
- Baked pie: Follow the storage instructions for your finished pie, since the filling determines whether it needs refrigeration and how long it will keep.
More Favorites from Elicit Folio
If you enjoy making dough and desserts from scratch, here are a few more of my favorite recipes to try.
FAQ
Should Crisco be cold for pie crust?
Yes, absolutely! Freezing the shortening before mixing helps keep the fat firm, which contributes to a flaky texture. Always use ice-cold water when preparing the dough.
Why is my Crisco pie crust falling apart?
The dough may be too dry. Add ice water 1 tablespoon at a time until a small pinch of dough holds together, and let the chilled dough rest for about 5 minutes if it cracks while rolling.
How do you blind bake this pie crust?
After chilling for 30 minutes, prick the bottom with a fork, line it with parchment paper, and fill it with pie weights or dried beans. Bake at 375°F (190°C) for 20 minutes, remove the weights, then bake for another 5 to 10 minutes at 350°F (175°C), until golden.
How do you crimp a pie crust?
Fold the excess dough underneath itself to create a thick border around the pie dish. Use your fingers to pinch the edge into a decorative wave, or press the edge with a fork for a simple finish.
Recipe Card
Crisco Pie Crust (Double)
Ingredients
- 2 cups All Purpose Flour
- ½ teaspoon Fine Sea Salt, (or 1 teaspoon of Kosher Salt)
- 1 tablespoon Granulated Sugar
- ⅔ cup Crisco Butter Flavored Shortening, (frozen)
- 6 tablespoons Ice Water, (6-7 tablespoons. Go by texture)

Instructions
- Place shortening in freezer to harden. Place ice cubes in water and set aside. Measure out all other ingredients. Combine the dry ingredients: Add the flour, salt, and sugar to a food processor. Pulse 2-3 times until combined.Tip: Those quick pulses spread the salt and sugar evenly, so every slice of this food processor pie crust tastes the same.
- Add the shortening: Scatter the frozen shortening over the flour mixture. Process for about 15 seconds, or until the mixture begins forming a coarse paste with no dry flour remaining.Tip: Scatter the shortening in small spoonfuls so it blends evenly while it's still frozen.
- Add the ice water: Scrape down the sides of the food processor bowl. Pulse in 6 tablespoons of ice water until the mixture forms large, moist clumps. Pinch a small amount of dough between your fingers, if it holds together, it's ready. If it feels dry and crumbly, add 1 tablespoon of additional ice water at a time until the dough comes together.Tip: Measure the water from a glass of ice water, leaving the cubes behind, so you add exactly 6 tablespoons to start.
- Turn the dough onto a clean work surface and gently shape it into a ball. Divide it evenly into two portions and flatten each into a 1-inch-thick disk.
- Chill: Wrap each disk tightly in plastic wrap and refrigerate for at least 1 hour before rolling. The dough can be refrigerated for up to 3 days or frozen for up to 3 months. Thaw overnight in the refrigerator before using.
- Remove one dough disk from the refrigerator and let it rest at room temperature for about 5 minutes. Place it between two sheets of parchment paper to prevent sticking. Using a rolling pin, roll the dough into a 12-inch circle, rotating it a quarter turn every few rolls to maintain an even thickness. If needed, lightly dust with flour to prevent sticking.
- Remove the top sheet of parchment paper. Place a 9-inch pie dish upside down over the dough, then carefully flip everything over. Peel away the remaining parchment paper and gently press the dough into the bottom and sides of the pie dish without stretching it.
- Fold any excess dough underneath itself to create a thicker border around the edge. Crimp using your fingers or your preferred decorative method. Leave the bottom crust uncrimped.
- To finish your pie crust, you have a few options. You can fill the pie with a filling of your choice, roll out the second dough disk, place it over the filling, trim any excess dough, then crimp the top and bottom crusts together. Refrigerate the prepared pie crust for at least 30 minutes before baking. Enjoy!
Notes
-
Refrigerator – Wrapped dough will keep for up to 3 days.
-
Freezer – Freeze tightly wrapped dough for up to 3 months. Thaw overnight in the refrigerator before rolling out.
-
Freeze the shortening before making the dough for an extra flaky crust.
-
Use ice-cold water to keep the fat from melting.
-
Avoid overworking the dough, which can make the crust tough.
-
Chilling the dough before rolling and again before baking helps prevent shrinking in the oven.
-
Rolling the dough between parchment paper makes transferring it to the pie dish much easier and minimizes sticking.
Nutrition
Nutrition information is automatically calculated, so should only be used as an approximation.
Craving More?
If you try this pie crust recipe Crisco method, I’d love to see how your homemade pies turn out! Tag @elicitfolio on Instagram, leave a comment and star rating below, and follow Elicit Folio on Pinterest for more homemade recipes and baking basics.