Updated: October 30, 2026
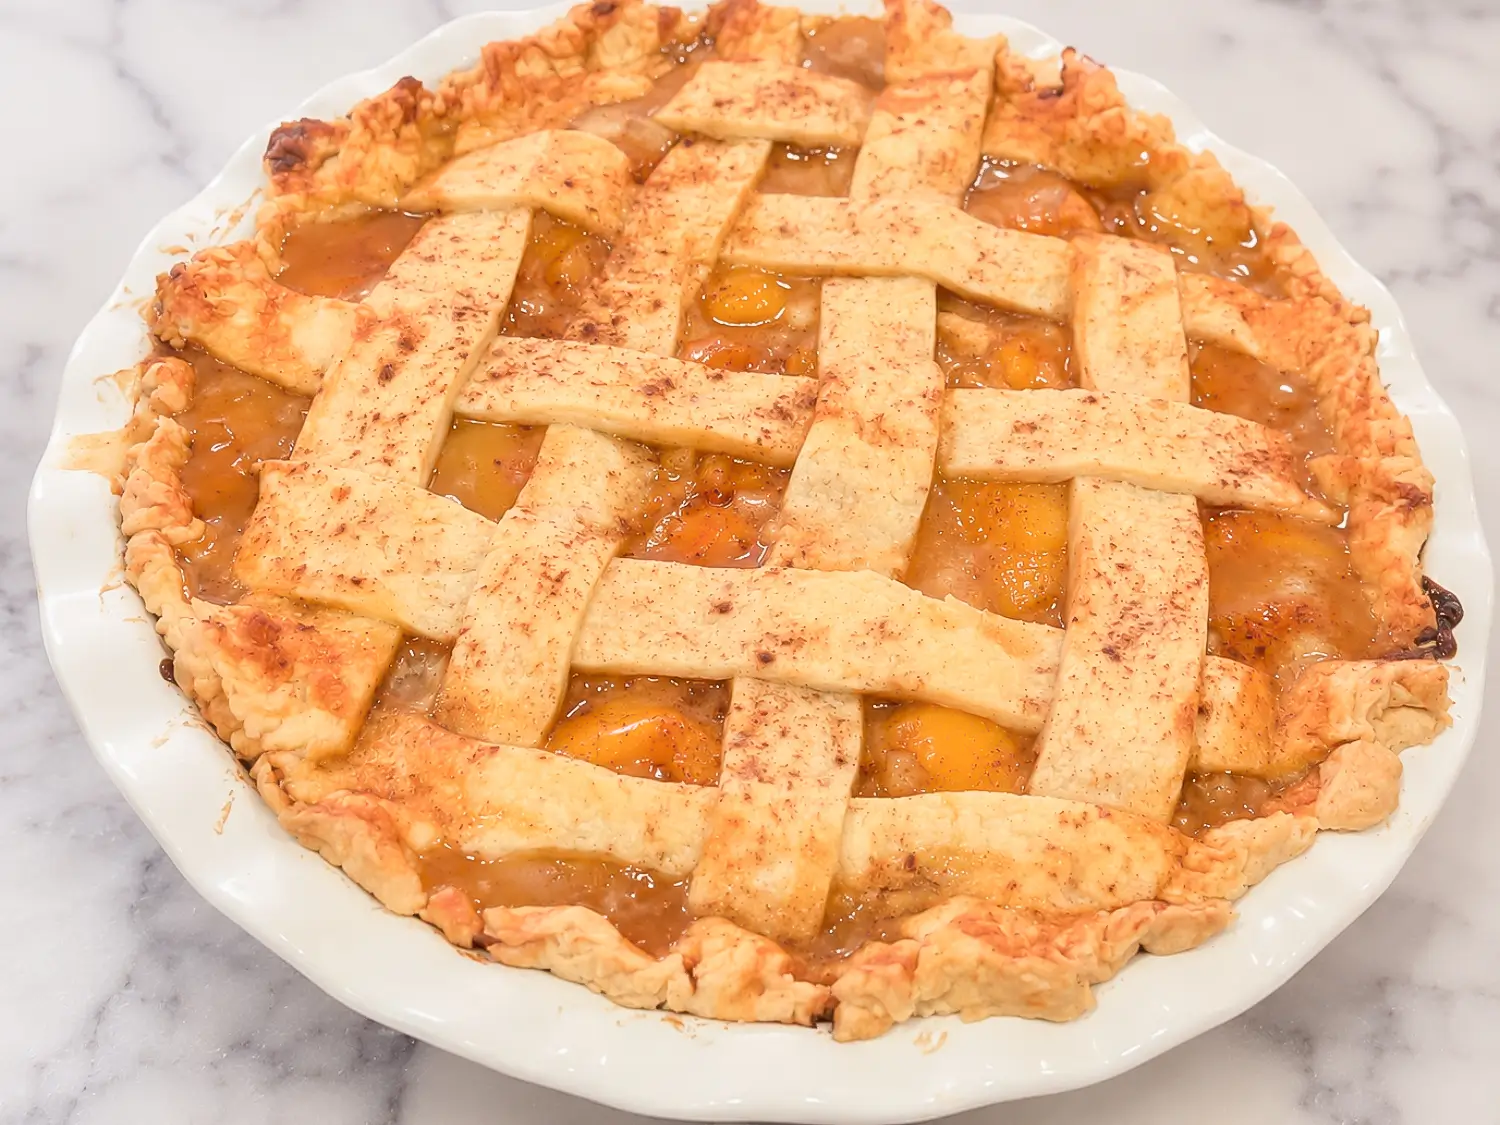
This peach pie with canned peaches recipe and Key Lime pie are my favorite pie recipes of all time. The secret to this amazing recipe is the homemade pie crust and the seasoning in the pie filling. I also love how my mom taught me to put pieces of pie crust in this pie. She said her mother taught her this trick as well so I’m sharing this family recipe with all of you.
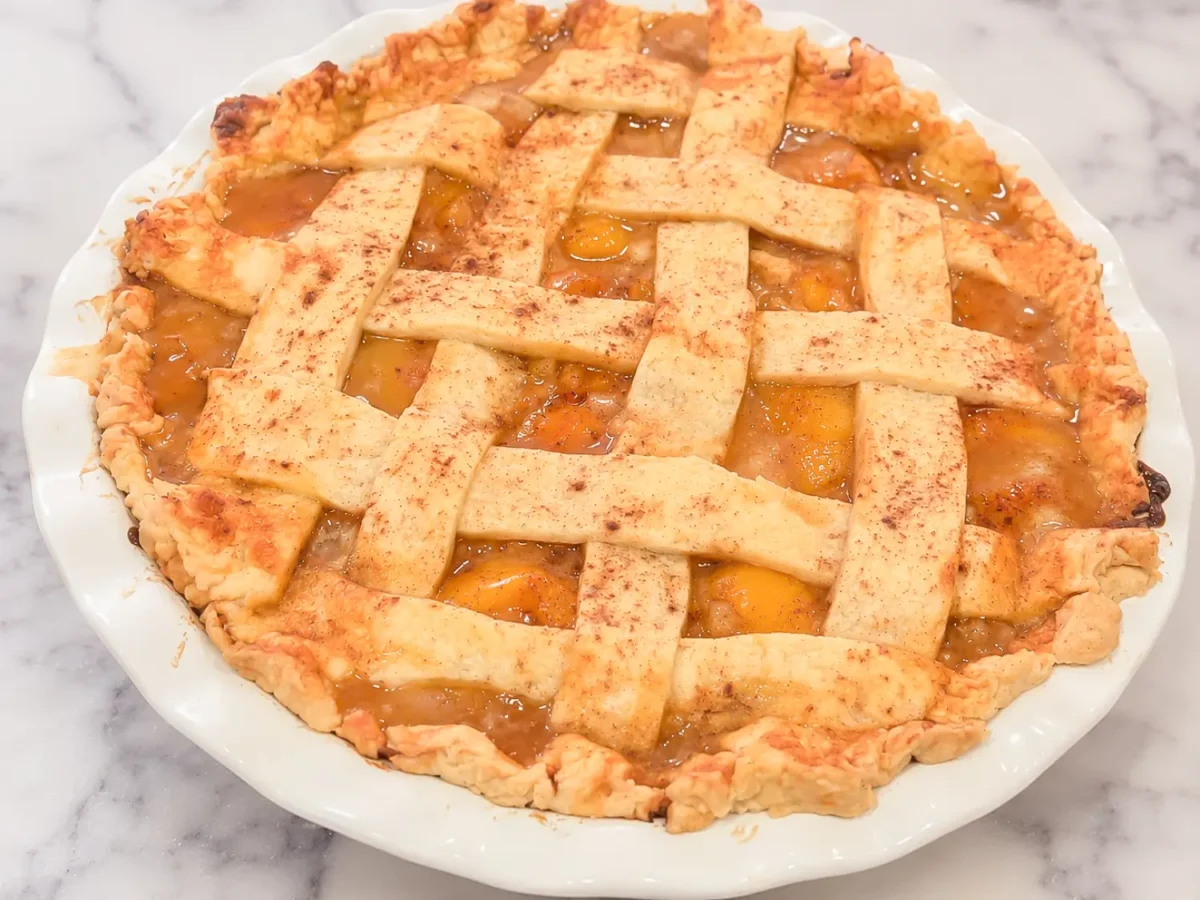
Table of Contents
- Why You’ll Like This Recipe
- What Is Peach Pie?
- Ingredients for Peach Pie
- How to Make a Peach Pie
- Why Pie Crust Pieces Thicken Peach Pie Filling
- What to Serve with Peach Pie
- Substitutions & Variations
- Canned vs. Fresh Peaches for Pie
- Difference Between Peach Pie vs. Peach Cobbler
- How to Store Peach Pie
- More Dessert Recipes
- FAQ
- Recipe Card
- Peach Pie with Canned Peaches Recipe
- Craving More?
Why You’ll Like This Recipe
- It’s a family recipe – My grandmother taught my mom to add pieces of pie crust directly to the peach filling while it cooks. It’s a little Southern trick that helps thicken the filling without cornstarch.
- You can make it year-round – Since this recipe uses canned peaches, there’s no need to wait for fresh peaches to be in season.
- The filling is full of flavor – The butter, cinnamon, nutmeg, and vanilla come together to create a rich, sweet peach filling.
- The homemade crust makes a difference – I use my family’s pie crust recipe for the bottom and the beautiful lattice topping, finished with melted butter and cinnamon sugar.
What Is Peach Pie?
Peach pie is a classic fruit dessert made with a sweet peach filling baked inside a pastry crust. Some recipes use fresh peaches, while others use canned or frozen peaches. My homemade peach pie is an old-fashioned Southern-style version made with canned peaches and a buttery lattice crust. Unlike recipes that add the filling directly to the pie shell, my mom taught me to cook my peaches on the stovetop first with sugar, butter, and spices. This allows me to taste the filling and make sure the flavors are just right before baking.
Ingredients for Peach Pie
One of my favorite things about this canned peach pie is that the ingredients are simple, but the flavor is anything but boring. Below you will find a list of all ingredients. Detailed measurements can be found in the recipe card below.
- Canned sliced peaches (29-ounce can, with juice) – This is the base of the filling. I keep the juice because it cooks down with the butter and spices to create a delicious, syrupy sauce.
- Canned sliced peaches (15-ounce can, drained) – The second can adds more peaches without making the filling too watery.
- Unsalted butter – Adds richness to the peach filling and brings all the flavors together.
- Granulated sugar – Sweetens the peaches and helps create that delicious syrup. You can adjust the amount depending on how sweet your peaches are.
- Ground cinnamon – One of my favorite spices for peach pie. It adds a wonderful warmth to the filling.
- Ground nutmeg – Gives the pie a slightly sweet, nutty flavor that pairs beautifully with the peaches.
- Vanilla extract – Adds another layer of flavor and complements the cinnamon and nutmeg.
- Homemade pie crusts – You’ll need two 9-inch crusts: one for the bottom and one for the lattice topping. I use my family’s homemade pie crust recipe.
- Extra pie crust pieces – You’ll need about 10 small pieces of dough to stir into the peach filling. This is my mom’s trick for thickening the filling.
- Butter for greasing – A little butter helps prepare the pie plate before adding the bottom crust.
- Melted butter – Brushing the top crust with butter helps it bake to a beautiful golden color.
- Cinnamon sugar – I love sprinkling a little over the lattice crust before baking for extra flavor.
How to Make a Peach Pie
Below you will find step-by-step instructions with photos. Additional details and notes are in the printable recipe card below.
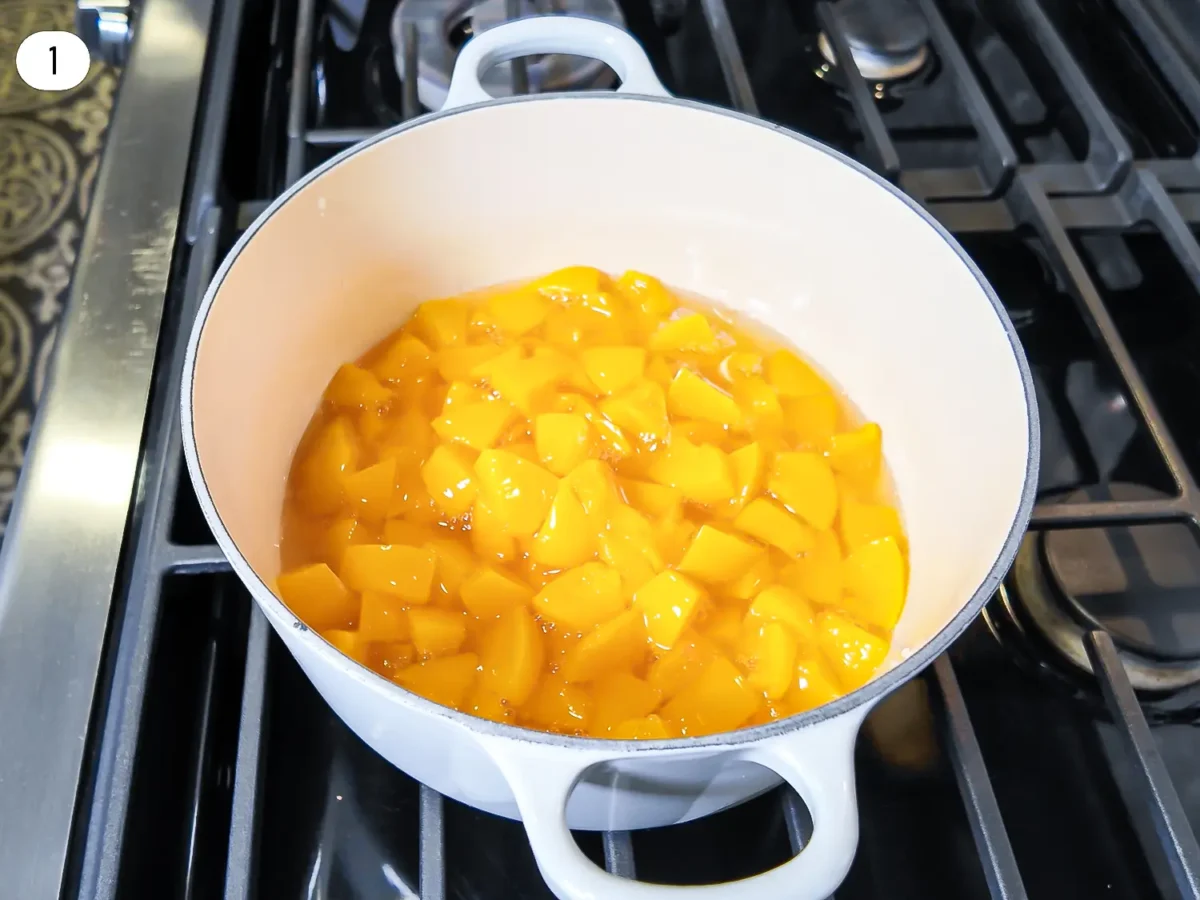
STEP 1: Prep the Peaches – Preheat your oven to 375°F (190°C). Next wash the can top of the peaches. Open and drain the smaller can of peaches and add both cans of peaches to a medium saucepan. Cut the peach slices into smaller bite-sized pieces if desired.
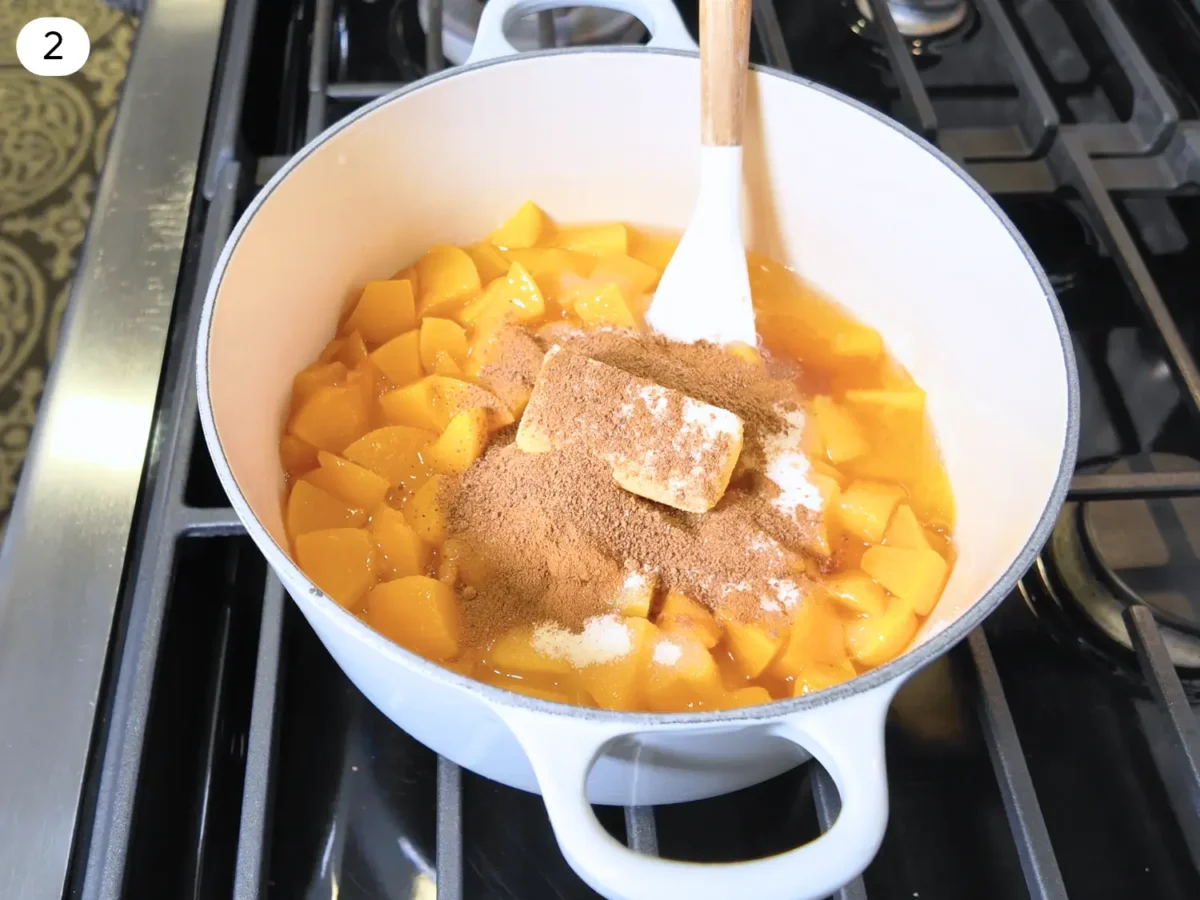
STEP 2: Add Ingredients to Peaches – Add the butter, sugar, cinnamon, nutmeg, and vanilla extract to the peaches. Cook over low heat, stirring occasionally, until the butter has melted and the peaches begin to simmer. Taste the filling and add additional sugar if needed.
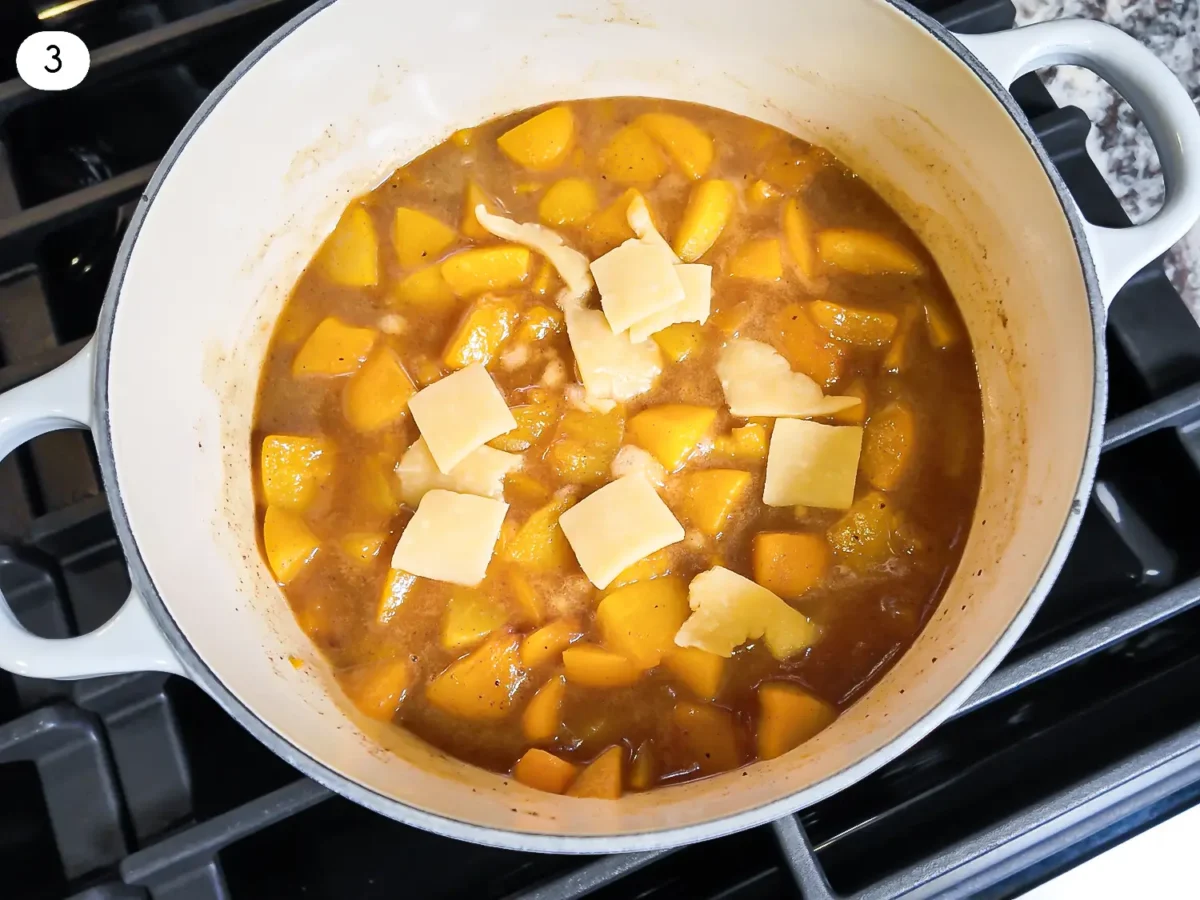
STEP 3: Add Pie Crust Pieces – Tear or cut about 10 small 1-inch pieces of pie crust and stir them into the simmering peaches. Continue cooking for another 5-10 minutes, stirring occasionally, until the pie crust pieces soften and help thicken the filling.
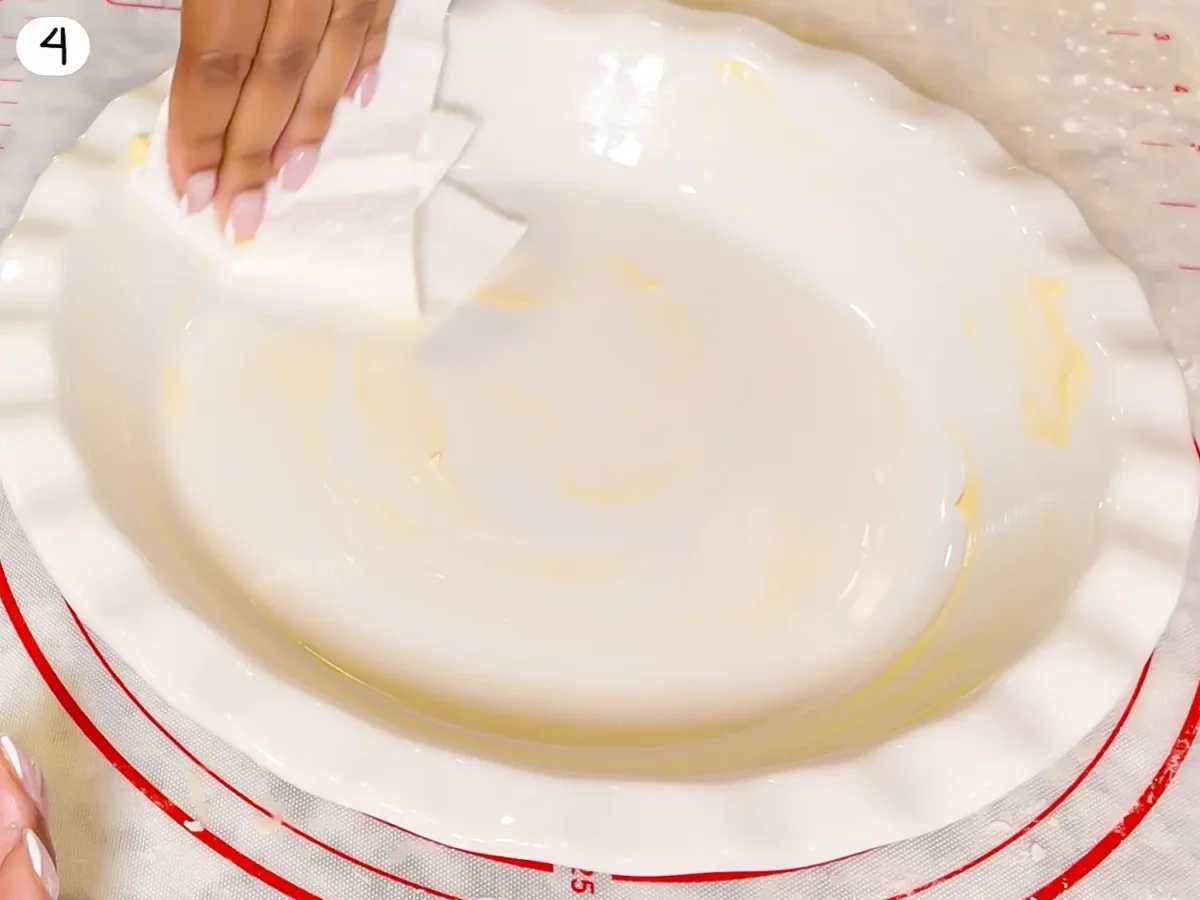
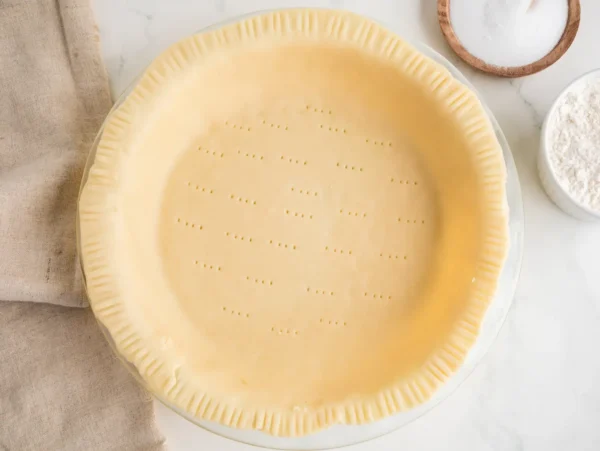
STEP 4: Prepare the Pie Crust – Lightly butter a 9-inch pie plate. Press one pie crust into the bottom and up the sides of the dish.
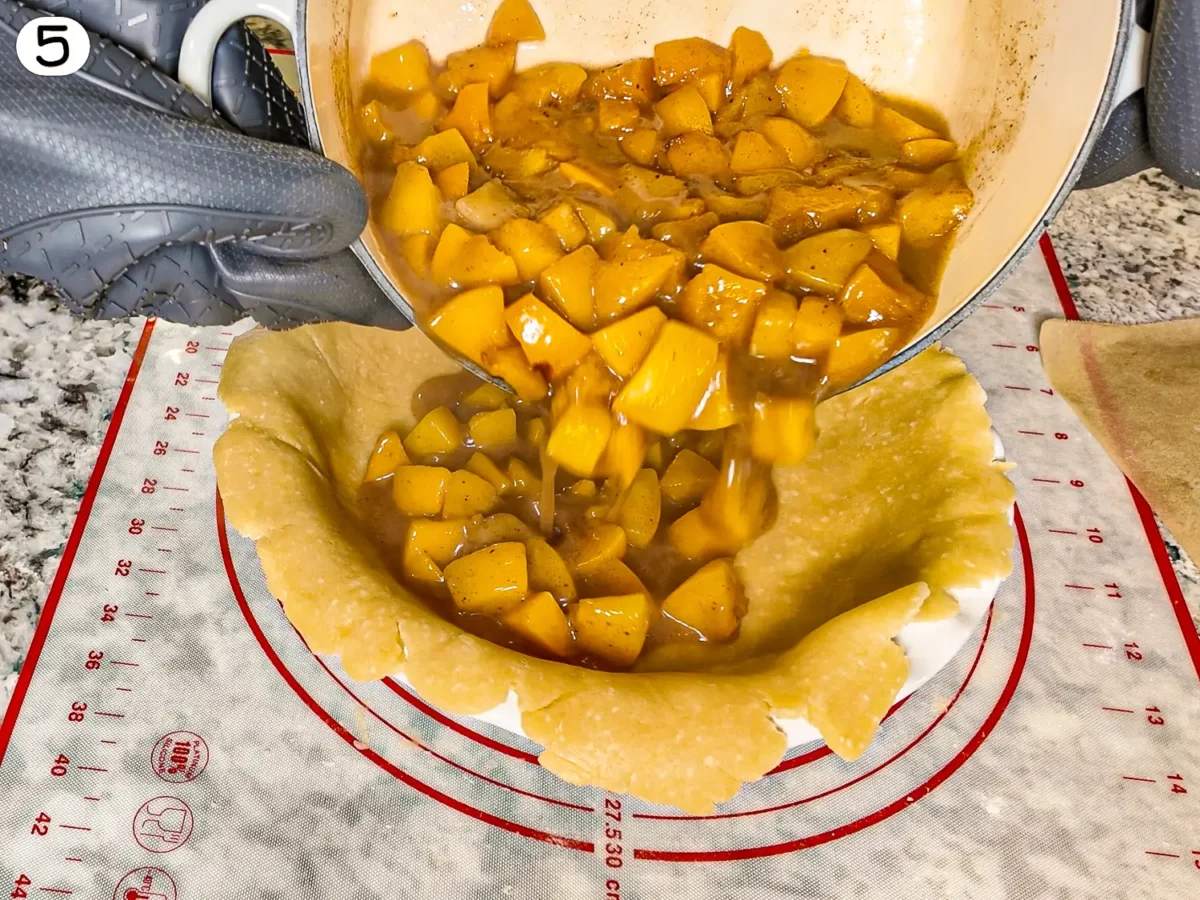
STEP 5: Fill the Pie – Pour or spoon the warm peach filling into the prepared crust.
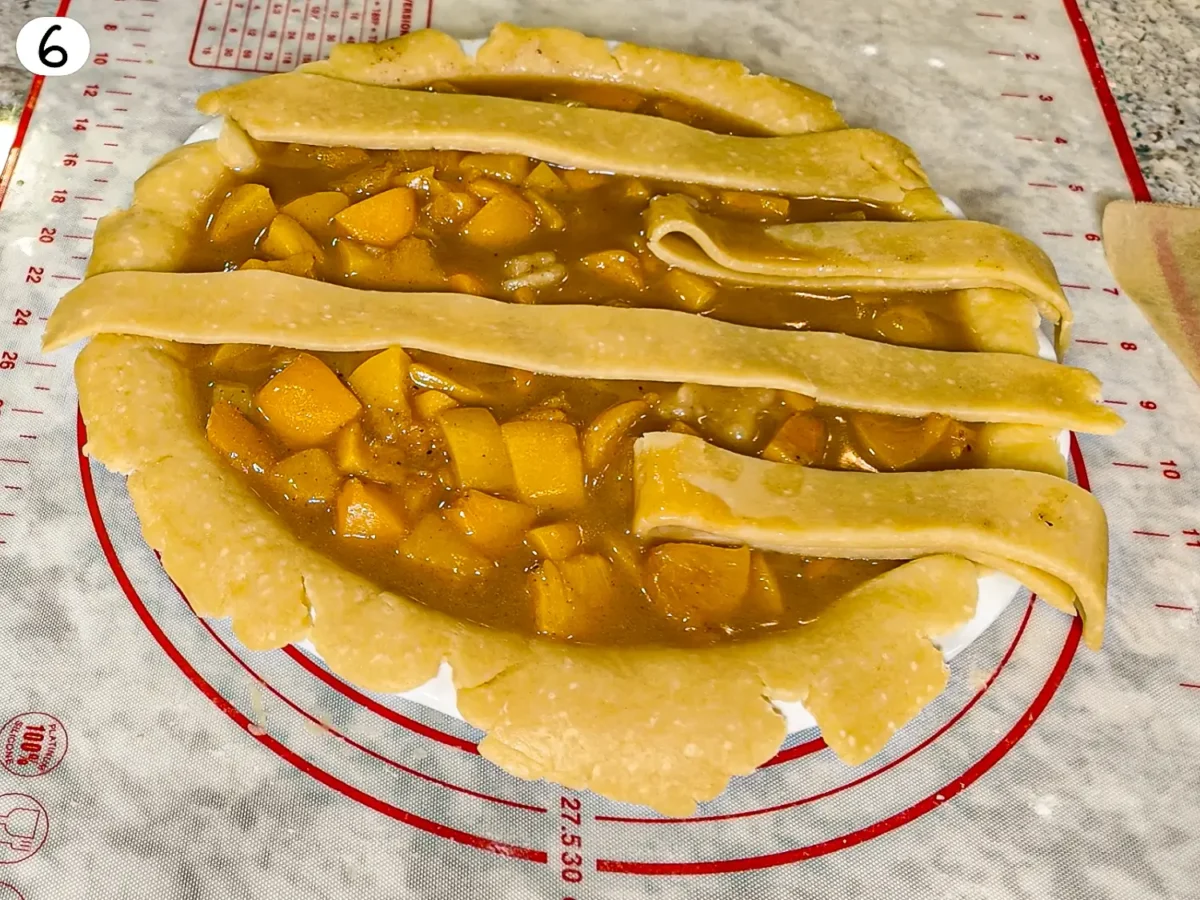
STEP 6: Top the Pie – Cut strips from the second pie crust and arrange them in a lattice (crisscross) pattern over the filling.
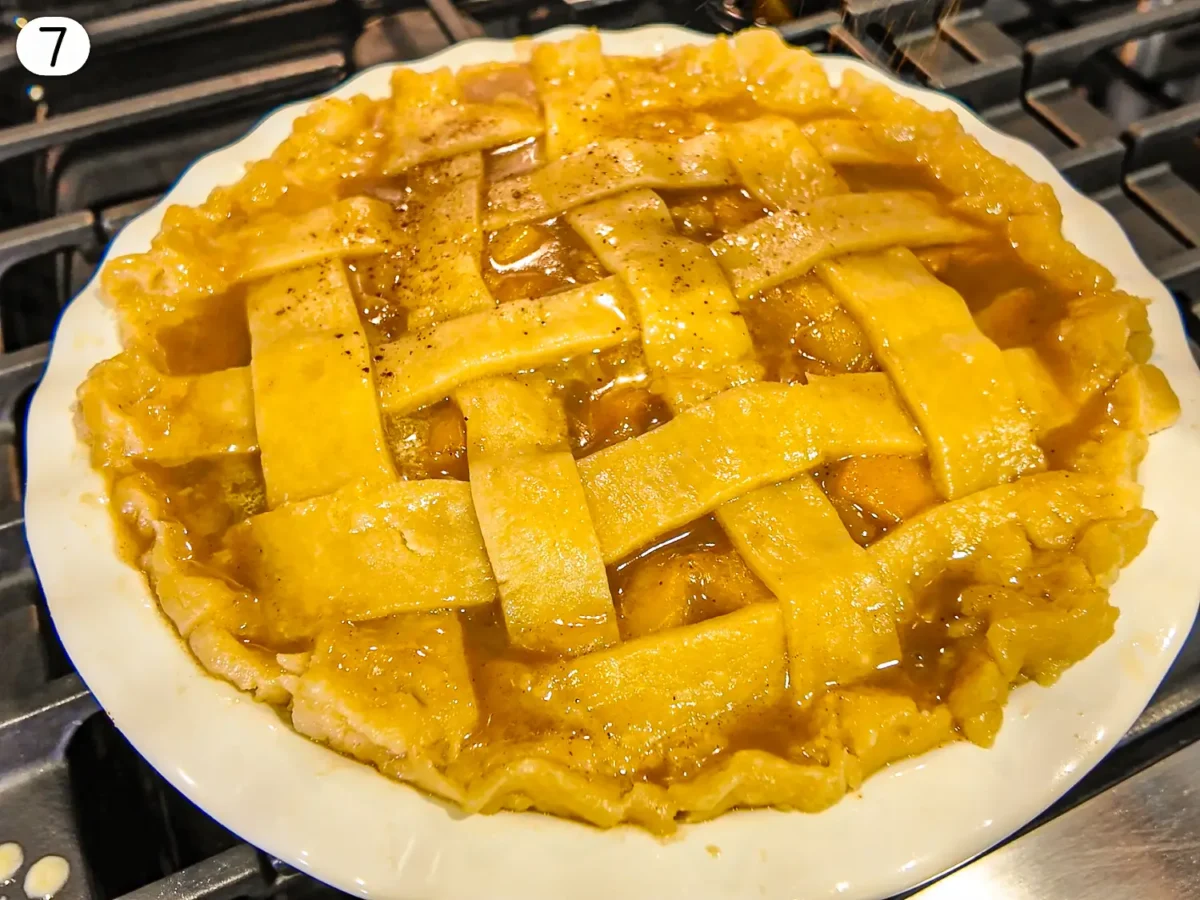
STEP 7: Finish the Pie Crust – Brush the lattice crust with melted butter, then sprinkle lightly with cinnamon sugar.
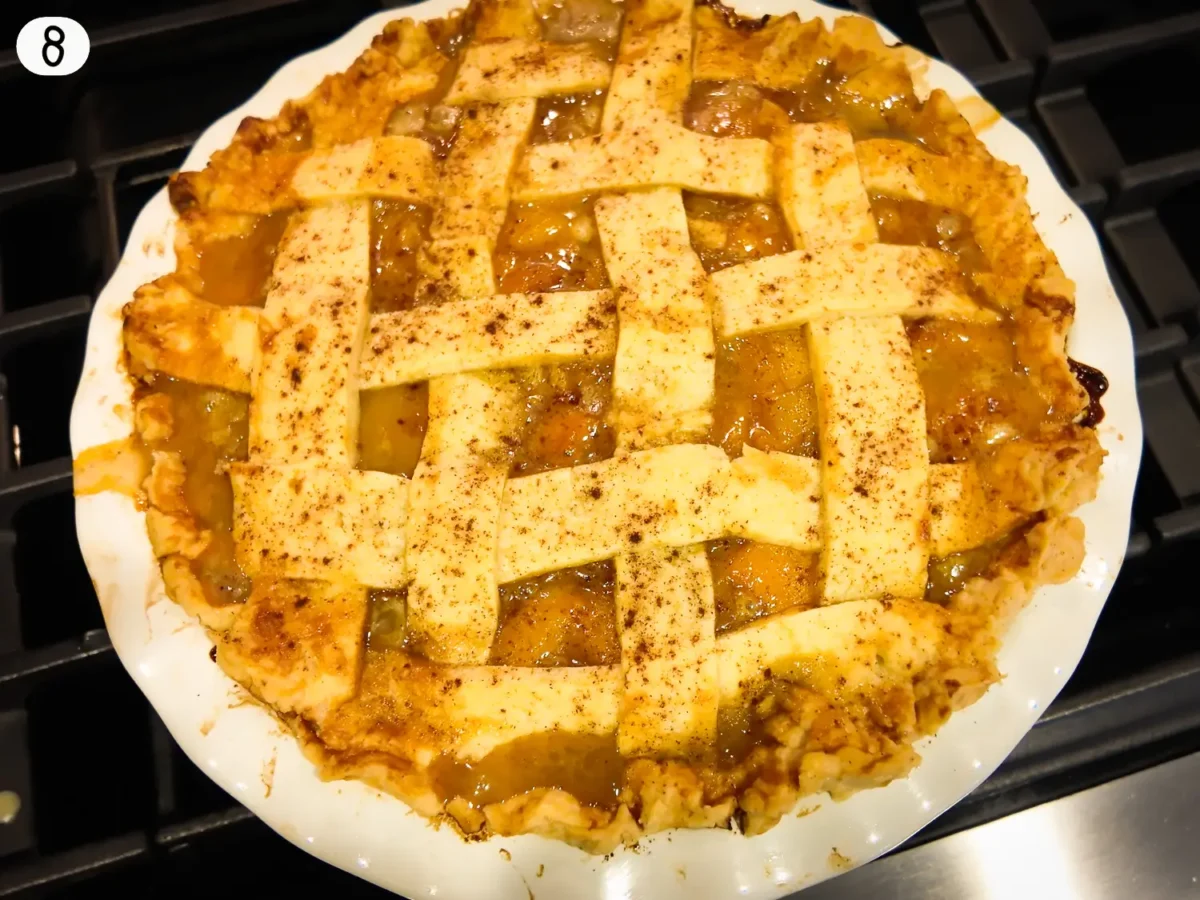
STEP 8: Bake & Cool – Place the pie on the lower oven rack and bake for 50-60 minutes, or until the crust is golden brown and the filling is bubbling. Baking on the lower rack helps the bottom crust brown beautifully without over-browning the top. Let the pie cool for at least 2 hours before slicing so the filling has time to set. Enjoy!
Why Pie Crust Pieces Thicken Peach Pie Filling
One of the things I love most about this recipe is the little cooking trick that’s been passed down through three generations of my family. My grandmother taught my mom to add small pieces of pie crust to the filling, and my mom taught me to do the same. Instead of reaching for cornstarch or flour, we use the ingredients we’re already working with: peaches and pie crust. It’s such a simple, old-school technique, but it makes a difference in the finished pie. Plus, who doesn’t love little surprises of extra dough while eating!
- The crust naturally thickens the filling – As the pieces of dough cook in the peach juices, the flour in the dough helps thicken the liquid.
- There’s no need for cornstarch – The pie crust pieces help create a thicker filling that holds together better once the pie has cooled.
- You get little bites of pie crust inside – The pieces soften as they simmer, almost like small dumplings mixed in with the peaches.
- Use homemade pie crust – I recommend breaking off the extra pieces of dough before rolling out the crusts so they’re ready when you need them.
What to Serve with Peach Pie
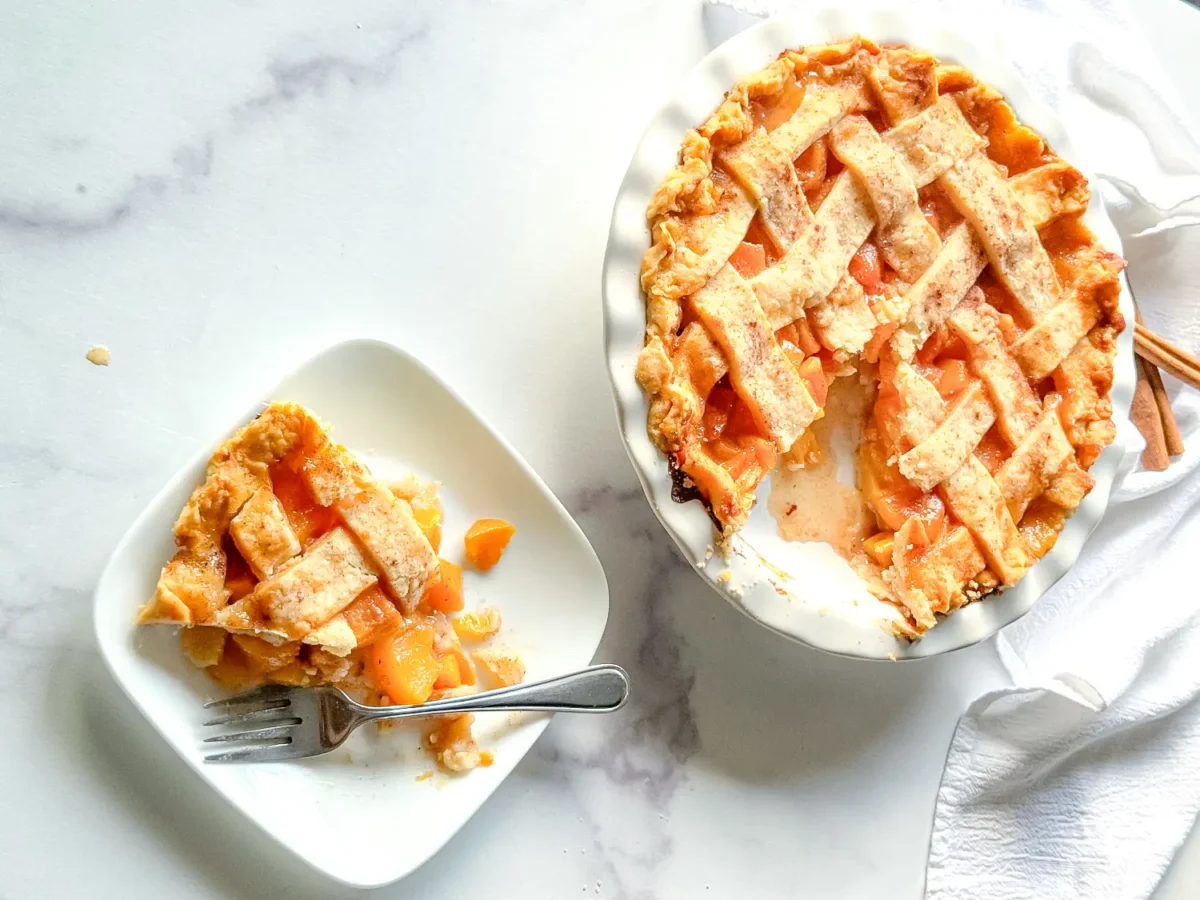
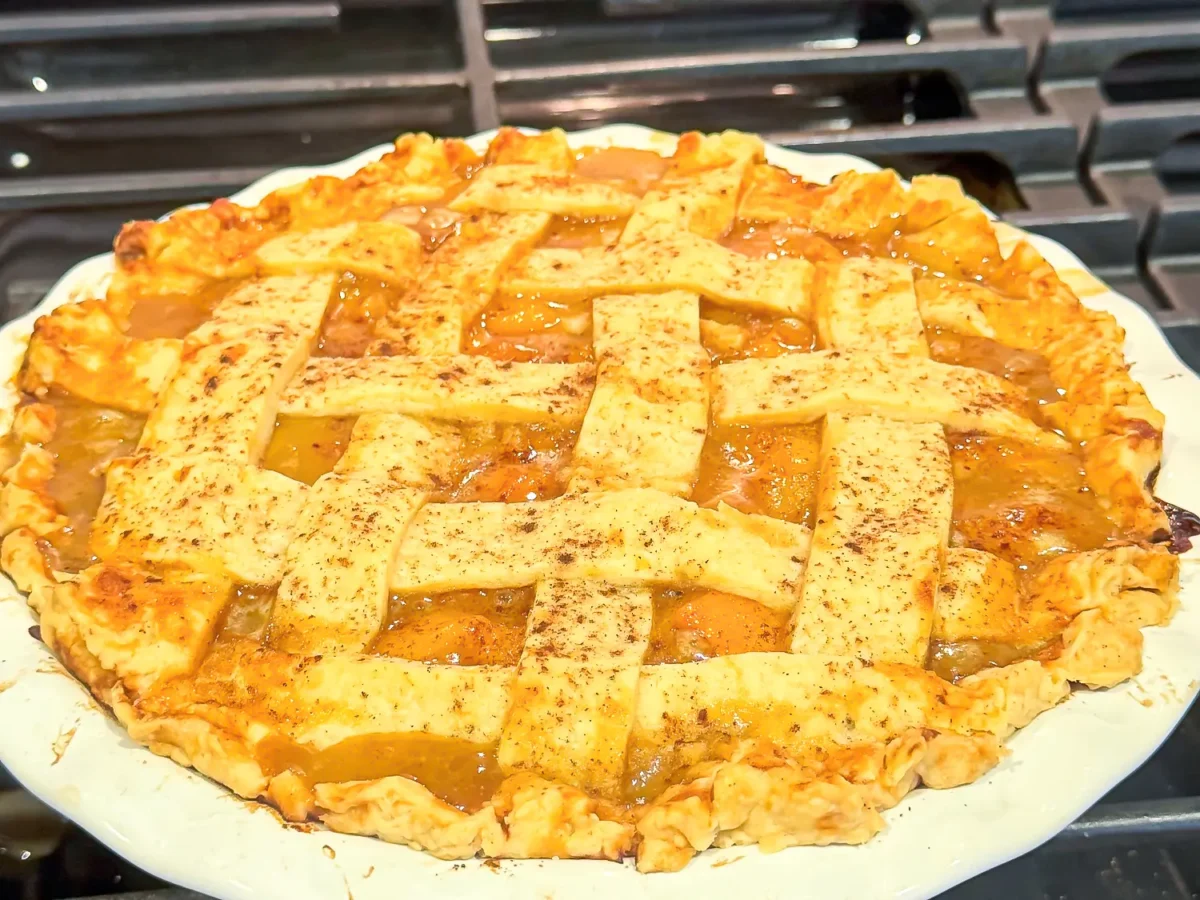
I love serving a slice of peach pie with french vanilla ice cream or whipped cream, but it’s also a wonderful dessert to enjoy after a Southern-style meal.
Substitutions & Variations
I prefer making this recipe exactly the way my mom taught me, but there are a few adjustments you can try depending on what you have available. These are suggestions rather than variations I’ve personally tested.
- Store-bought pie crust – If you’re short on time, you could use refrigerated pie crust instead of homemade. You’ll need a third crust to tear off the small pieces for thickening the filling.
- Peaches packed in juice or syrup – Either option should work. Just remember to taste the filling before adding additional sugar, since peaches packed in syrup may already be quite sweet.
- Full top crust – Instead of making a lattice, you could place the second crust over the entire pie. Just remember to cut a few slits in the top to allow steam to escape.
- Extra cinnamon – If you love cinnamon as much as I do, try adding a little more to the cinnamon sugar topping before baking.

Canned vs. Fresh Peaches for Pie
You might be wondering why I use canned peaches instead of fresh ones. This peach pie with canned peaches is made this way on purpose, and it’s how I learned to prepare the recipe. Canned peaches are convenient, but more importantly, the juice from the larger can plays a big part in how the filling comes together.
- Canned peaches – They’re available throughout the year and are already peeled and sliced, which saves time during preparation.
- The juice is important – I keep the juice from the larger can because it combines with the butter, sugar, and spices to make the filling’s syrup.
- Fresh peaches – Fresh peaches are delicious during the summer, but they require peeling and slicing and won’t provide the same amount of juice as the canned peaches used here.
Peach Pie Baking Tips
Making a great peach pie doesn’t have to be complicated. After learning this recipe from my mom, I’ve found that paying attention to a few small details can make all the difference. Here are my favorite tips for getting the best results:
- Taste before baking – Once the peaches, butter, sugar, and spices are simmering, taste the filling and adjust the sweetness if needed.
- Don’t skip the pie crust pieces – Allow them to simmer for the full 5-10 minutes so they have time to soften and thicken the filling.
- Chill your homemade crust – Keeping the dough cold before baking helps create a flakier pie crust.
- Use the lower oven rack – This helps the bottom crust brown without the lattice topping getting too dark.
- Watch for overflowing filling – You can place a baking sheet underneath the pie to catch any bubbling juices.
- Be patient before slicing – Allow the finished pie to cool for at least 2 hours so the filling has time to set.
Difference Between Peach Pie vs. Peach Cobbler
Peach pie and peach cobbler are both popular Southern desserts, and I can understand why people sometimes confuse the two. Both feature sweet peaches and some type of baked crust or topping, but they’re traditionally prepared and served differently. My recipe is a peach pie because it has a bottom pastry crust and a lattice topping, even though the little pieces of pie crust inside remind me somewhat of a Southern peach cobbler.
How to Store Peach Pie
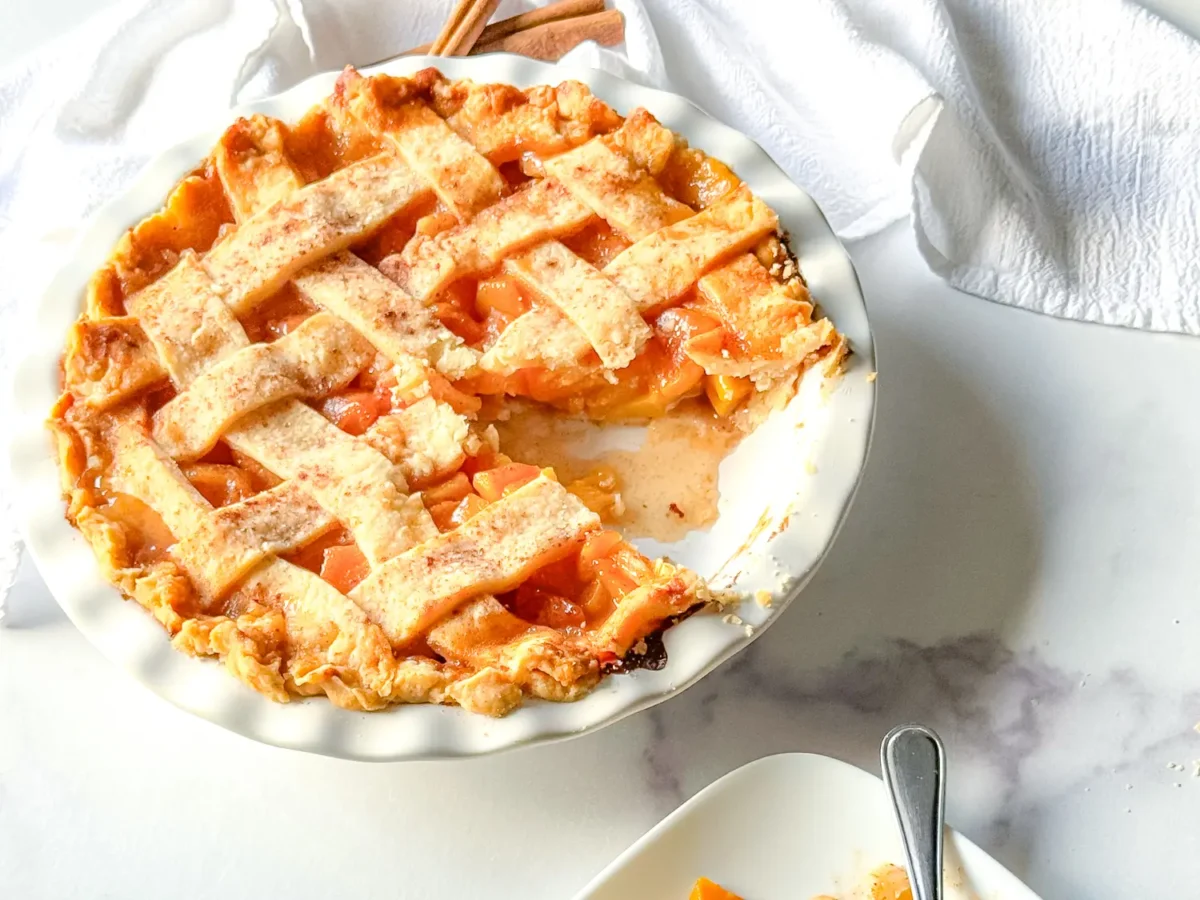
If you have leftover peach pie, proper storage will help keep it fresh. I recommend allowing the pie to cool completely before covering it, and making sure it’s wrapped well before freezing.
- Room temperature – Cover the pie loosely and store at room temperature for up to 2 days.
- Refrigerator – After that, wrap the pie and refrigerate for up to 2 additional days.
- Freezer – Freeze the cooled pie uncovered until solid, then wrap it tightly and freeze for up to 4 months. Thaw overnight in the refrigerator and warm at 350°F (175°C) for approximately 30 minutes.
- Signs of spoilage – If you notice mold, an unusual sour or fermented smell, or a slimy, watery filling, discard the pie.
More Dessert Recipes
If you enjoy homemade desserts as much as I do, here are a few more recipes you might like to try:
FAQ
Do you drain canned peaches for peach pie?
For this peach pie recipe using canned peaches, I only drain the smaller 15-ounce can. I keep the juice from the larger 29-ounce can because it helps create the filling. The small pieces of pie crust added during cooking help thicken those juices.
Does peach pie need to be refrigerated?
Not immediately. A baked fruit pie made with sugar can be stored covered at room temperature for up to 2 days. After that, refrigerate it for up to 2 additional days. However, I recommend refrigerating leftover peach pie once it has completely cooled to help maintain freshness. Store it covered in the refrigerator for up to 4 days, or freeze it for longer storage.
Can you freeze peach pie?
Yes! Once the pie has cooled completely, freeze it uncovered until solid. Wrap it well and store it in the freezer for up to 4 months.
Is peach cobbler a pie?
Not exactly. While both desserts are made with peaches, a traditional peach pie has a bottom pastry crust and a top crust and is usually sliced into wedges. Peach cobbler typically has fruit covered with a biscuit, batter, or pastry topping and is scooped into individual servings. Some Southern cobblers also use a bottom crust.
Recipe Card
Peach Pie with Canned Peaches
Equipment
- Baking Sheet (optional, for drips)
Ingredients
- 29 ounce Can of Peaches, (1 can)
- 15 ounces Can Sliced Peaches, (drained)
- ¼ cup Unsalted Butter, (57 g)
- ⅓ cup Granulated Sugar, (or more to taste)
- 1 teaspoon Ground Cinnamon
- 1 teaspoon Ground Nutmeg
- ½ teaspoon Vanilla Extract
- 2 9-inch pie crusts, https://elicitfolio.com/shortening-pie-crust/
- ½ teaspoon Butter, (for greasing the pie plate)
- ½ teaspoon Melted butter, (for brushing the crust)
- ½ teaspoon Cinnamon sugar, (for sprinkling on top)

Instructions
- Preheat your oven to 375°F (190°C). Next wash the can top of the peaches. Open and drain the smaller can of peaches and add both cans of peaches to a medium saucepan. Cut the peach slices into smaller bite-sized pieces if desired.
- Add the butter, sugar, cinnamon, nutmeg, and vanilla extract to the peaches. Cook over low heat, stirring occasionally, until the butter has melted and the peaches begin to simmer. Taste the filling and add additional sugar if needed.
- Tear or cut about 10 small 1-inch pieces of pie crust and stir them into the simmering peaches. Continue cooking for another 5-10 minutes, stirring occasionally, until the pie crust pieces soften and help thicken the filling.
- Lightly butter a 9-inch pie plate. Press one pie crust into the bottom and up the sides of the dish. Spoon the warm peach filling into the prepared crust.
- Cut strips from the second pie crust and arrange them in a lattice (crisscross) pattern over the filling.
- Brush the lattice crust with melted butter, then sprinkle lightly with cinnamon sugar.
- Place the pie on the lower oven rack and bake for 50–60 minutes, or until the crust is golden brown and the filling is bubbling. Baking on the lower rack helps the bottom crust brown beautifully without over-browning the top.
- Let the pie cool for at least 2 hours before slicing so the filling has time to set. Enjoy!!
Notes
- Filling Tip: Taste the peach filling before assembling the pie and adjust the sugar based on how sweet your peaches are.
- Pie Crust Tip: If using homemade pie crust, chill it before baking for a flakier crust.
- Prevent a Messy Oven: Place a baking sheet underneath the pie if you’re concerned about any filling bubbling over.
- Serve With: Serve warm with a scoop of French vanilla ice cream or freshly whipped cream.
Nutrition
Nutrition information is automatically calculated, so should only be used as an approximation.
Craving More?
If you make this peach pie recipe, I’d love to see how yours turns out! Be sure to tag me on Instagram @elicitfolio so I can see your creations. You can also leave a comment and recipe rating below, and follow me on Pinterest for more delicious recipes. And since we’re talking about pie, tell me in the comments which pie recipe you’d like to see me make next!