
Updated: June 5, 2026
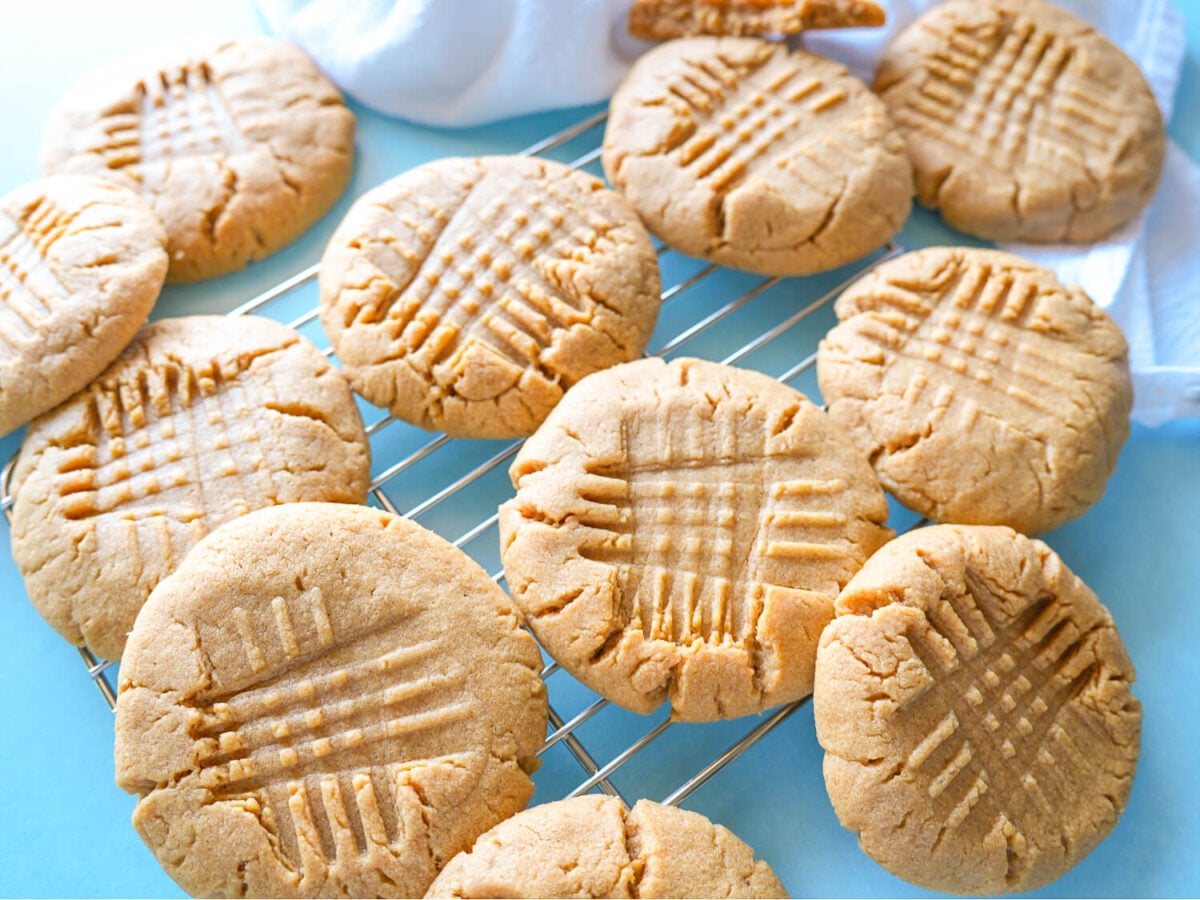
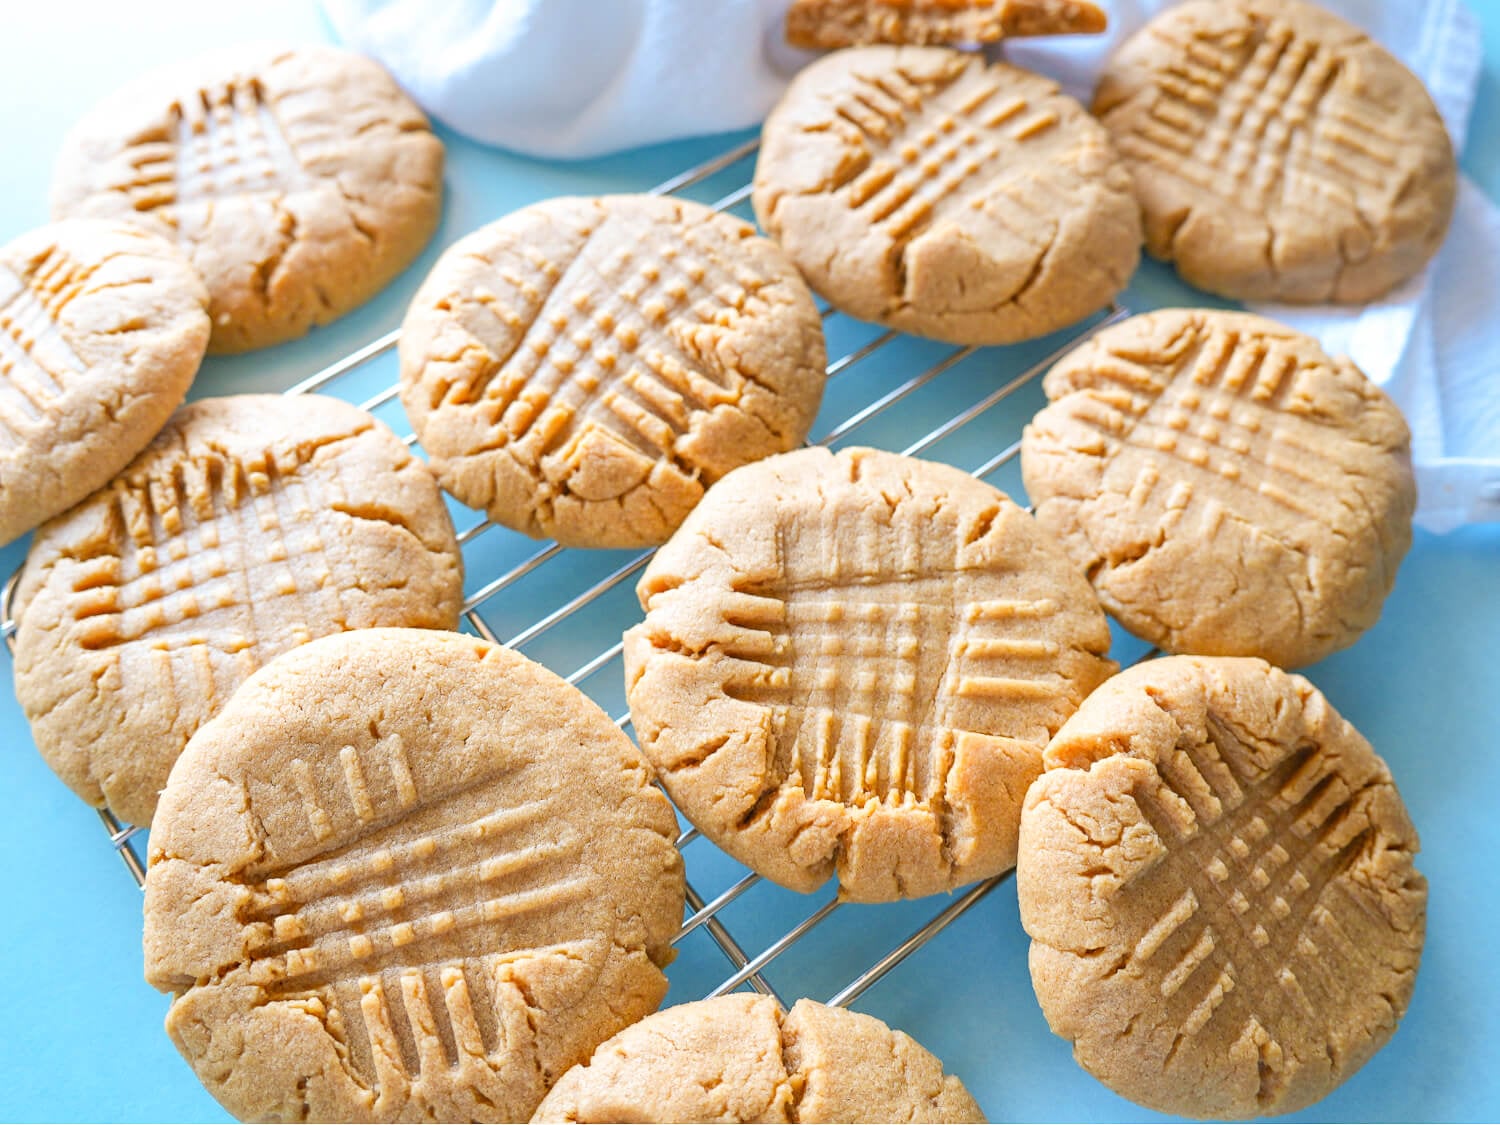
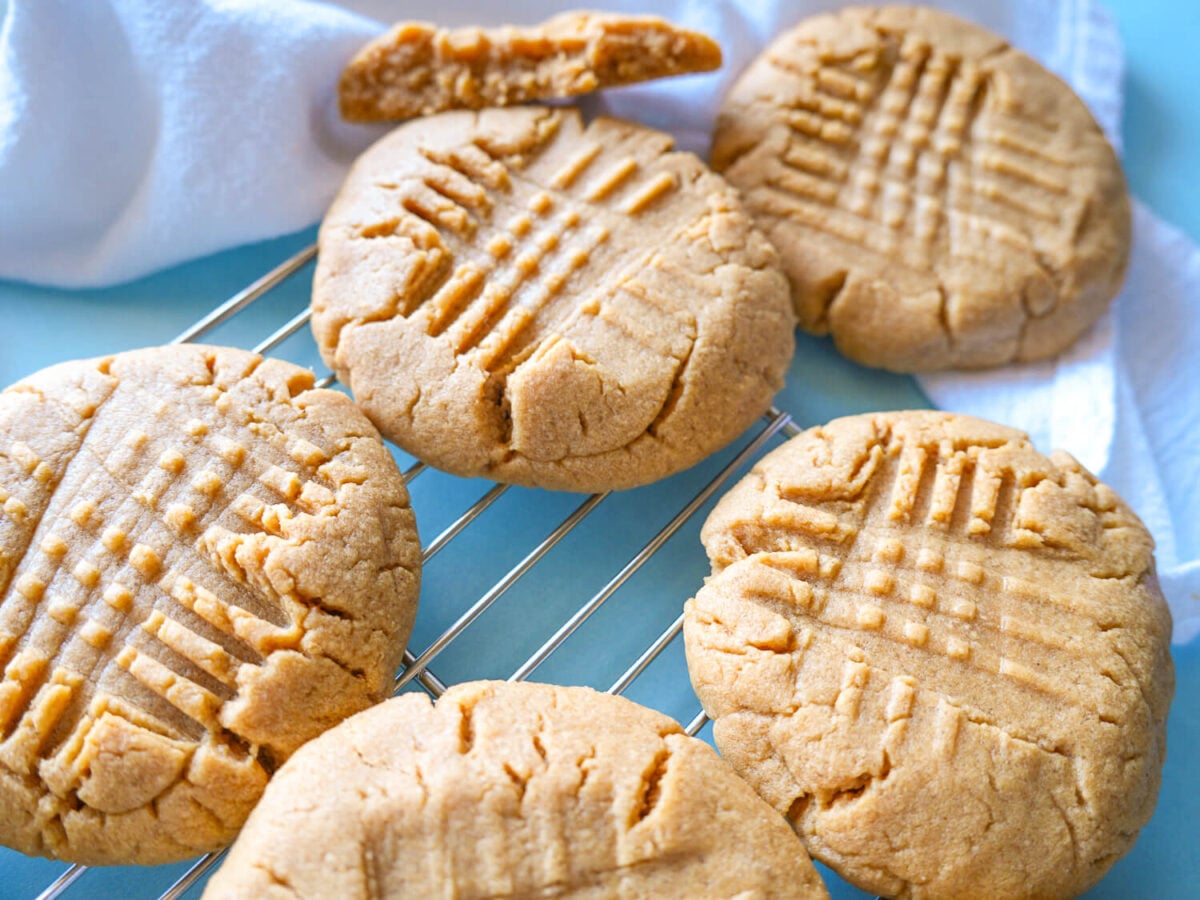
These Peanut Butter Cookies are soft, chewy, and packed with rich peanut butter flavor in every bite. During Week 1 of pastry school at Sweet Spot Studio, Chef Joy had our class experiment with eight different types of flour using the same cookie base recipe to understand how ingredients affect texture. One of my biggest takeaways was that the flour type can affect the chew on a cookie. As someone who grew up loving classic chewy peanut butter cookies, this recipe combines everything I love most: a soft center, crisp edges, and that nostalgic peanut butter flavor that never goes out of style.
Want to Email This for Later?
What I Love About This Recipe
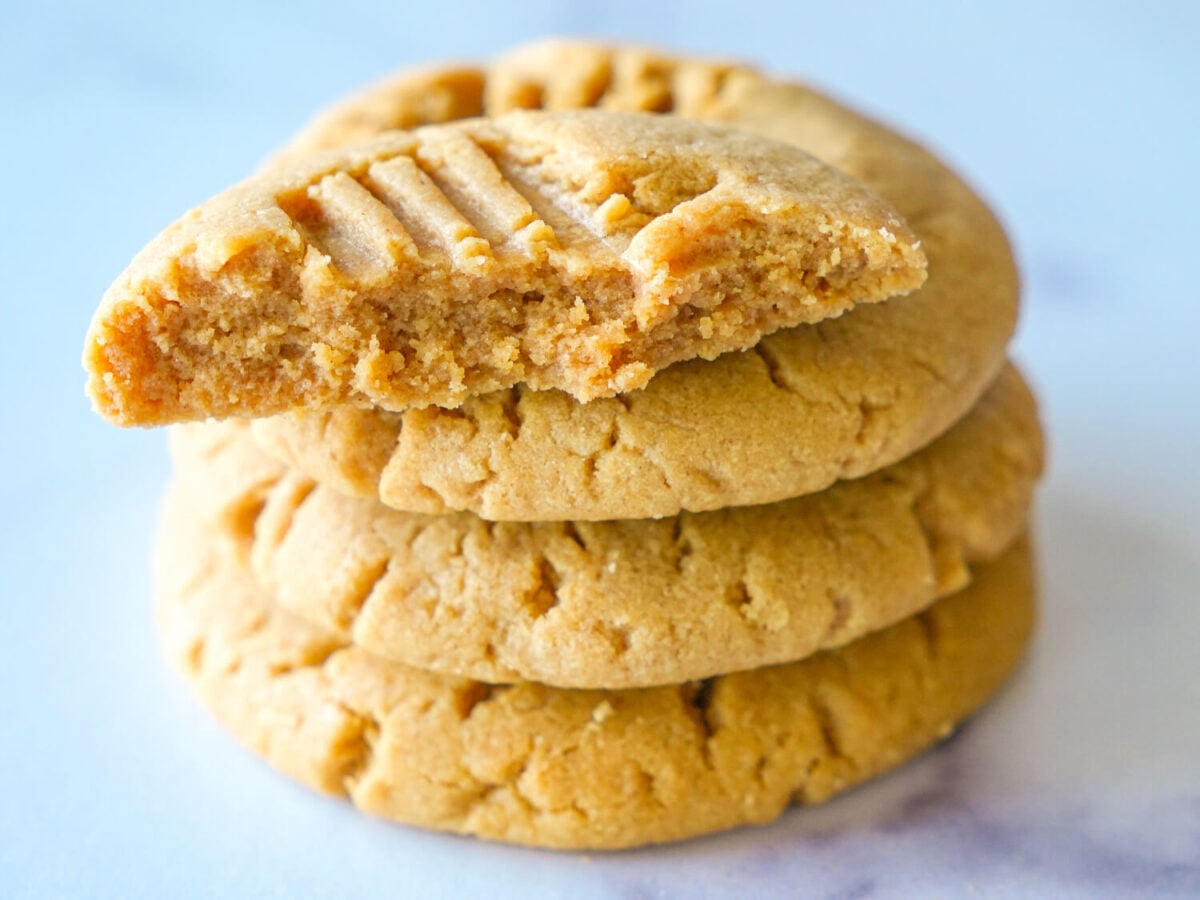
There are plenty of peanut butter cookies recipes out there, but this one consistently delivers soft peanut butter cookies with the perfect chewy texture. A few reasons I love this recipe:
- Rich peanut butter flavor in every bite
- Soft centers with lightly crisp edges
- Made with simple pantry ingredients
- Easy to prepare ahead of time
- Freezer-friendly cookie dough
Ingredients
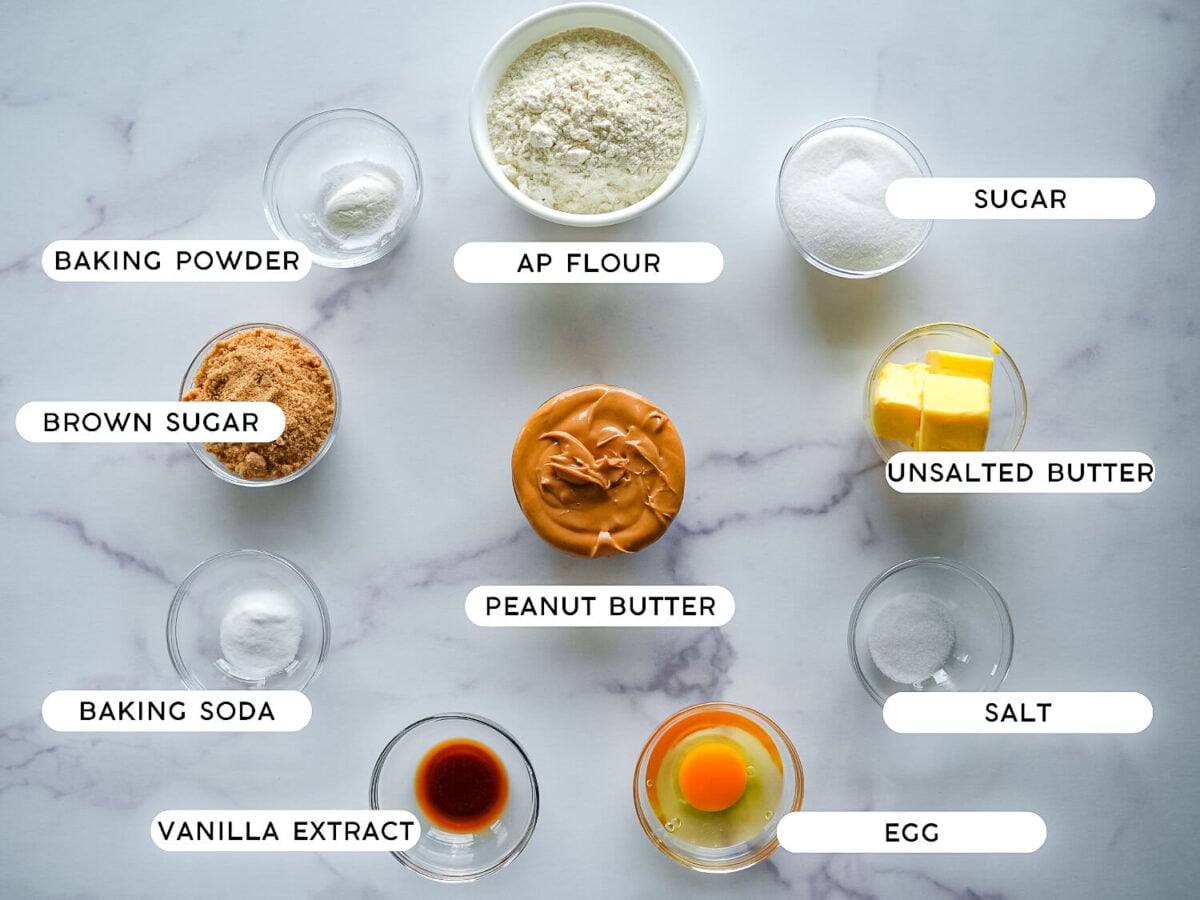
- Unsalted Butter – Provides richness and helps create a tender cookie texture. Avoid salted butter to not overbalance the final taste of the cookie.
- Creamy Peanut Butter (room temperature) – The star ingredient that gives these cookies their signature peanut butter flavor. I opt for creamy peanut butter in this recipe.
- White Sugar – Adds sweetness and helps create slightly crisp edges.
- Dark Brown Sugar – Adds moisture and contributes to a softer, chewier cookie.
- Egg (room temperature) – Provides structure and helps bind the cookie dough together.
- All-Purpose Flour – Creates the foundation of the cookie while keeping the texture balanced.
- Baking Soda – Helps the cookies spread and promotes browning.
- Baking Powder – Provides additional lift and contributes to a softer texture.
- Salt – Balances the sweetness and enhances the peanut butter flavor.
- Vanilla Extract – Adds warmth and depth to the overall flavor.
How to Make Peanut Butter Cookies
This recipe comes together in just six easy steps as shown below:
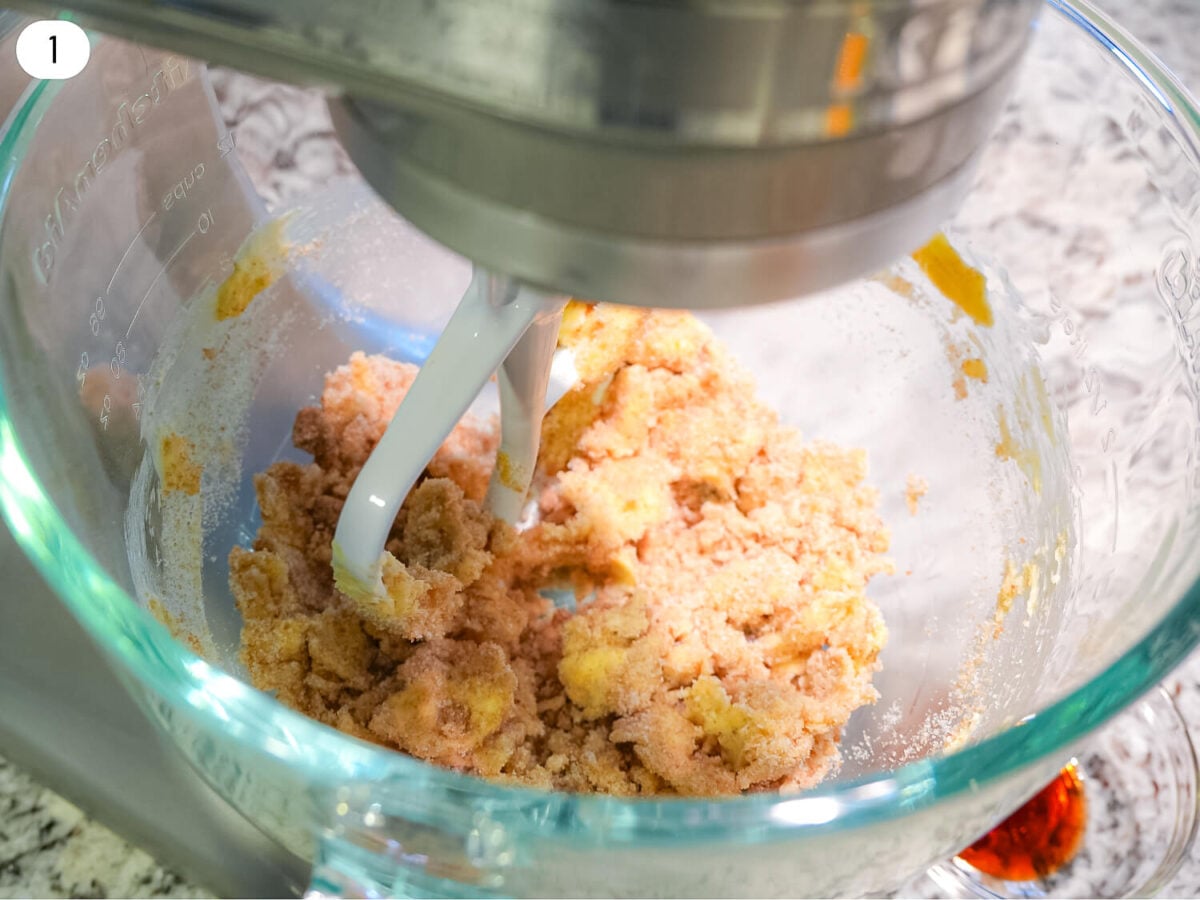
STEP 1: Cream the Butter and Sugars – Preheat oven to 375°F (190°C). Then in a large bowl with a hand-mixer or you can use an electric stand mixer fitted with the paddle attachment, beat together the room temperature butter, white sugar, and dark brown sugar until light and smooth.
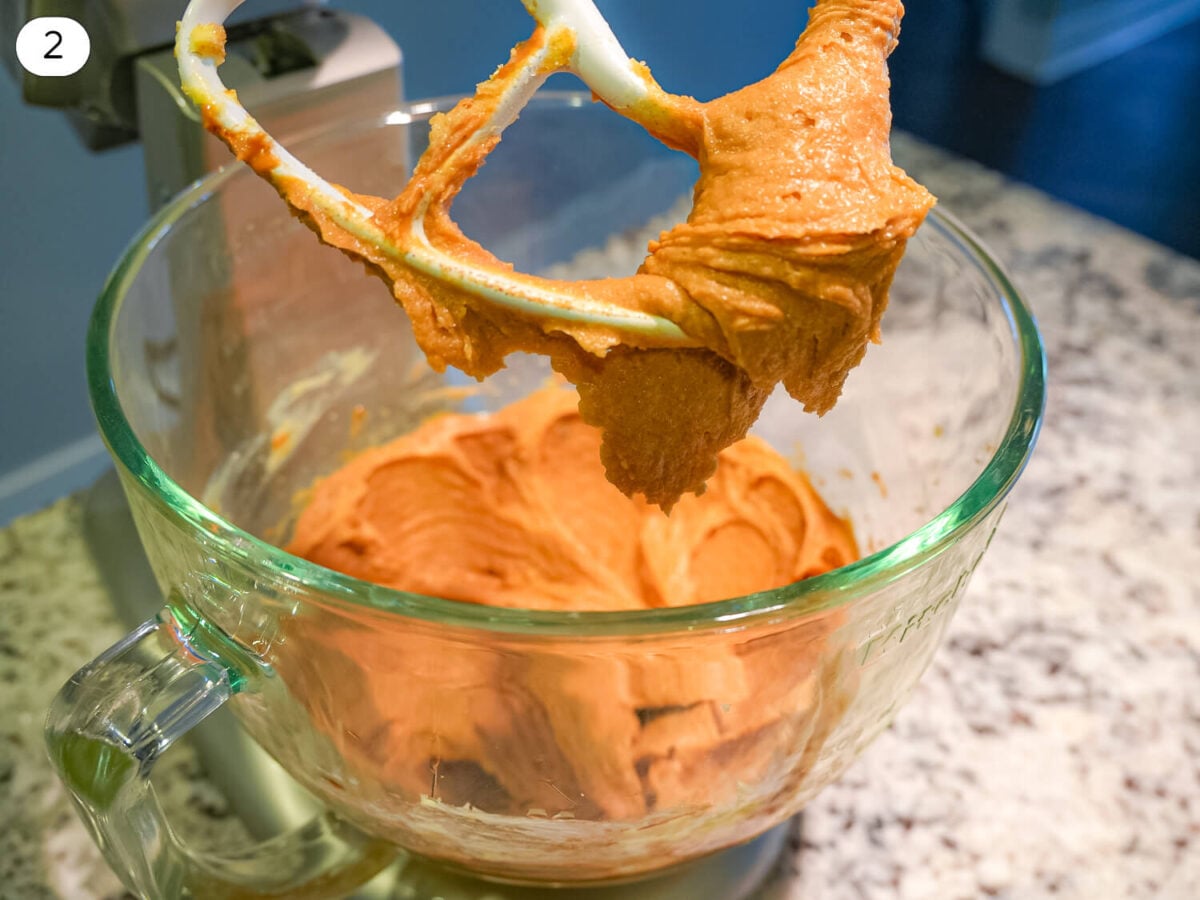
STEP 2: Add the Egg, Vanilla, & Peanut Butter – To your mixing bowl, add an egg, peanut butter, and vanilla extract and mix until fully incorporated, scraping down the sides of the bowl as needed.
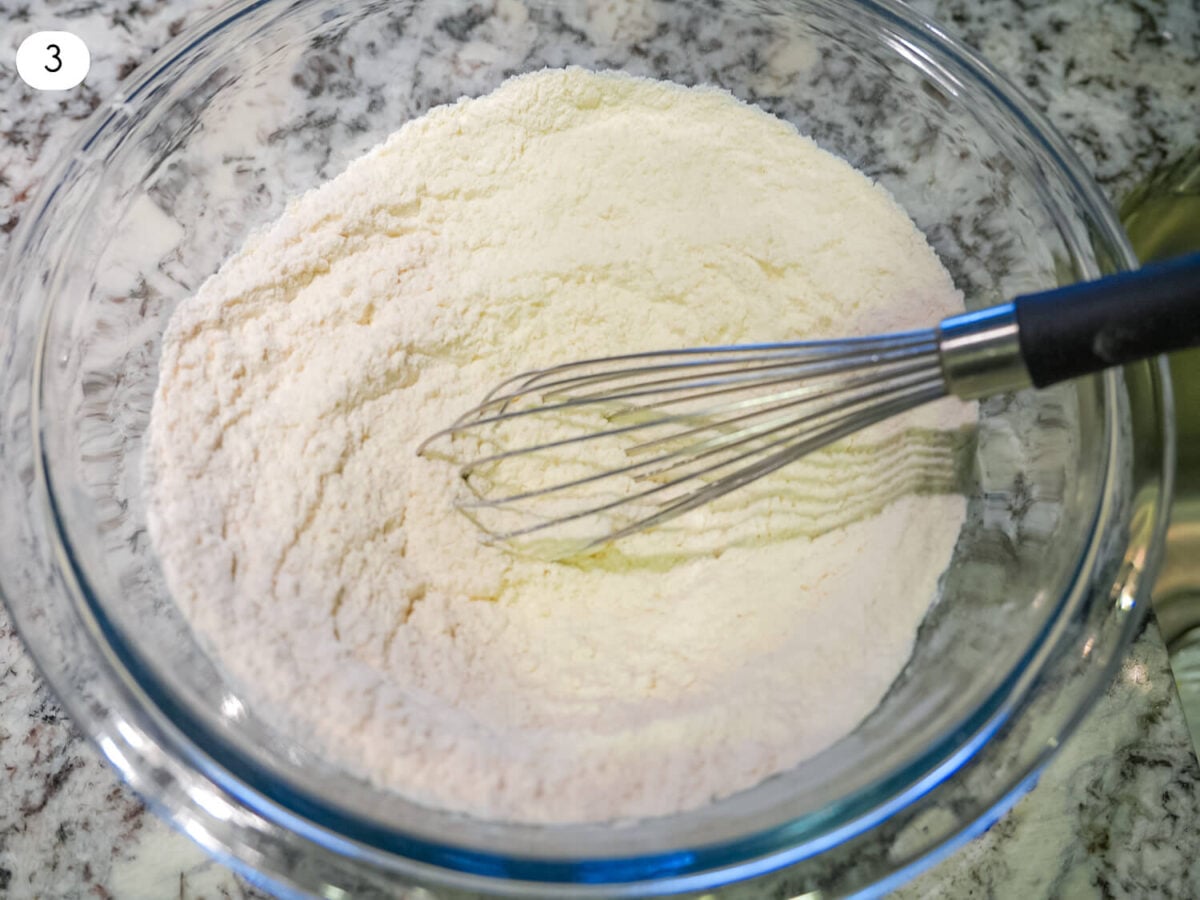
STEP 3: Add Dry Ingredients – In a separate mixing bowl, whisk together the all-purpose flour, baking soda, baking powder, and salt. With the mixer on low speed, gradually add the dry ingredients to the wet ingredients. Scrape down the sides of the bowl and paddle attachment, then continue mixing just until the dough comes together, about 30 seconds.
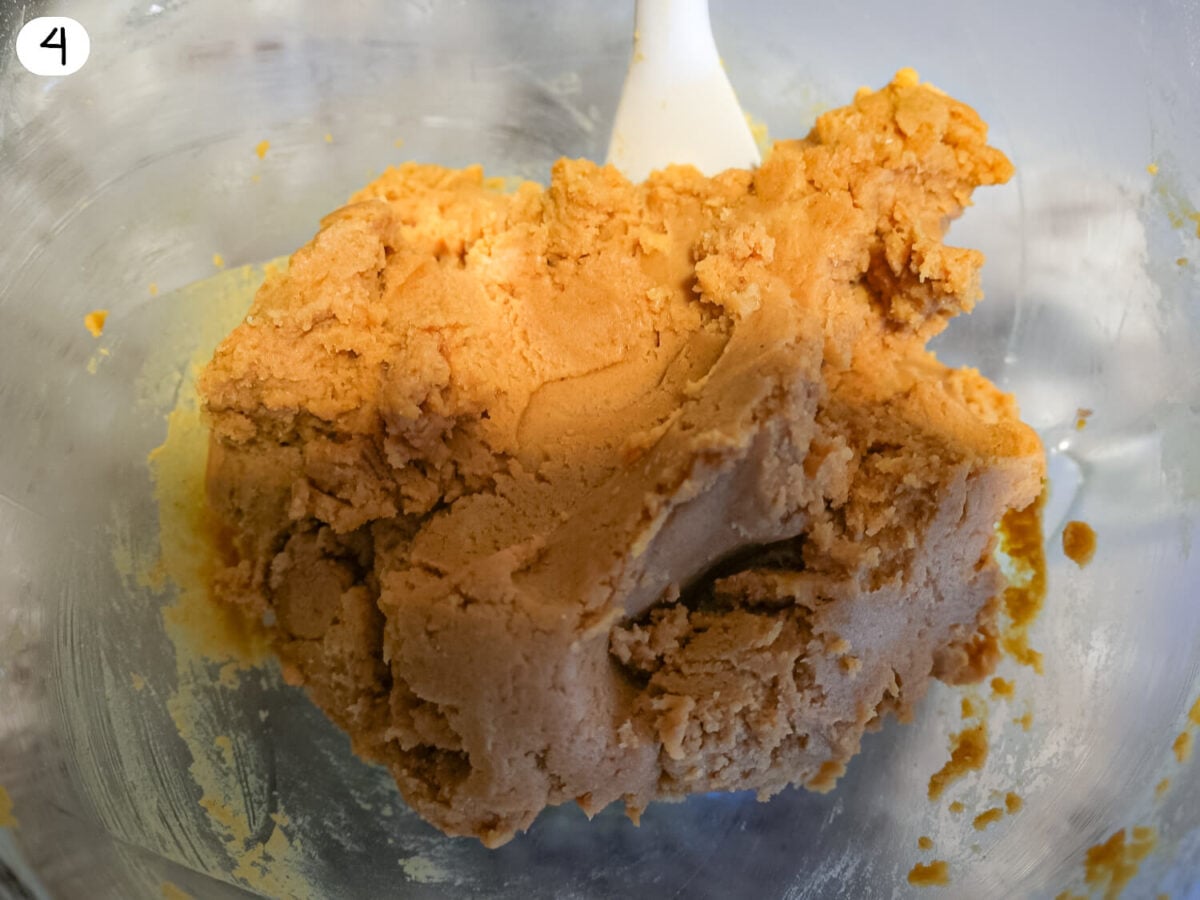
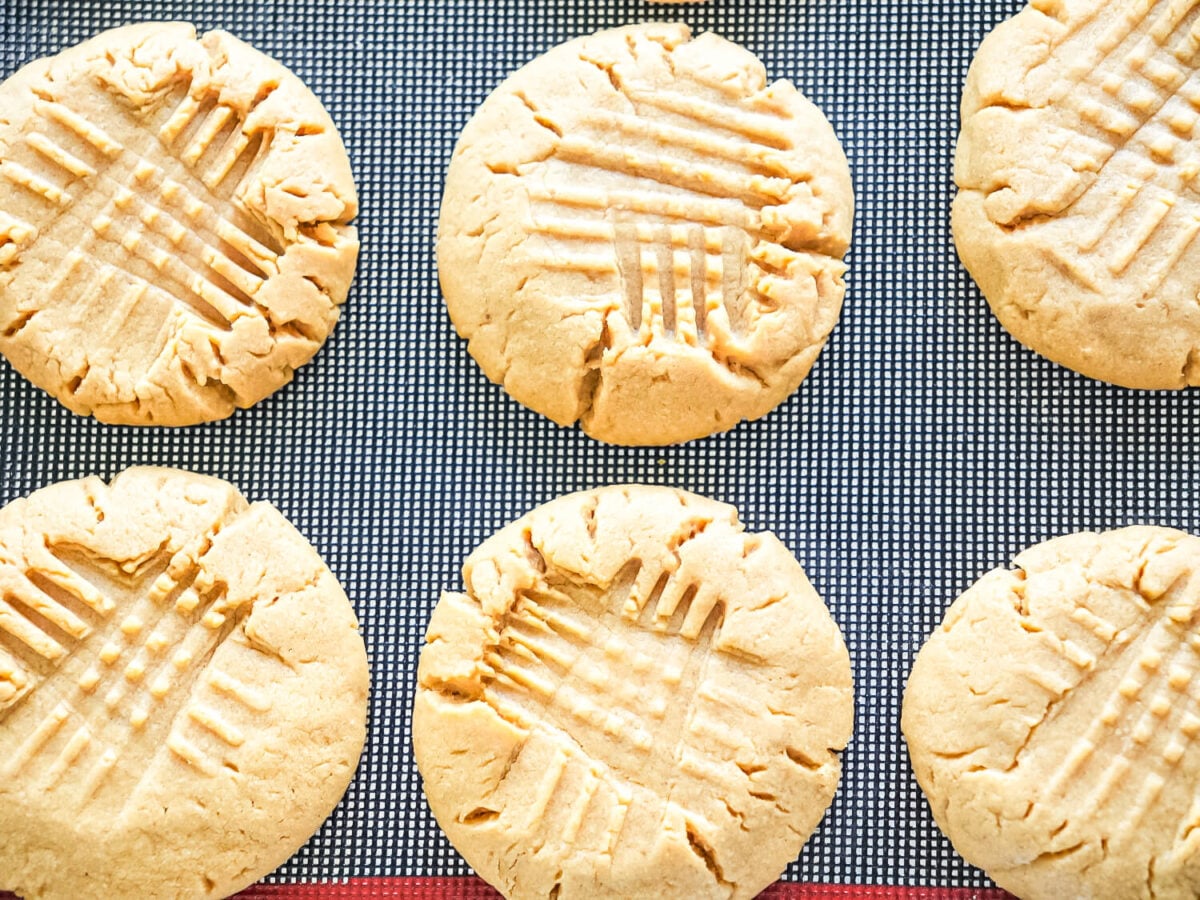
STEP 4: Portion and Shape the Cookies – Use a cookie scoop to portion the dough into equal-sized balls. Roll each ball between your hands until smooth and place them on a parchment-lined baking sheet. Using a fork, gently press each cookie in a crisscross pattern to create the classic peanut butter cookie fork marks.
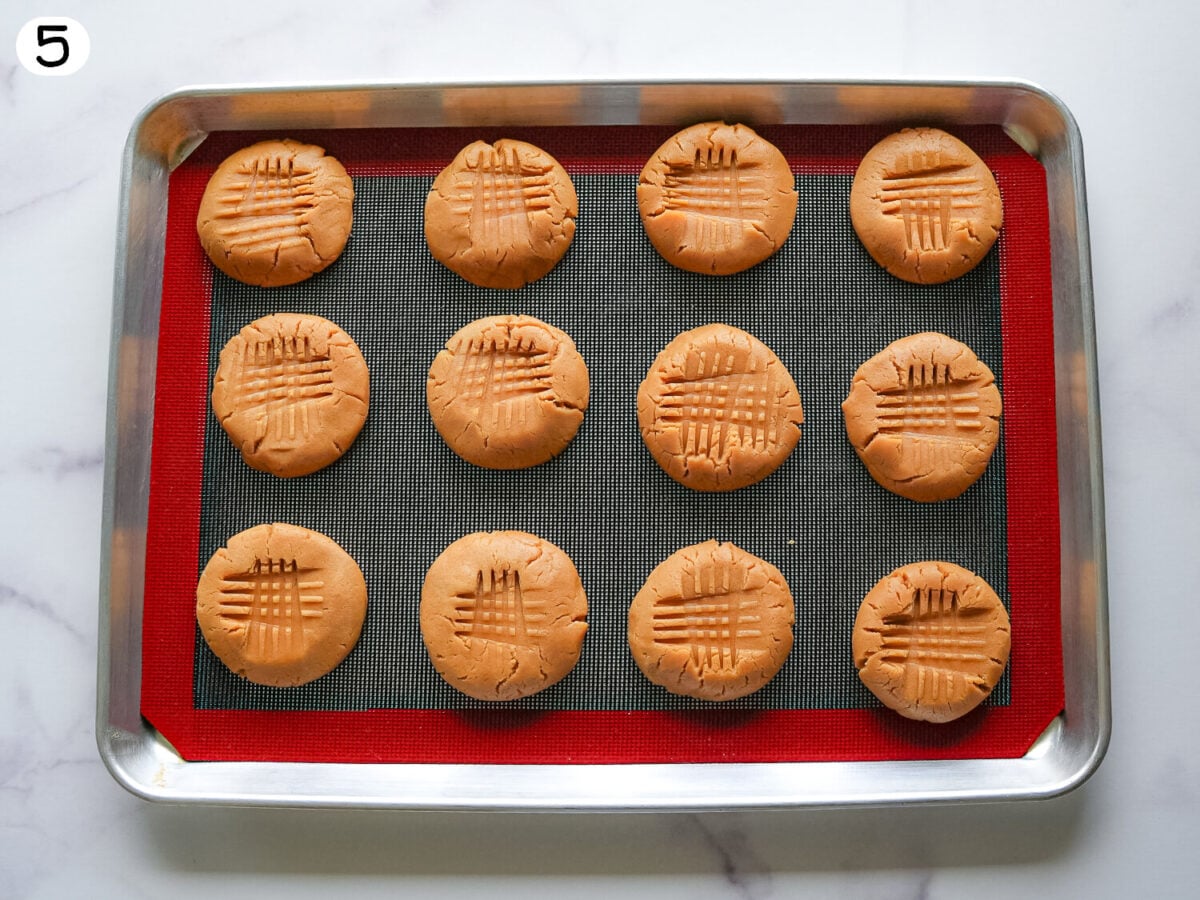
STEP 5: Chill the Dough – Transfer the baking sheet to the refrigerator and chill the shaped cookies for 2 to 3 hours. Chilling helps prevent excessive spreading and creates a thicker, chewier cookie.
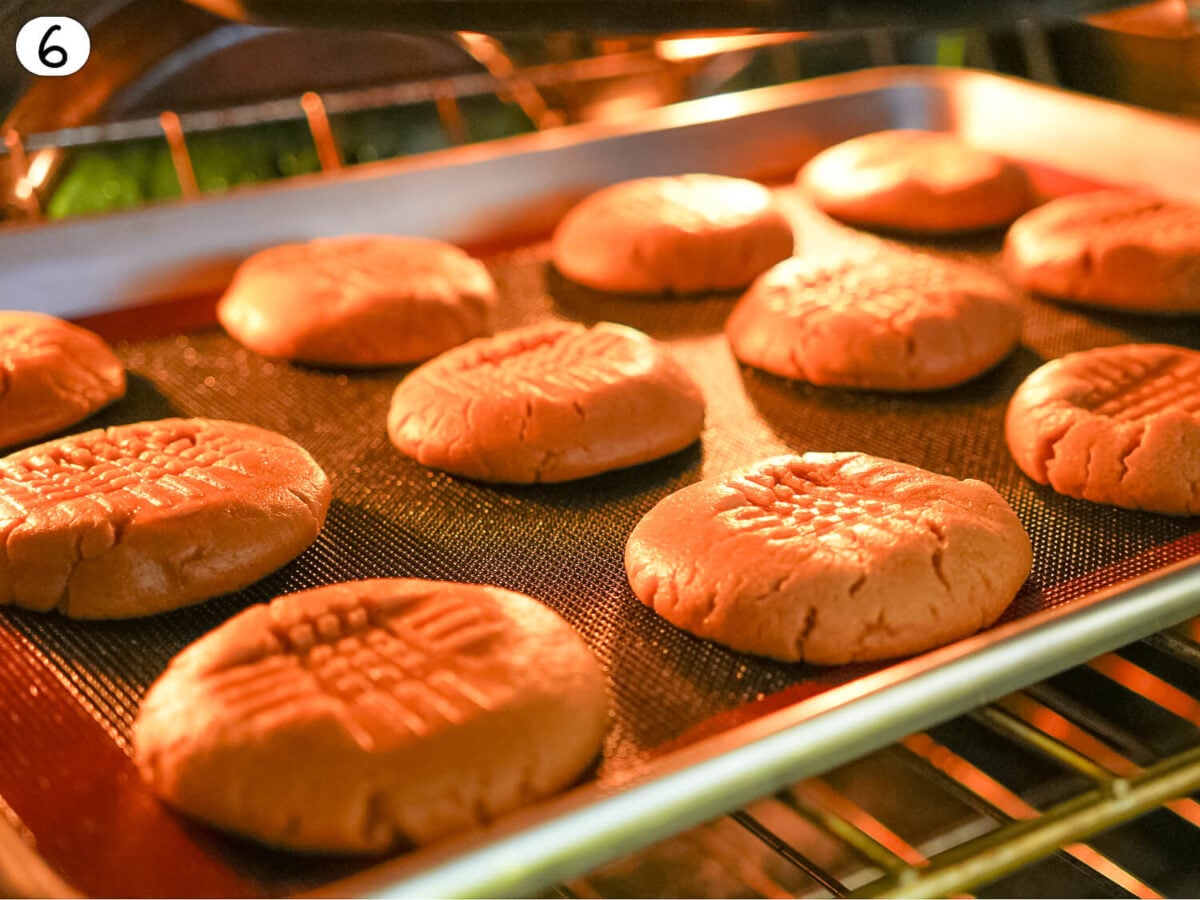
STEP 6: Bake and Cool – Bake the chilled cookies for 10 to 12 minutes, or until the edges are lightly golden. Allow the cookies to cool on the baking sheet for several minutes before transferring them to a cooling rack to cool completely.
Substitutions
- Use Crunchy Peanut Butter – For added texture, you can substitute the creamy peanut butter in this recipe for crunchy peanut butter.
- Light Brown Sugar – If needed, light brown sugar may be substituted for dark brown sugar.
- Gluten-Free Flour- A quality 1:1 gluten-free baking flour can typically be substituted for all-purpose flour.
- Natural Peanut Butter – Natural peanut butter can work, but results may vary due to oil separation. For the most consistent results, I recommend using a standard creamy peanut butter.
Cookie Baking Tips from Pastry School
After spending time in pastry school, I learned a few techniques that can dramatically improve cookie texture:
- Use a cookie scoop for uniform sizing and even baking.
- Always use room temperature butter for proper creaming.
- Chill the dough before baking to control spread.
- Use a silicone baking mat for even cooking and regulated airflow under cookies
- Bake cookies until the edges are set but the centers still look slightly soft.
How to Get the Perfect Fork Mark Pattern
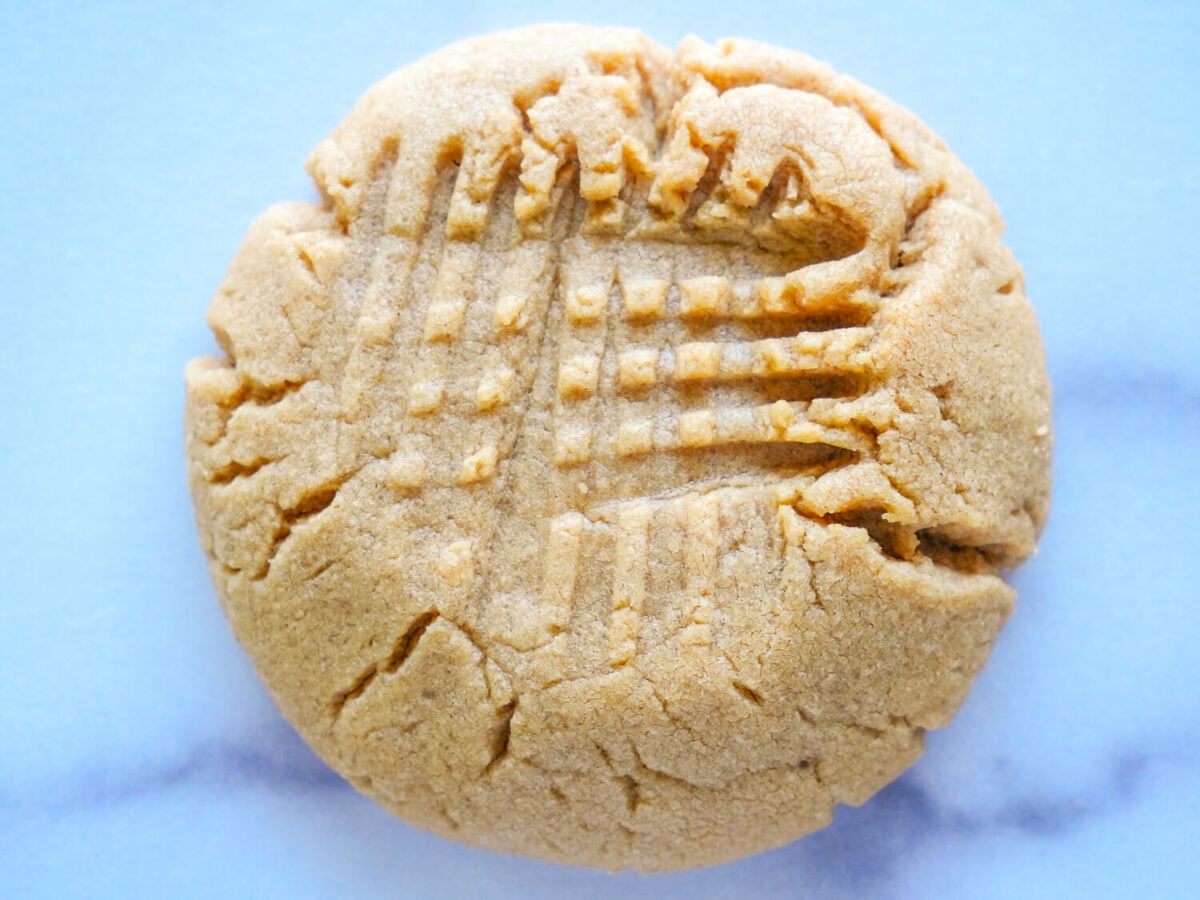
The iconic fork marks aren’t just decorative. Peanut butter cookie dough is denser than many other cookie doughs and benefits from being slightly flattened before baking.
For the best results:
- Dip the fork lightly in sugar between presses.
- Press gently to avoid cracking the dough.
- Create one set of lines vertically and another horizontally.
Best Type of Peanut Butter for Peanut Butter Cookies
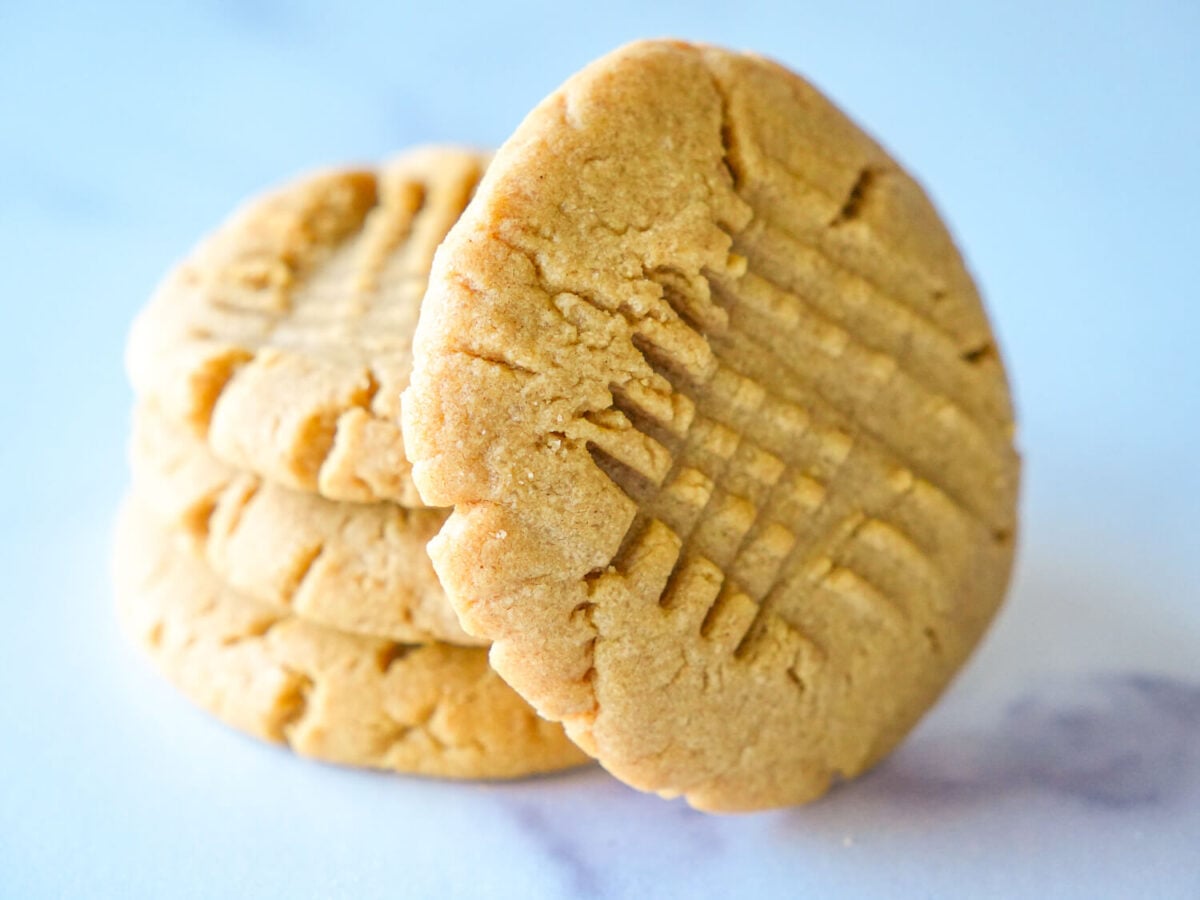
For classic peanut butter cookies, smooth peanut butter or creamy peanut butter produces the most reliable results. Natural peanut butter can be used, but I find that this type of peanut butter is a risk because the oils separate naturally. Various natural peanut butter brands resulted in a drier or a more crumbly cookie in my test kitchen. If you enjoy extra texture, you can use crunchy peanut butter as another great option.
Make Ahead & Freezing Options
- Make Ahead: This cookie dough can be prepared up to 3 days in advance and stored in the refrigerator until ready to bake. The longer it can rest in the fridge, the better the cookie in my opinion!
- Freeze Cookie Dough: Scoop dough into balls and place them on a baking sheet. Freeze until solid, then transfer to a freezer bag or airtight container. It is easier to roll the dough into balls or a log shape before freezing for ease of baking later. If you decide to freeze your cookie dough, you can store it for up to 3 months in the freezer. Once you’re ready to bake these cookies from the freezer, you can bake directly from frozen and simply add an extra 1 to 2 minutes to the baking time.
- Freeze Baked Cookies: If you want to freeze your peanut butter cookies after baking, allow your cookies to cool completely before freezing, then store them in an airtight container or freezer bag for up to 3 months.
More Dessert Recipes
If you enjoyed these chewy peanut butter cookies, try some of my other favorite desserts:
FAQ
Why did my peanut butter cookies spread too much?
The butter may have been too warm, or the dough may not have been chilled long enough before baking.
Can I use natural peanut butter?
Yes, but because natural peanut butter contains separated oils, the texture may be less predictable than traditional creamy peanut butter.
How do I keep peanut butter cookies soft?
Store them in an airtight container at room temperature and avoid overbaking.
Can I freeze peanut butter cookie dough?
Absolutely. Cookie dough freezes beautifully and can be baked directly from frozen.
Recipe Card
Peanut Butter Cookie Recipe
Equipment
Ingredients
- ½ cup Unsalted Butter, room temperature, (125 grams)
- ¾ cup Creamy Peanut Butter, (220 grams)
- ½ cup Granulated White Sugar, (110 grams)
- ½ cup Dark Brown Sugar, packed, (90 grams)
- 1 Large Egg, room temperature
- 1¼ cup All Purpose Flour, (200 grams)
- 1 tsp Baking Soda
- 1 tsp Baking Powder
- ½ tsp Salt
- 1 tsp Vanilla Extract

Instructions
- Preheat oven to 375°F (190°C). Then in a large bowl with a hand-mixer or you can use an electric stand mixer fitted with the paddle attachment, beat together the room temperature butter, white sugar, and dark brown sugar until light and smooth.
- To your mixing bowl, add an egg, peanut butter, and vanilla extract and mix until fully incorporated, scraping down the sides of the bowl as needed.
- In a separate mixing bowl, whisk together the all-purpose flour, baking soda, baking powder, and salt. With the mixer on low speed, gradually add the dry ingredients to the wet ingredients. Scrape down the sides of the bowl and paddle attachment, then continue mixing just until the dough comes together, about 30 seconds.
- Use a cookie scoop to portion the dough into equal-sized balls. Roll each ball between your hands until smooth and place them on a parchment-lined baking sheet. Using a fork, gently press each cookie in a crisscross pattern to create the classic peanut butter cookie fork marks.
- Transfer the baking sheet to the refrigerator and chill the shaped cookies for 2 to 3 hours. Chilling helps prevent excessive spreading and creates a thicker, chewier cookie.
- Bake the chilled cookies for 10 to 12 minutes, or until the edges are lightly golden. Allow the cookies to cool on the baking sheet for several minutes before transferring them to a cooling rack to cool completely.
Notes
- Texture: For the best texture, use room temperature butter, peanut butter, and egg so the ingredients blend smoothly and evenly.
- Best Peanut Butter: I recommend using creamy peanut butter such as Jif or Skippy for consistent results. Natural peanut butter can sometimes produce a drier or more crumbly cookie due to oil separation.
- Rest Time: Chilling the dough for 2 to 3 hours helps prevent excessive spreading and creates a thicker, chewier cookie.
- Fork Marks: For clean, defined fork marks, shape and press the cookies before chilling the dough.
- Mixing Tip: Avoid overmixing once the flour is added. Mix just until the dough comes together to keep the cookies tender.
- Cookie Color: The cookies may look slightly underbaked in the center when removed from the oven. They will continue to set as they cool on the baking sheet.
- Storage: Store leftover cookies in an airtight container at room temperature for up to 5 days.
- Freezing: To freeze, place baked cookies or unbaked cookie dough in a freezer-safe airtight container or freezer bag for up to 3 months. Thaw overnight in the refrigerator before serving or baking.
Nutrition
Nutrition information is automatically calculated, so should only be used as an approximation.
Craving More?
If you make this soft Peanut Butter Cookie Recipe, I’d love to hear what you think. Leave a comment below, tag me in your results on Instagram at @elicitfolio so I can see your creations. Don’t forget to follow along on Pinterest for even more dessert recipes, hosting inspiration, and family favorites. And tell me, what cookie recipe should I share next?


I love a good peanut butter cookie. These are so good because they didn’t get crumbly.