
Updated: October 9, 2026
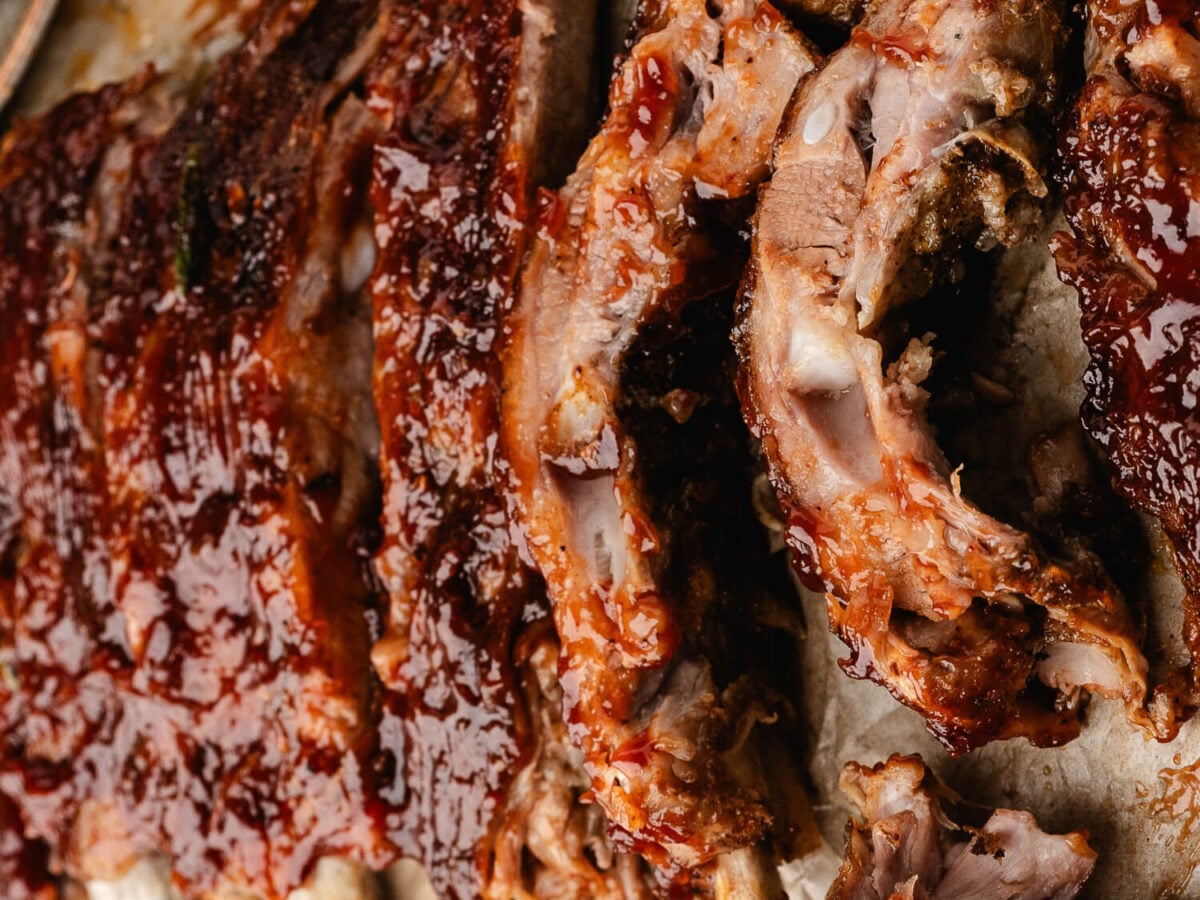
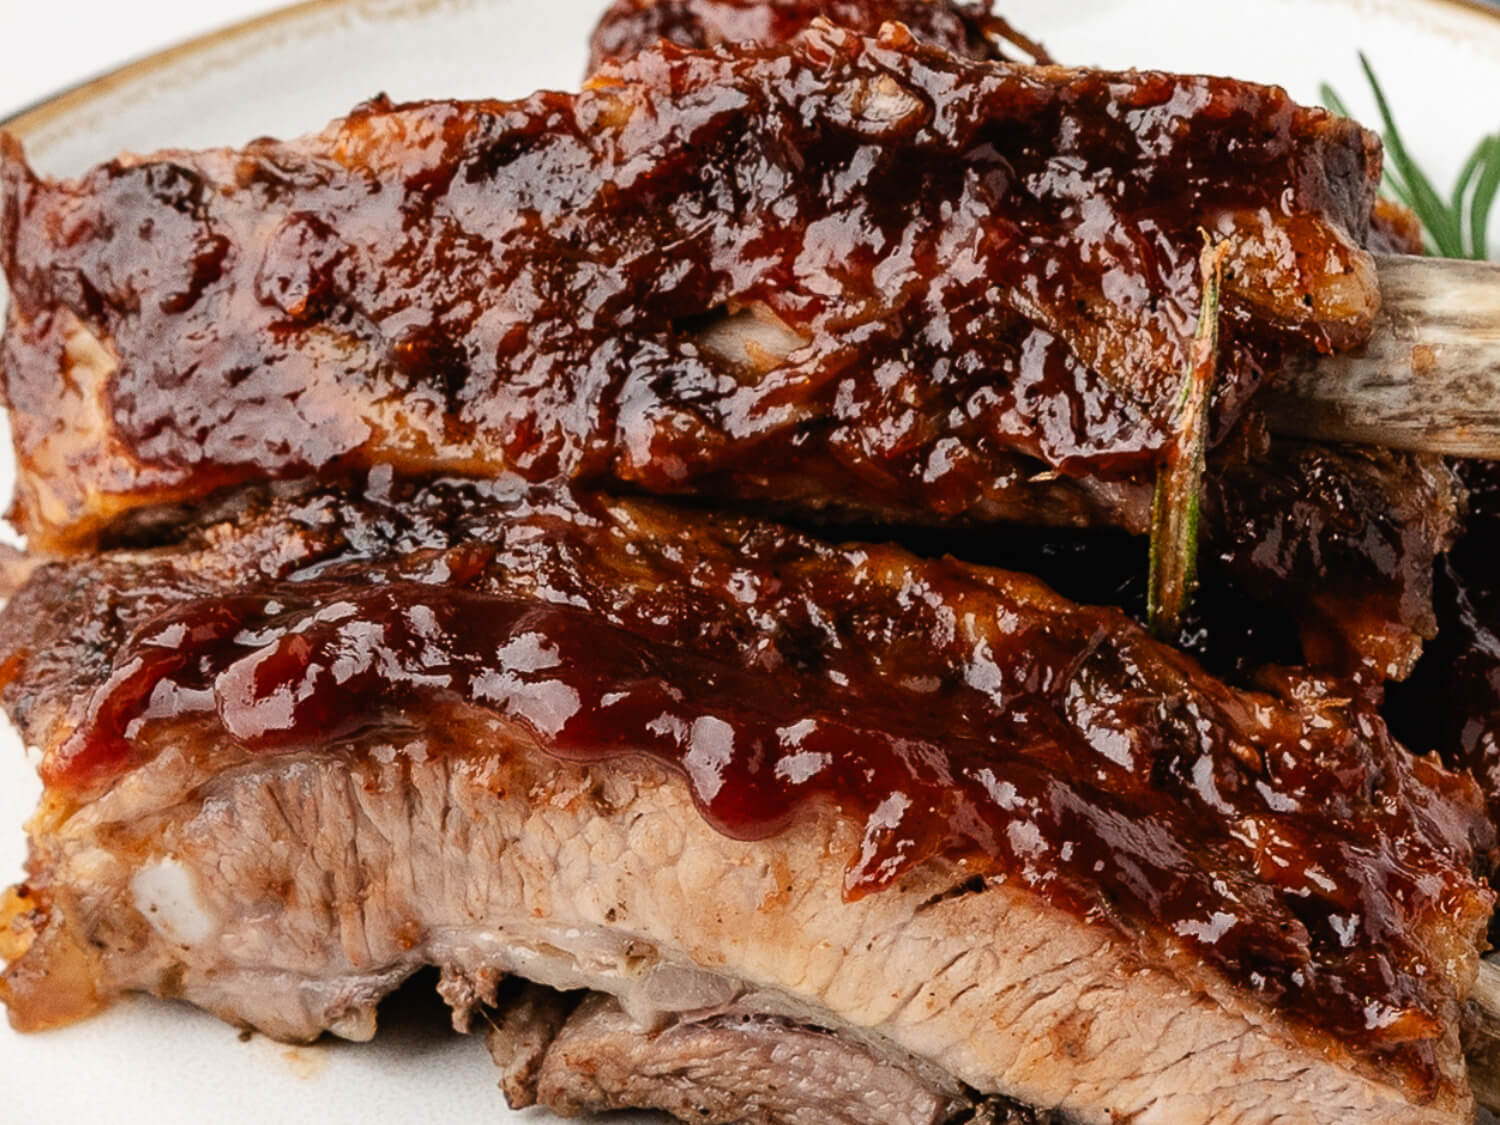
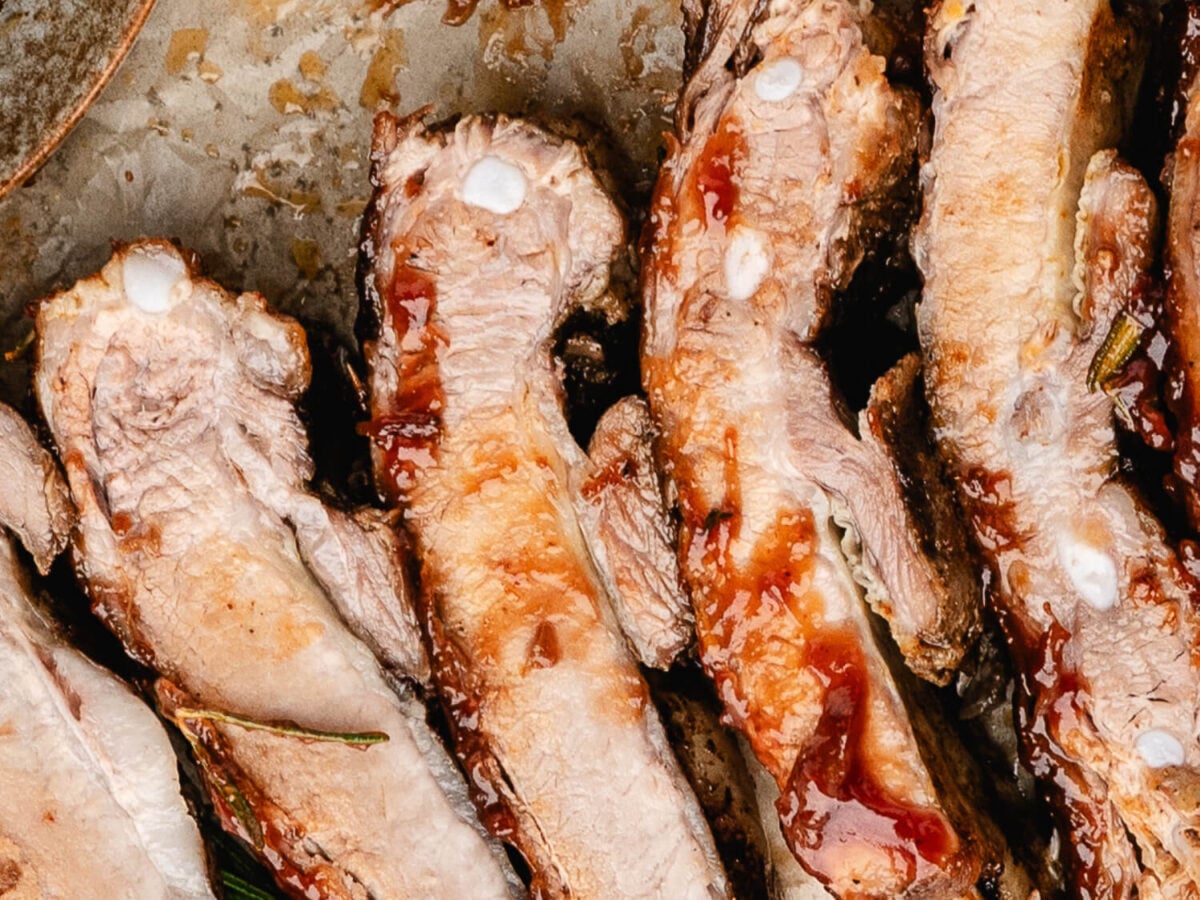
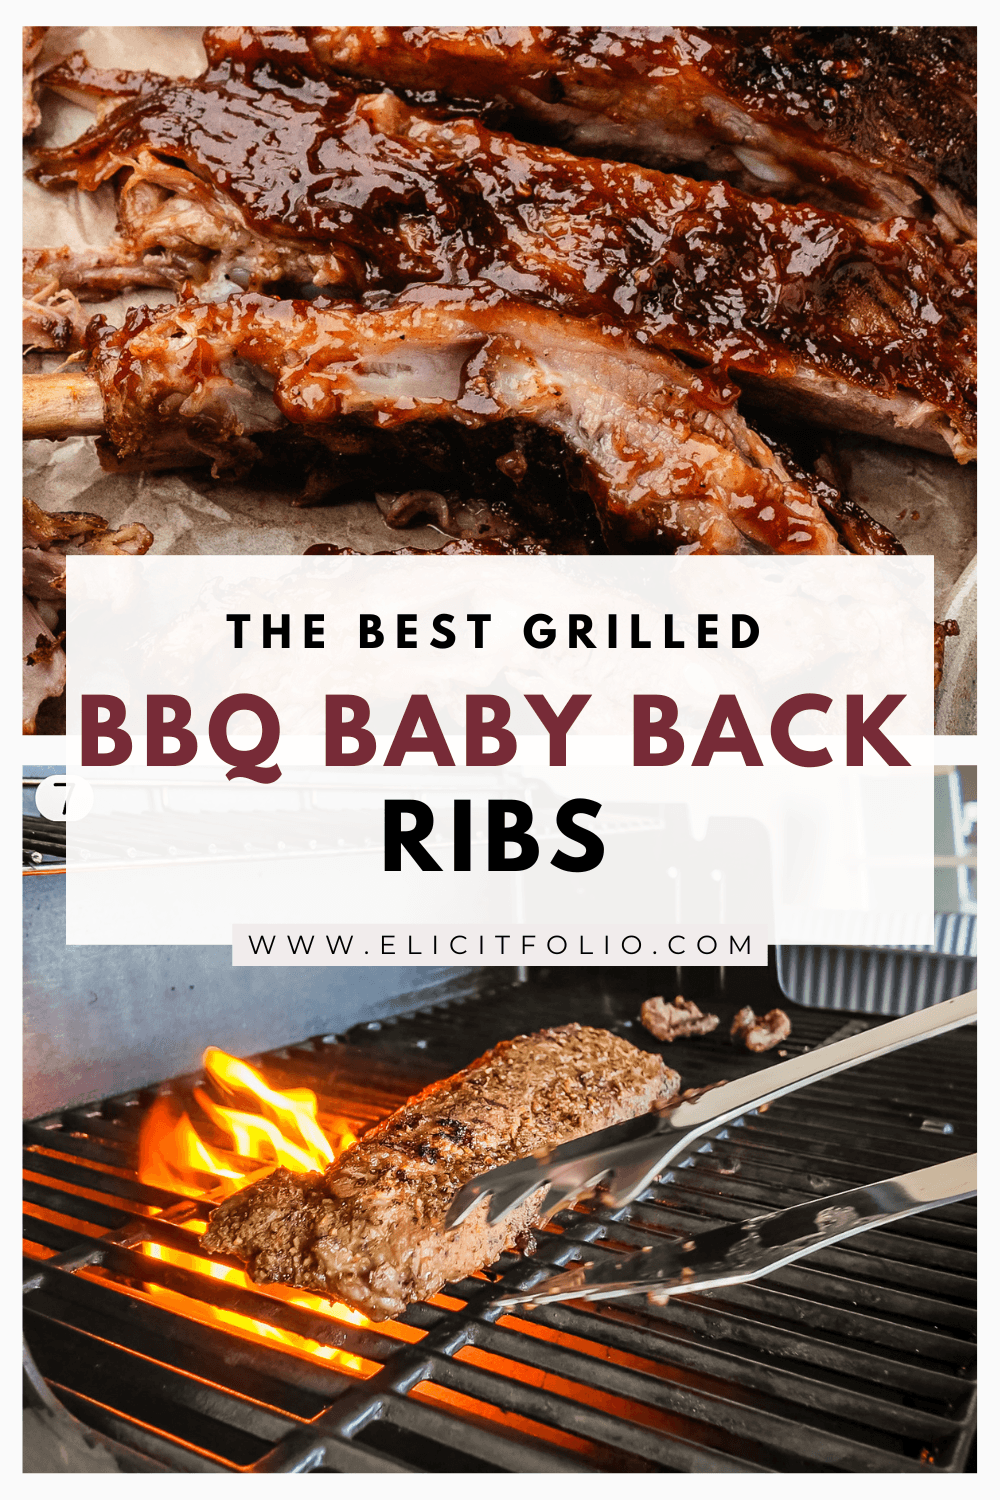
This BBQ baby back ribs recipe is my family’s famous recipe, and it makes an appearance at just about every cookout, tailgate, or gathering where ribs are requested. The secret is our sweet and savory dry rub and the oven-to-grill method. Baking the ribs low and slow in gives them time to become juicy and tender, then a quick finish on the grill adds smoky flavor, caramelized edges, and that sticky BBQ sauce everyone looks forward to.
Want to Email This for Later?
Table of Contents
Why This Recipe Works
If you’re looking for tender, flavorful fall-off-the-bone ribs, this oven-to-grill method gives you the best of both worlds.
- It’s a tried-and-true family recipe: These ribs have been made again and again for our family cookouts, tailgates, and gatherings. They’re one of those recipes people request when they know we’re firing up the grill.
- The dry rub packs in flavor: Brown sugar, Montreal steak seasoning, smoked paprika, garlic powder, onion powder, and a few additional spices create a sweet, savory, smoky baby back ribs rub.
- They marinate before cooking: Giving the seasoned rack at least 6 hours, and preferably overnight, allows all of those flavors to settle into the meat.
- The oven does the slow cooking: Wrapping the rack in heavy-duty aluminum foil traps steam and flavorful juices while the ribs cook gently at 300°F (150°C).
- The grill creates the finish: Once the ribs are tender, medium heat on the grill caramelizes the brown sugar rub along with your favorite BBQ sauce.
Ingredients
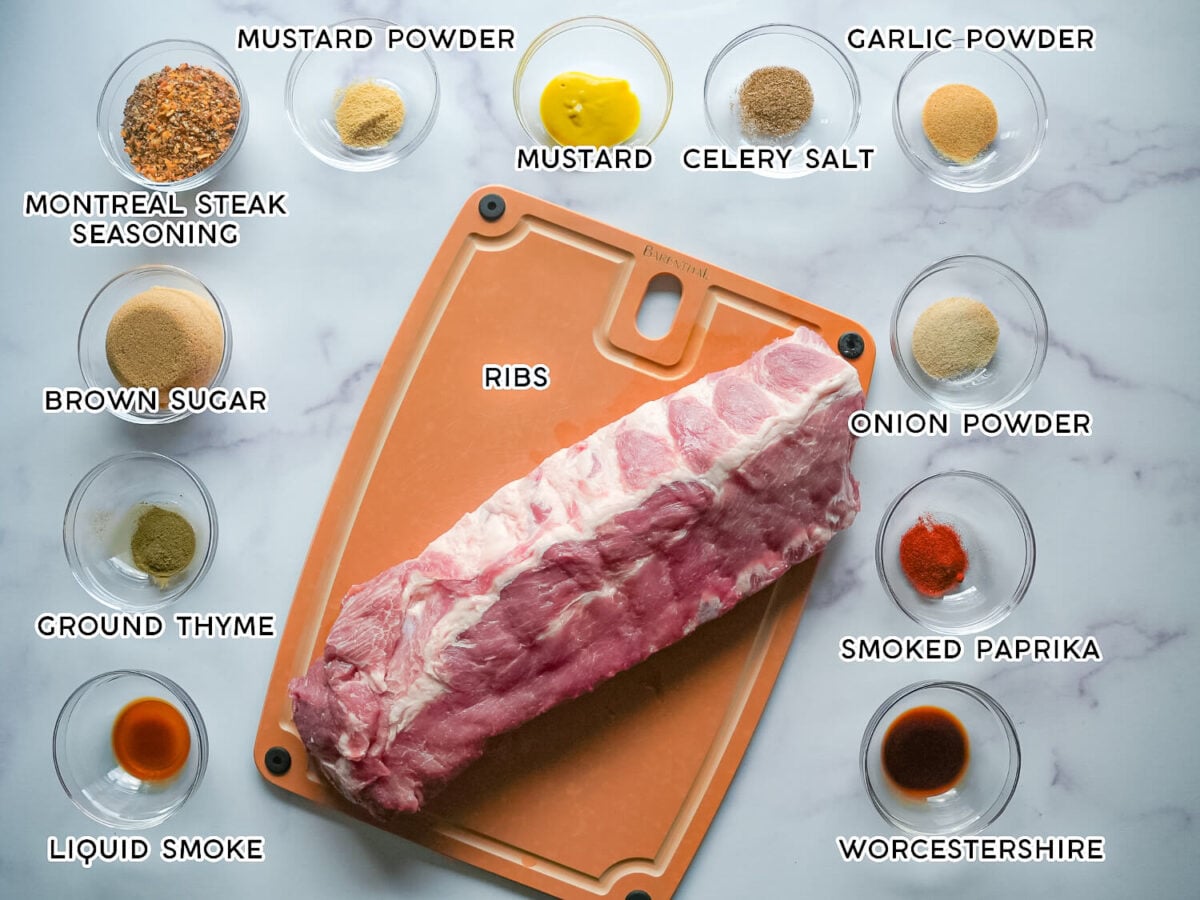
Here’s what you’ll need to make these BBQ baby back ribs. Detailed measurements are included in the recipe card below.
Rib Seasoning:
- Baby back pork ribs – You’ll need about 2½ pounds, or approximately one rack of ribs. Baby backs are naturally tender and are the perfect size for this oven-to-grill cooking method.
- Yellow mustard – Creates a thin coating that helps the dry rub adhere to all sides of the ribs. The mustard flavor mellows considerably as the ribs cook.
- Worcestershire sauce – Adds a savory, umami-rich flavor that complements the pork and sweet brown sugar in the rub.
- Liquid smoke – A small amount of hickory liquid smoke gives the ribs an extra layer of smoky flavor before they ever hit the grill.
- Dry rib rub – A generous coating seasons the pork before its overnight rest and creates a flavorful exterior as the ribs cook.
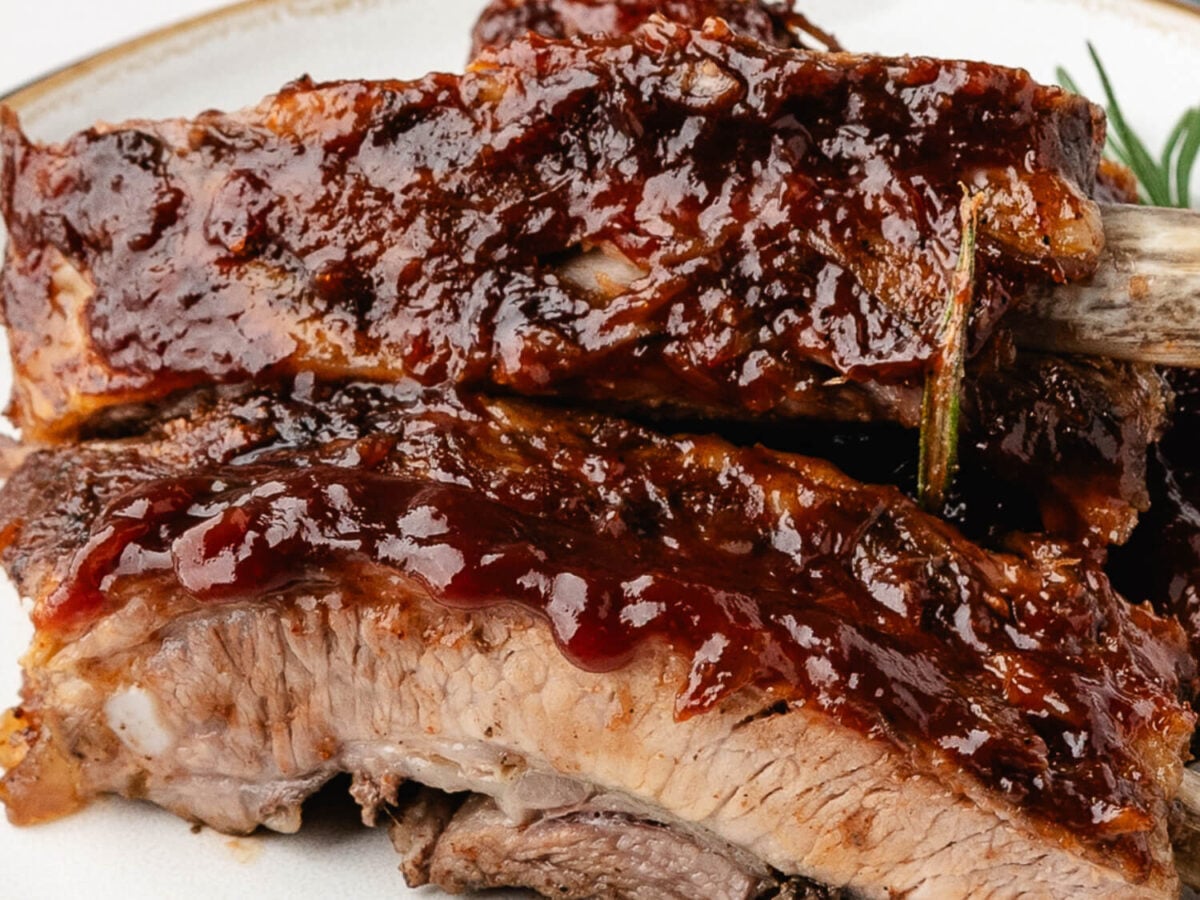
- BBQ sauce – Use your favorite BBQ sauce for finishing the ribs. It becomes a deliciously sticky sauce once caramelized over the grill.
Dry Rub for Ribs:
- Brown sugar – Gives the homemade spice rub its sweetness and helps create those beautifully caramelized edges during grilling.
- Montreal steak seasoning – Provides much of the savory backbone of the rub, including salt, pepper, garlic, and other spices.
- Garlic powder – Adds a mellow, savory garlic flavor throughout the rub.
- Onion powder – Adds another layer of savory flavor that pairs especially well with pork.
- Mustard powder – Gives the dry ingredients a subtle tanginess that complements both the yellow mustard and BBQ sauce.
- Celery salt – Adds salty, slightly herbaceous flavor to balance the sweetness of the brown sugar.
- Smoked paprika – Deepens the smoky flavor while adding color to the outside of the ribs.
- Ground thyme – Adds a subtle earthy, herbal note that rounds out the good dry rub.
How to Cook BBQ Baby Back Ribs
This baby back ribs recipe actually starts in the oven. The step-by-step photos below will walk you through the cooking process, and you’ll find all detailed measurements and instructions in the recipe card at the bottom of the post.
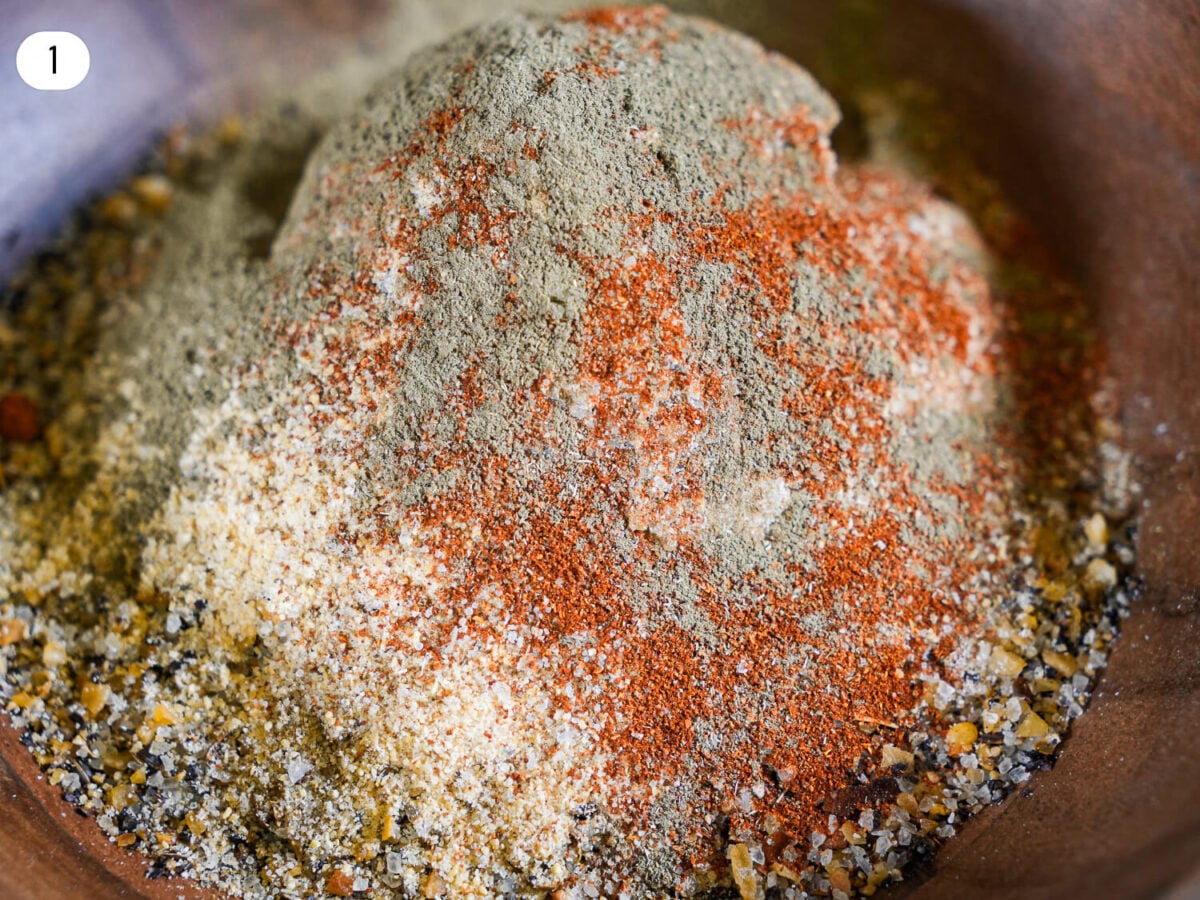
STEP 1: Make the dry rub – Combine the brown sugar, Montreal steak seasoning, garlic powder, onion powder, mustard powder, celery salt, smoked paprika, and ground thyme in a small bowl. Stir until the dry ingredients are thoroughly combined.
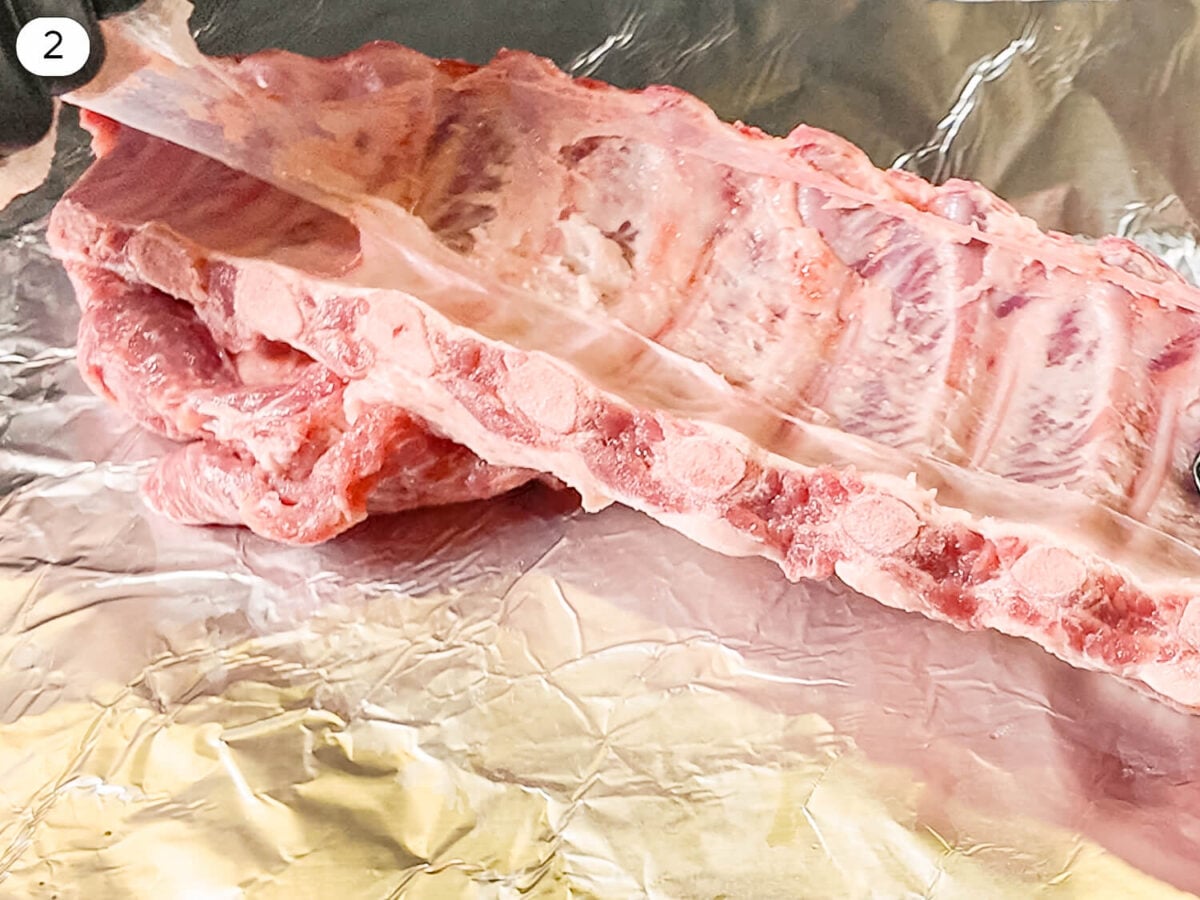
STEP 2: Prepare the rack of ribs -Place the pork ribs on a cutting board. On the back of the ribs, remove the thin membrane, sometimes called the silver skin, and trim away any large areas of excess fat. Using a sharp knife, lightly score the meaty side of the rack.
TIP: If you’re having trouble getting hold of the papery membrane, work the tip of a butter knife underneath one end and loosen enough to grab. A paper towel can give you a better grip as you pull the membrane along the length of the ribs.
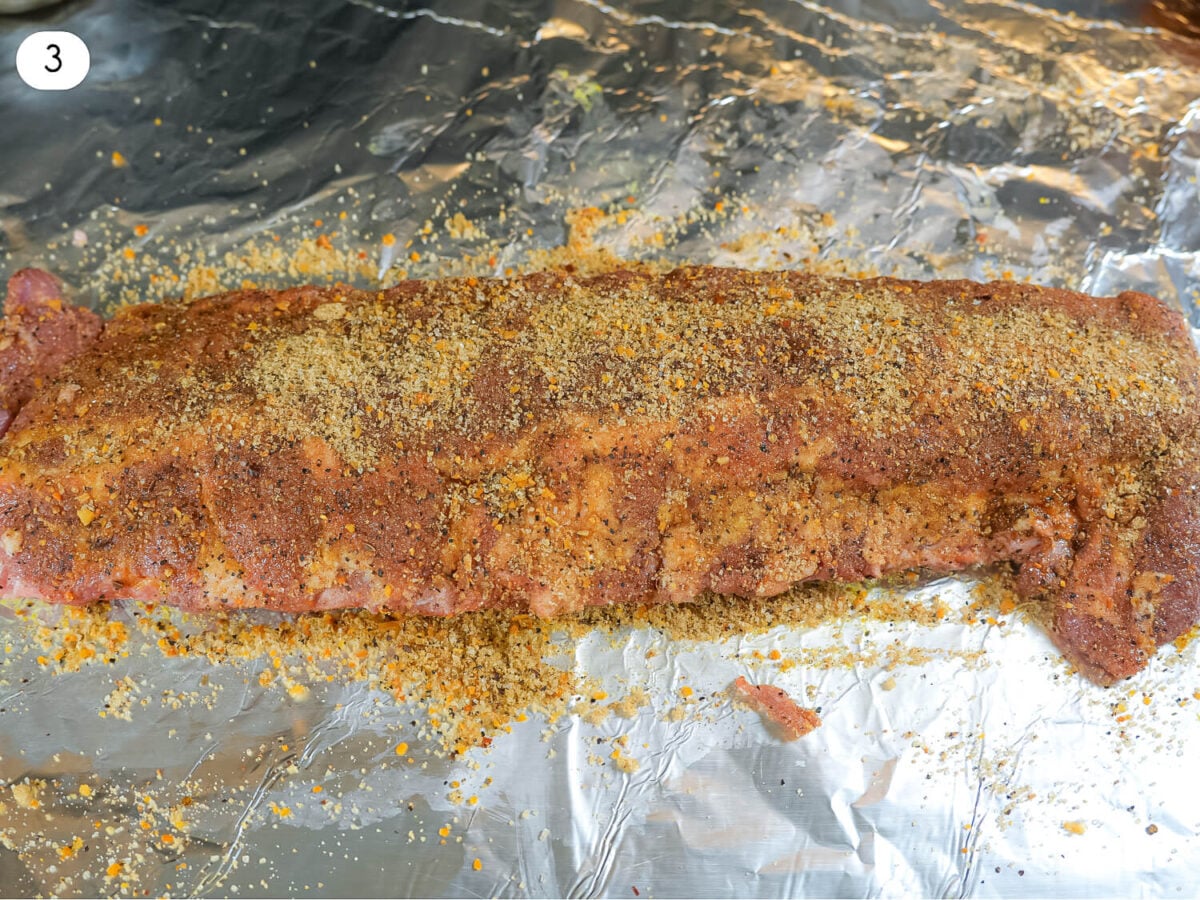
STEP 3: Season the ribs -Spread a thin coating of yellow mustard over the ribs, then drizzle with Worcestershire sauce and hickory liquid smoke. Generously sprinkle the baby back ribs rub over both sides of the ribs. Massage the seasoning over the entire rack so the meat is well coated.
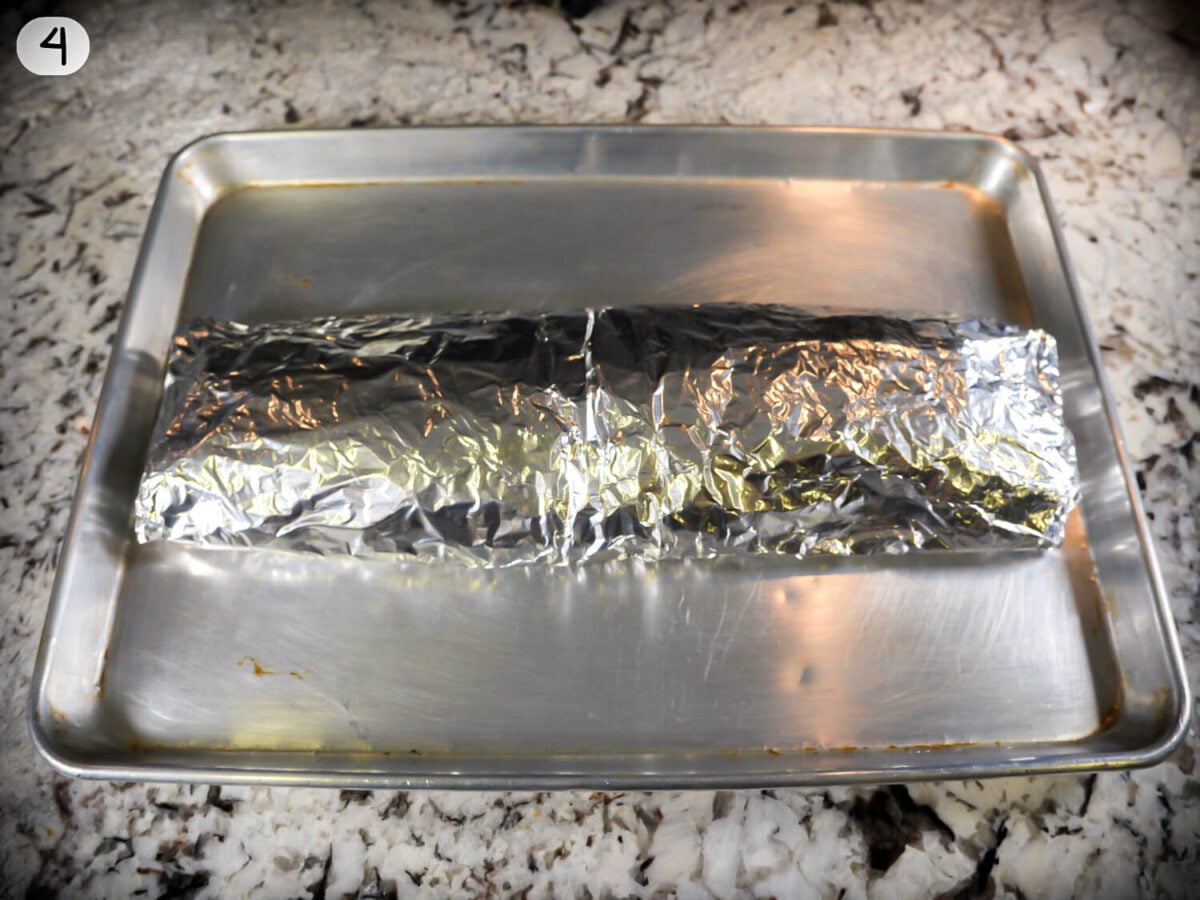
STEP 4: Wrap and marinate – Place the seasoned ribs on a large sheet of heavy-duty foil and wrap them tightly to create a sealed foil packet. Refrigerate for at least 6 hours or overnight.
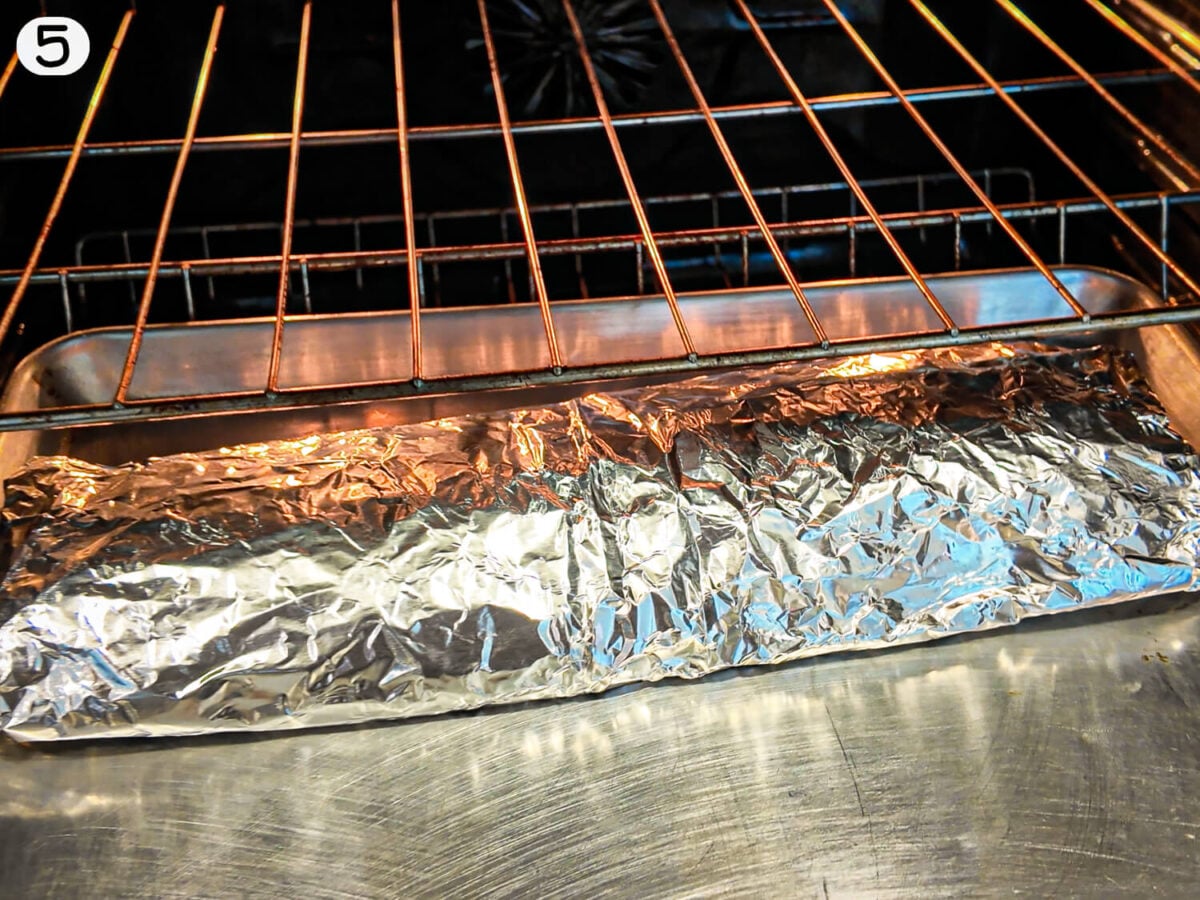
STEP 5: Bake low and slow – Remove the foil-wrapped ribs from the refrigerator and let them sit for 20-30 minutes while the oven preheats to 300°F (150°C). Place the ribs, still sealed in their foil packet, onto a rimmed baking sheet or sheet pan. Bake for 2 hours.
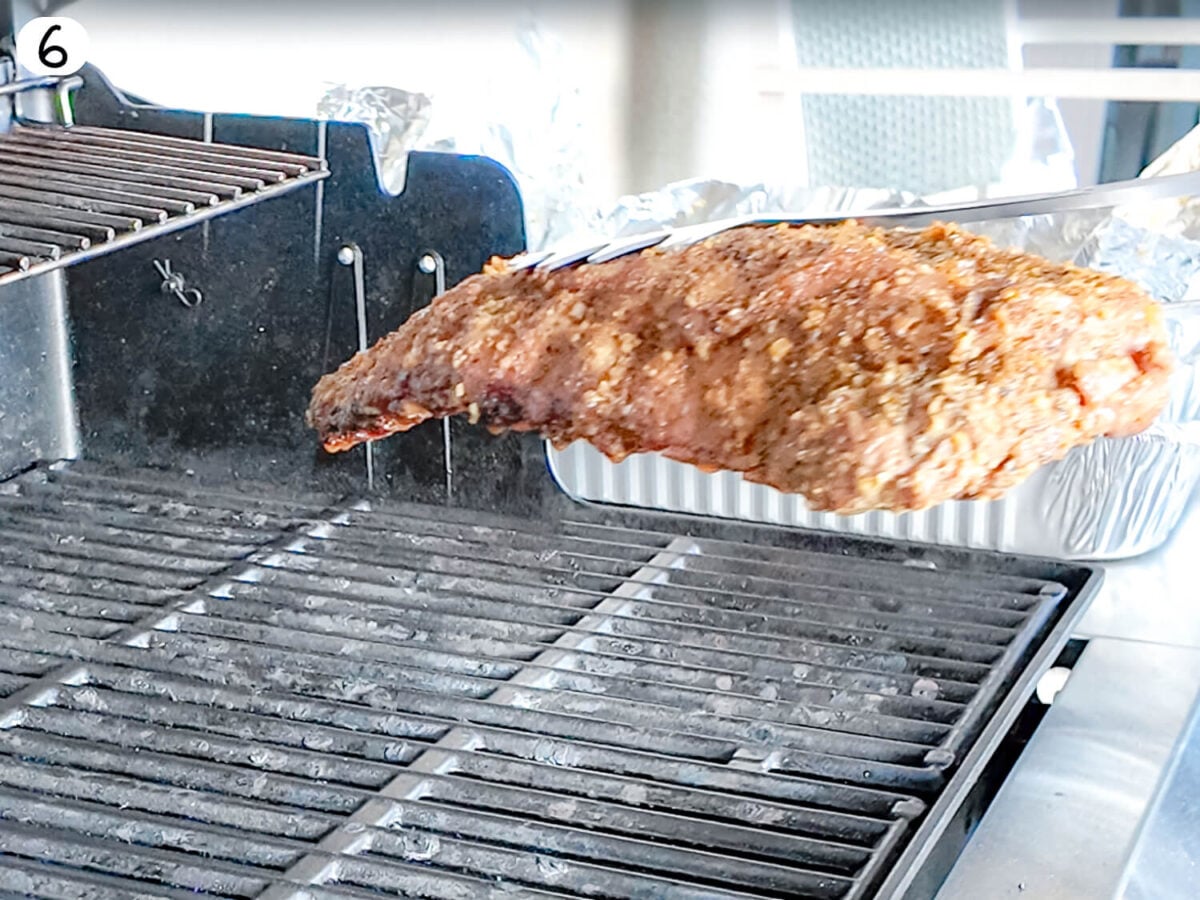
STEP 6: Move the ribs to the grill -Toward the end of the cooking time, preheat your grill to medium heat. Carefully open the foil packet, keeping your hands and face away from the escaping steam. Transfer the tender baby back ribs to the grill grate.
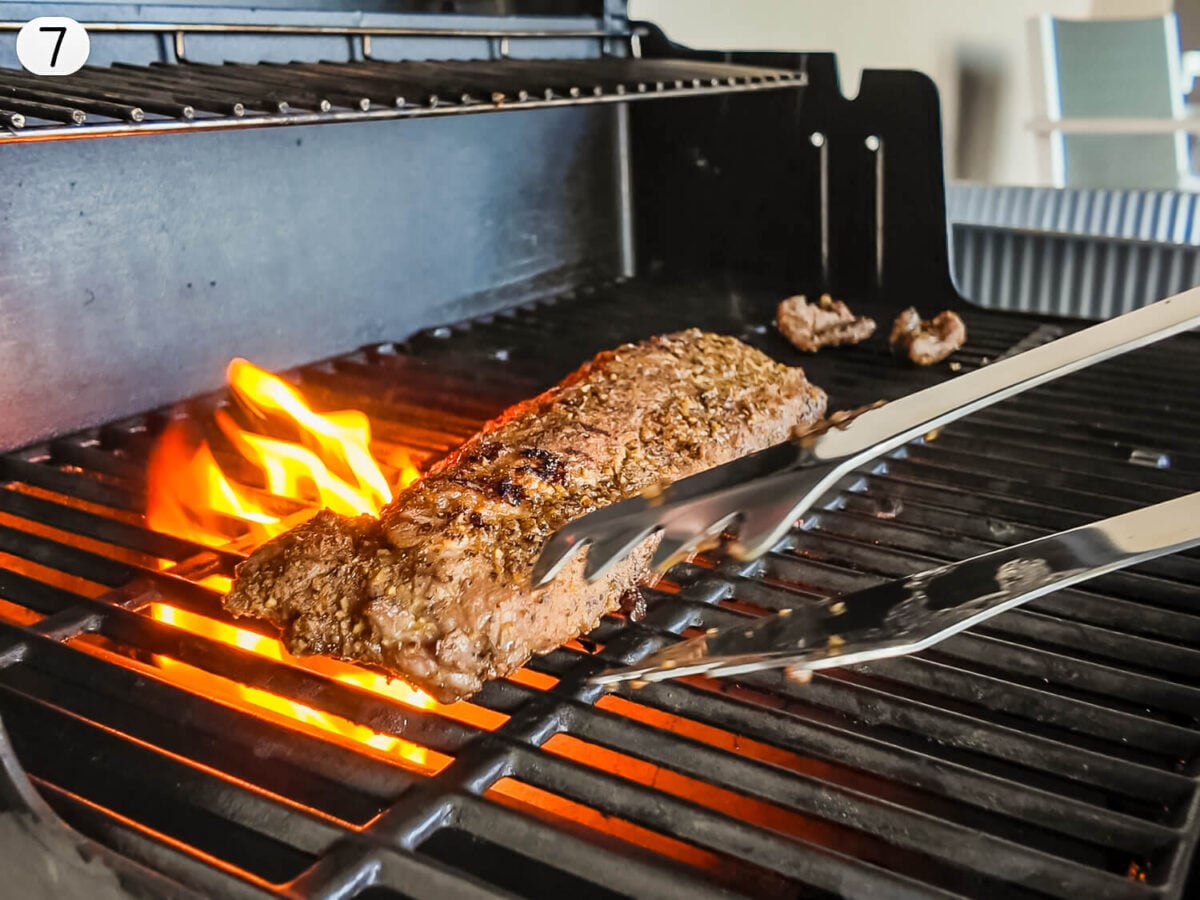
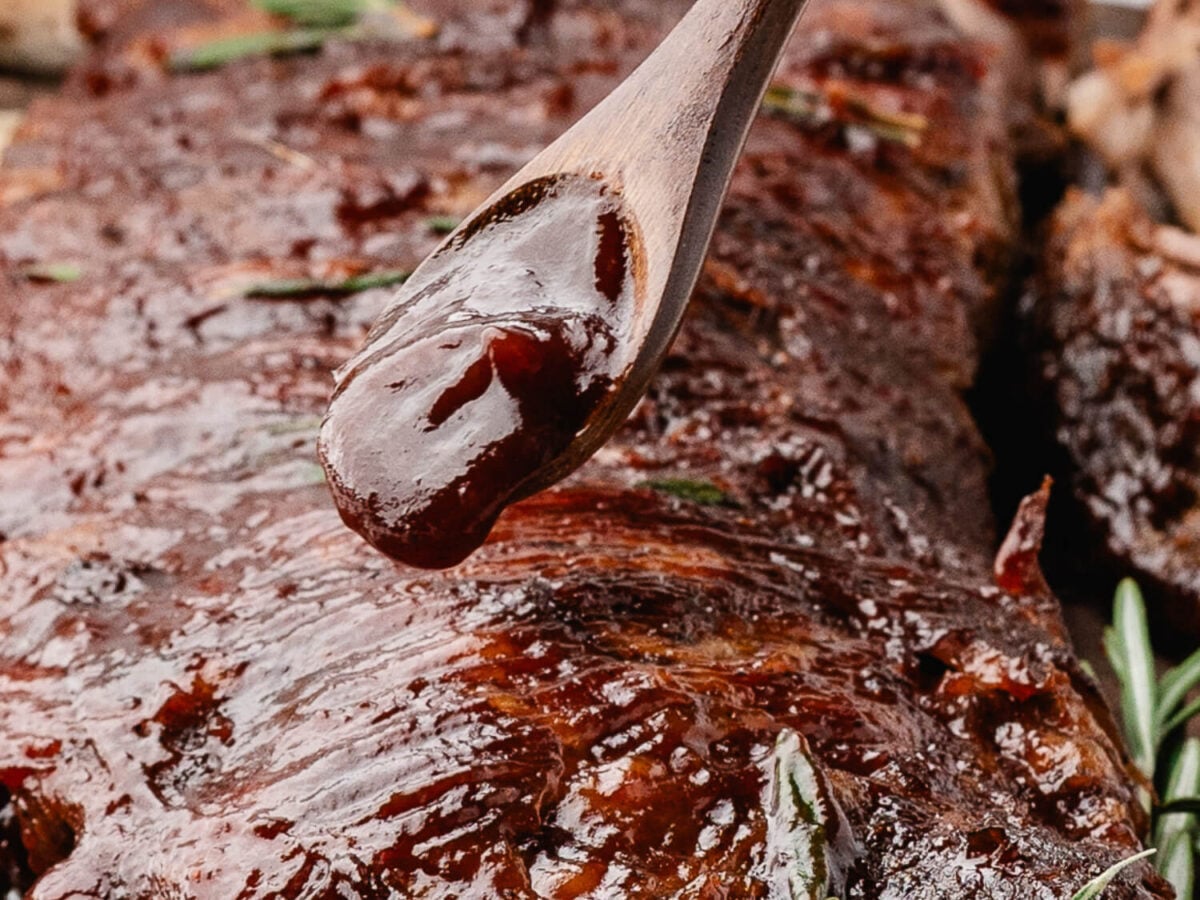
STEP 7: Grill and sauce -Grill just long enough to brown the outside of the ribs and develop some char. Brush the tops of the ribs generously with your favorite barbecue sauce (I use Sweet Baby Ray’s or my Homemade Honey BBQ Sauce) during the final few minutes.
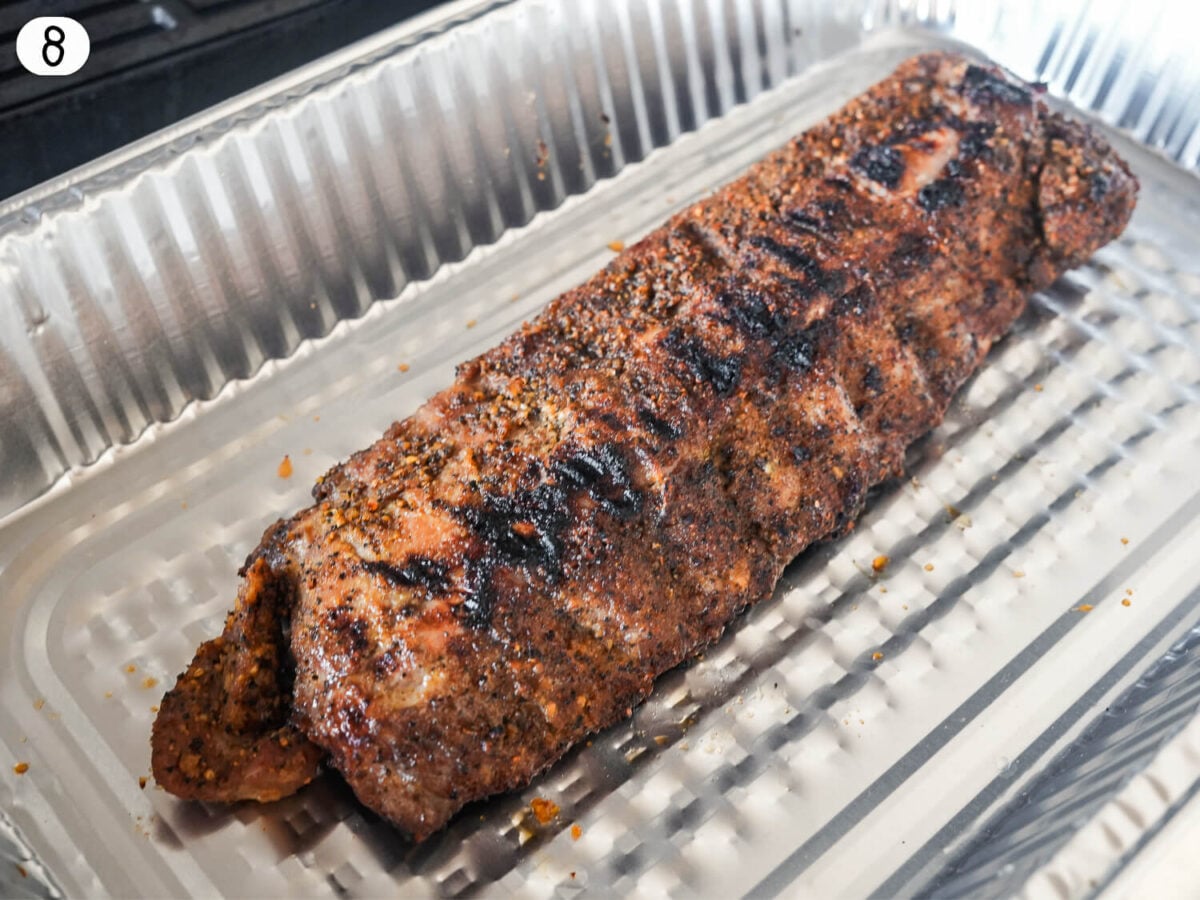
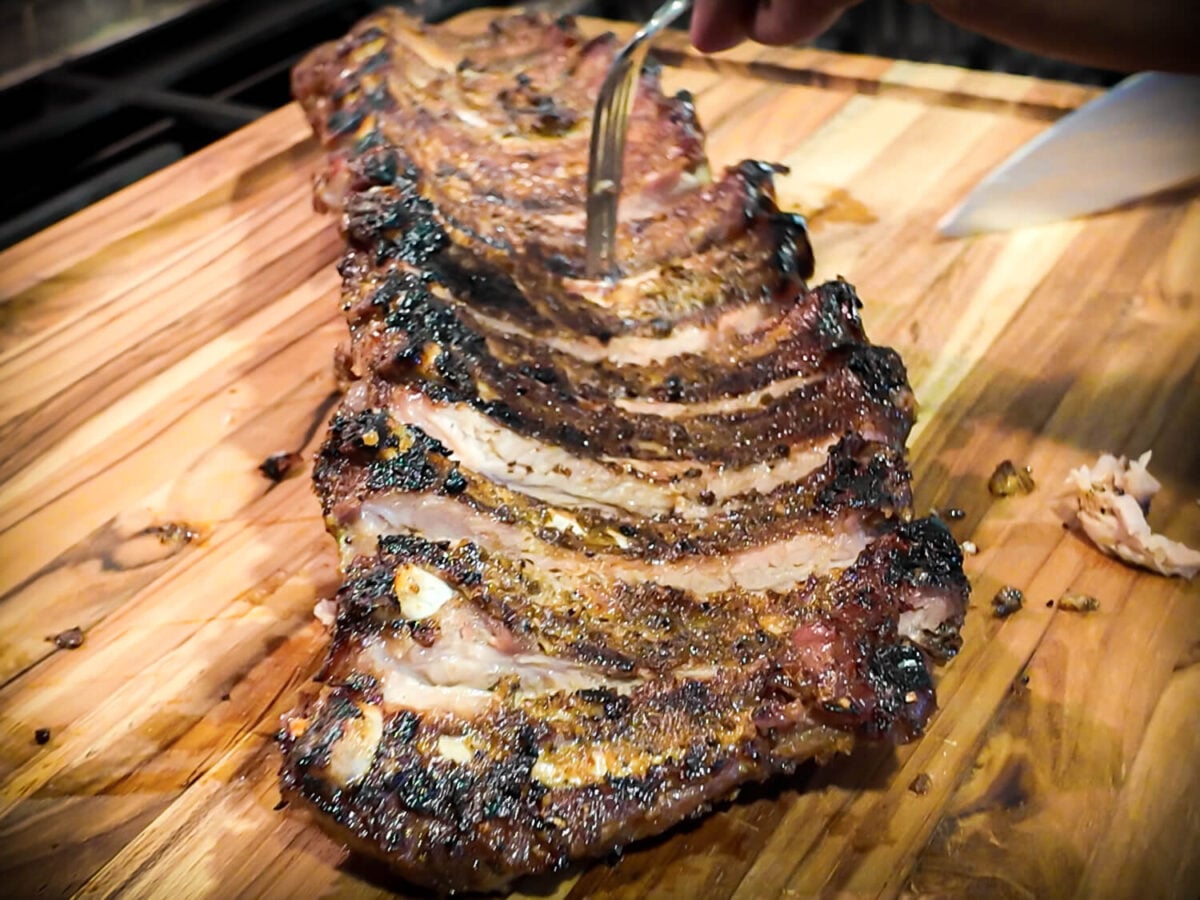
STEP 8: Rest and serve – Transfer the finished ribs to a clean cutting board and rest for 5-10 minutes. Slice between the bones and serve with additional BBQ sauce. Enjoy!
TIP: Keep a close eye on them while they are on the grill. BBQ sauce contains sugar and can burn quickly over direct heat. You want a dark, glossy, sticky sauce rather than a burnt coating.
Substitutions & Variations
You can make a few simple adjustments depending on the ingredients you have and the flavor you’re after.
- BBQ sauce: Use your favorite BBQ sauce, whether you prefer something sweet, smoky, spicy, or tangy. My Honey BBQ Sauce would also work beautifully with the brown sugar and smoky flavors in the ribs.
- Add some heat: For spicy ribs, add a small amount of cayenne pepper or chili powder to the homemade spice rub. Start conservatively so the heat doesn’t overpower the other seasonings.
- Liquid smoke: Hickory is my preference because it gives the pork plenty of smoky flavor. Mesquite liquid smoke can be used for a slightly stronger smoke profile.
- Spare ribs: You can use this general method for spare ribs or St. Louis-style ribs, but don’t use the baby back rib cooking time as an exact substitute. These cuts are larger and typically require a longer cooking time to become tender.
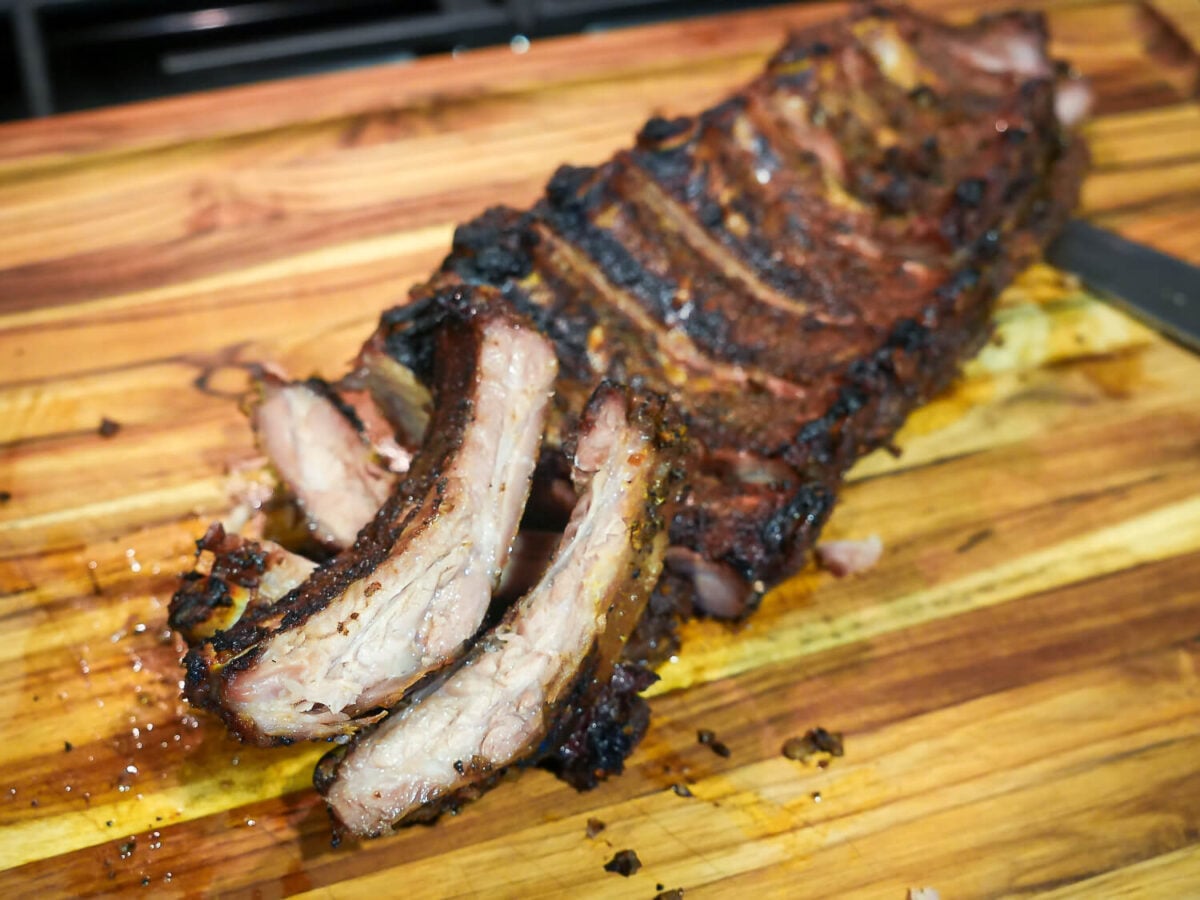
Why Bake BBQ Baby Back Ribs Before Grilling?
The oven is one of the reasons these ribs turn out so tender without requiring hours of hands-on grilling. Baby back ribs contain connective tissue and fat that need time to soften. Cooking the ribs slowly at 300°F (150°C) gives that connective tissue time to break down while the tightly sealed aluminum foil traps moisture around the meat. The grill then has a different job. Instead of relying on the grill for the entire cooking process, we’re using it to add char, smoky flavor, and caramelize the BBQ sauce. This also gives you more control because the ribs are already tender before they encounter the higher, drier heat of the grill.
Grilling Times for Baby Back BBQ Ribs
The majority of the cooking happens in the oven, so the ribs do not need to be on the grill for a very long time:
| Stage | Temperature | Approximate Time | What You’re Looking For |
|---|---|---|---|
| Marinate | Refrigerator | 6-24 hours | Seasoning has time to flavor the ribs |
| Oven | 300°F (149°C) | 1½ hours | Tender ribs with rendered fat |
| Grill | Medium heat | About 5-10 minutes* | Light char and browned edges |
| Sauce | Medium heat | Final few minutes | Sticky, caramelized BBQ sauce |
| Rest | Room temperature | 5-10 minutes | Juices settle before slicing |
* Grilling times can vary depending on your grill and the thickness of the rack, so use appearance and tenderness rather than the clock alone.
How Do You Know When Baby Back Ribs Are Done?
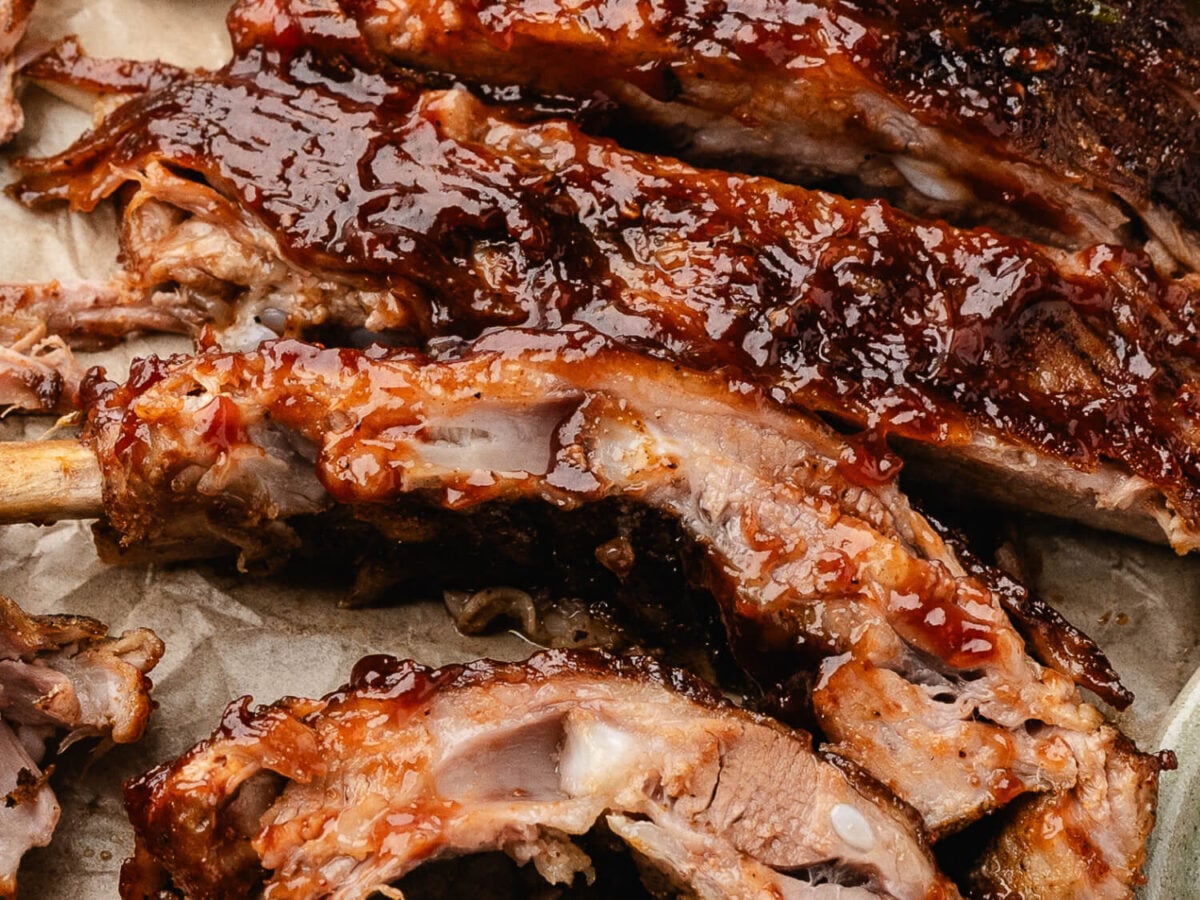
From my family’s experience, you can’t judge ribs by cooking time alone. The meat should be tender, and you should see some pullback from the ends of the bones. A meat thermometer can also help confirm doneness, but with ribs, tenderness is just as important as temperature. Pork is safe at a lower internal temperature than the point at which ribs become especially tender, so don’t pull them simply because they’ve reached the minimum safe temperature.
Storage & Make-Ahead Tips
- Make ahead: This recipe is designed with make-ahead preparation in mind. Season and wrap the ribs the night before, then refrigerate them until you’re ready to bake the next day.
- Refrigerate: Allow leftover ribs to cool, then transfer them to an airtight container and refrigerate for up to 3-4 days.
- Reheat: For the best results, reheat the ribs covered in a low oven until warmed through. Add a little more BBQ sauce toward the end so they don’t dry out.
- Freezing: Cooked ribs can also be frozen. Wrap individual portions well and place them in an airtight freezer-safe container or bag. Thaw overnight in the refrigerator before reheating.
What to Serve With Grilled Baby Back Ribs
- Southern Potato Salad
- Grilled Vegetables
- Shrimp Pasta Salad
- Homemade Coleslaw
- Southern Baked Beans
- Shrimp Salad
- Charleston Red Rice
FAQ
Do you have to remove the membrane from baby back ribs?
I recommend it. The thin membrane on the bone side of the rib rack can become tough when cooked and can also prevent the seasoning from making direct contact with that side of the meat.
How long should I marinate dry rub ribs?
For this recipe, refrigerate the seasoned ribs for at least 6 hours or up to overnight. Preparing them the night before is an easy way to get a head start when you're hosting a cookout or tailgate.
Can I make these baby back ribs without a grill?
Yes. Follow the oven-baked ribs portion of the recipe as written. Once they're tender, unwrap the ribs, brush them with BBQ sauce, and place them under the broiler briefly to caramelize the sauce. Keep a close eye on them because the sugar in the sauce can burn quickly.
Recipe Card
BBQ Baby Back Ribs
Ingredients
Dry Rub for Ribs
- ½ cup Light Brown Sugar, (packed)
- ⅓ cup Montreal Steak Seasoning
- 1 teaspoon Onion Powder
- 1 teaspoon Garlic Powder
- ½ teaspoon Mustard Powder
- ½ teaspoon Celery Salt
- ½ teaspoon Smoked Paprika
- ½ teaspoon Ground Thyme
Ribs
- 2½ pounds Baby Back Pork Ribs
- 2 teaspoons Yellow Mustard
- 1 teaspoon Worcestershire Sauce
- ½ teaspoon Liquid Smoke
- 1 cup Dry Rib Rub
- ¼ cup BBQ Sauce, (as needed for finishing)

Instructions
- In a small bowl, combine the brown sugar, Montreal steak seasoning, garlic powder, onion powder, mustard powder, celery salt, smoked paprika, and ground thyme. Mix until evenly combined and set aside.
- Place the ribs on a cutting board and remove the membrane from the back of the rack. Trim away any large pieces of excess fat, then lightly score the meaty side of the ribs with a sharp knife to help the seasonings penetrate.
- Coat the ribs with a thin layer of yellow mustard. Drizzle the Worcestershire sauce and liquid smoke over the ribs. Generously sprinkle the dry rub over both sides, then massage the seasoning into the meat until well coated. Place the seasoned ribs on a large sheet of heavy-duty foil and wrap them tightly to create a sealed foil packet. Refrigerate for at least 6 hours or overnight.
- Remove the foil-wrapped ribs from the refrigerator and let them sit for 20-30 minutes while the oven preheats to 300°F (150°C). Place the ribs, still sealed in their foil packet, onto a rimmed baking sheet or sheet pan. Bake for 2 hours.
- Toward the end of the cooking time, preheat your grill to medium heat. Carefully open the foil packet, keeping your hands and face away from the escaping steam.Transfer the tender baby back ribs to the grill grate.
- Grill just long enough to brown the outside of the ribs and develop some char. Brush the tops of the ribs generously with your favorite barbecue sauce during the final few minutes. Transfer the finished ribs to a clean cutting board and rest for 5-10 minutes. Slice between the bones and serve with additional BBQ sauce. Enjoy!
Notes
- Remove the membrane: For more tender ribs, remove the thin membrane from the back of the rack before seasoning. Use a paper towel to help grip and pull it away.
- Don’t skip the marinating time: Let the seasoned ribs refrigerate for at least 6 hours, preferably overnight, so the dry rub has plenty of time to flavor the meat.
- Wrap tightly: Seal the ribs well in heavy-duty aluminum foil before baking. This traps the steam and juices inside while the ribs cook low and slow.
- Dry rub: The homemade dry rub makes approximately 1 cup, which is enough to generously season the ribs.
- Watch the grill closely: Finish the ribs over medium heat, about 375-400°F (190-205°C). Since the ribs are already cooked, you only need enough time to develop some char and caramelize the sauce.
- Sauce at the end: BBQ sauce contains sugar and can burn quickly. Brush it onto the ribs during the final few minutes of grilling rather than at the beginning.
- Let them rest: Rest the finished ribs for 5-10 minutes before slicing to help keep the meat juicy.
Nutrition
Nutrition information is automatically calculated, so should only be used as an approximation.
Craving More?
If you make these BBQ baby back ribs, I’d love to see how they turn out! Tag me on Instagram @elicitfolio, follow along on Pinterest for more new recipes, or leave a comment below and tell me which grilling recipe you’d like to see me make next.


I love me some baby back ribs. But it seems like all the good rib joints don’t know how to make them for less than the price of a new car. Thanks for the recipe so I can do it myself now.
It’s a nice one, Baking the foil pack at 300 for two hours, then only five to ten minutes on the grill,nice tip to the sauce from burning. Thanks and will try it!
They look moist and delicious. I bet they taste just as good. The BBQ Sauce is key to the dish.